
How to Knit a Headband With a Twist
If you’re looking for a creative way to add some extra flair to your wardrobe, knitting a textile headband with an intriguing twist pattern can be the perfect finishing touch. Not only will you complete a unique accessory that no one else has, but if done right, it can also be quite stylish. In this blog post, we’ll discuss how to make your own headband with a complex-looking twist design using basic knitting tools and supplies.
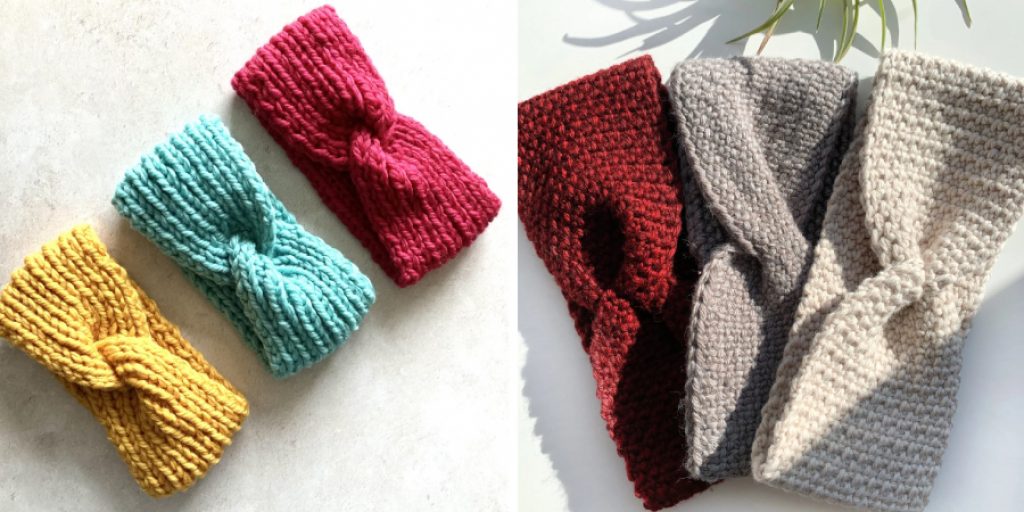
We’ll start by walking through the preparation process before diving into specific instructions and tips on crafting each section of the project. By following along with us in this step-by-step guide on how to knit a headband with a twist, you’ll learn how to successfully knit up your own eye-catching headband – complete with its very own snazzy twist!
The Benefits of Having a Headband With a Twist
1. Customization
There are many advantages to creating a headband with a twist. Not only will you be able to proudly show off your knitting talents, but you’ll also get to customize the color and width of your creation. For those looking for an extra challenge, this design allows plenty of opportunity for creative experimentation – from stitch patterns to bobbles and more! Plus, you can choose to make your headband reversible, giving you two different looks in one.
2. Versatility
Knitting a headband with a twist also provides versatility. The practicality of having an accessory that can be used for both formal and casual purposes makes it a great choice for any wardrobe situation. Whether you’re attending a special event or just want to add some extra flair to your everyday look, this pattern is sure to come in handy.
3. Durability
Finally, due to the strength of the knitted fabric, you can be sure that your headband with a twist will last for many years – even with regular wear and tear. The durability also ensures that it will keep its shape over time without losing any of its original visual appeals.
Now that you know the benefits of creating a headband with a twist, let’s get to the instructions!
Required Items
- Size 5 knitting needles (or size needed to meet gauge)
- Worsted weight yarn in the desired color(s)
- Large tapestry needle for weaving in ends
10 Instructions on How to Knit a Headband With a Twist
1. Choose Yarn and Needles
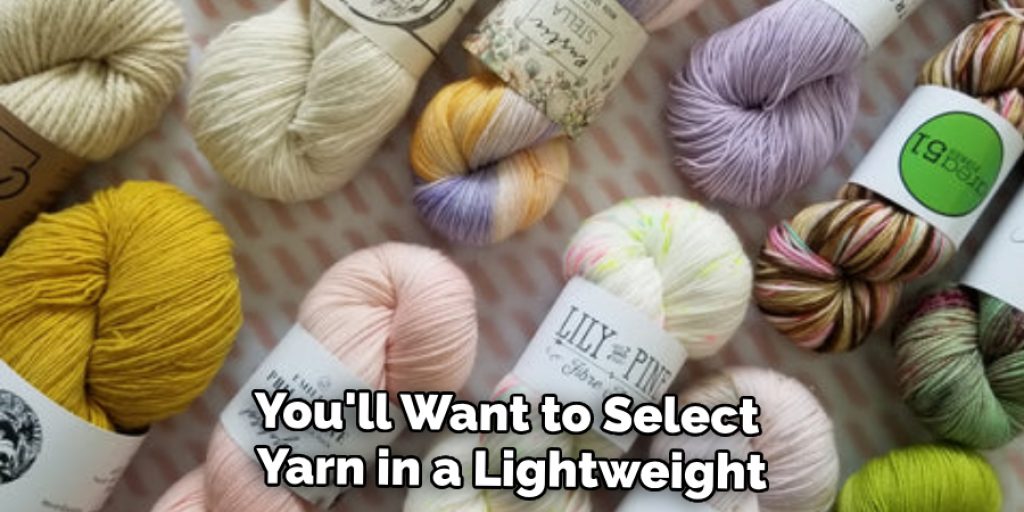
For this project, you’ll want to select yarn in a lightweight, such as sport weight or worsted weight, and size 5 knitting needles. You can also adjust the yarn and needle sizes to meet your desired gauge. To create a reversible headband, you’ll need two colors of yarn – one for each side.
2. Prepare Yarn
First, you’ll need to prepare the yarn by winding it into balls if needed. This step is important since it will help to make sure that the yarn won’t get tangled as you work. Once your yarn is ready, you can move on to the next step of casting on stitches.
3. Cast On Stitches
Using one color of yarn, cast on an even number of stitches – we suggest 40 for a standard-sized headband. If you’d like a wider headband, feel free to adjust the number of stitches accordingly.
4. Knit Rows
After casting on the desired amount of stitches, begin knitting rows in stockinette stitch until you have reached your desired length – around 20 inches is usually enough for an average-sized headband. Remember to keep track of the number of rows you knit as this will be important for step 5.
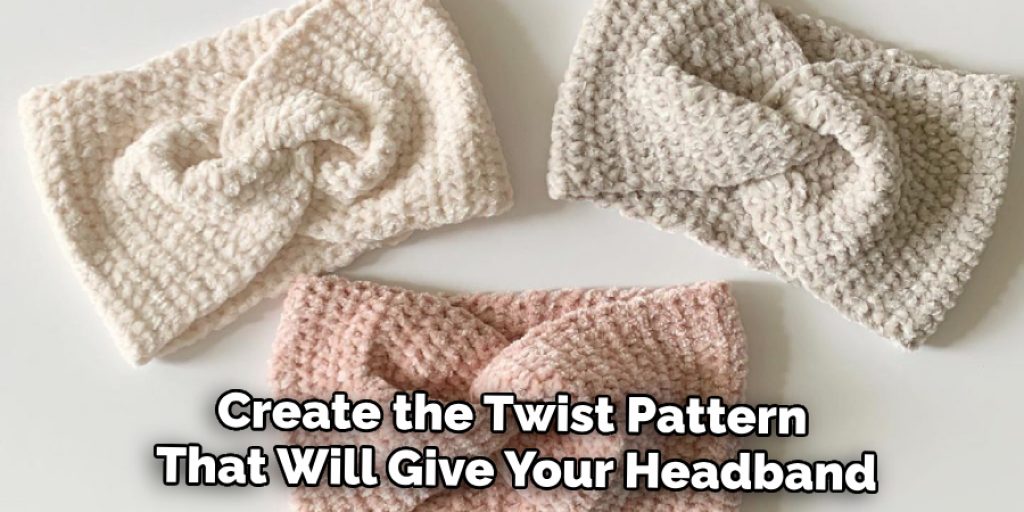
5. Add Twisted Stitches
Once you have reached your desired length, it’s time to create the twist pattern that will give your headband its unique design. To do this, simply follow these instructions:
- Knit 1 stitch.
- Skip 1 stitch.
- Knit 2 stitches together.
- Repeat steps 1-3 until the end of the row.
- Turn and repeat steps 1-4 for rows 3, 5, and 7.
- For rows 6 and 8, knit all stitches as normal without skipping any.
- Continue alternating between knitting normal rows and twisted rows until you have reached 8 total rows.
- Return to the original pattern of just knitting normal rows for the remaining length of your headband.
6. Add a Second Color (Optional)
If desired, you can add a second color to your headband by following these simple steps:
- Knit 2 rows with the first color.
- Begin knitting with the second color for two more rows.
- Alternate between colors until you have reached your desired length.
7. Bind-Off Stitches
Once you have completed all of your rows, it’s time to bind off the stitches and secure them by weaving in the ends with a tapestry needle.
8. Sew Seams Together (Optional)
If you’ve chosen to make your headband reversible, the next step is to sew the two ends together using whip stitches or mattress stitch – whichever technique you’re most comfortable with. This will create a neat finish and keep your headband intact for years to come!
9. Block Your Piece (Optional)
Blocking is an important part of the knitting process as it helps to even out your stitches and give them a professional finish. To block your headband, simply wet it with cool water and lay it flat on a blocking board or towel. Then, shape the headband into its desired length and width – making sure to pin it in place. Once dry, your headband should be ready to wear!
10. Enjoy Your New Headband!
And there you have it – a beautiful and unique headband with a twist that’s all your own! We hope this tutorial was helpful and informative and that you enjoy wearing your new accessory for years to come.
8 Common Mistakes to Avoid
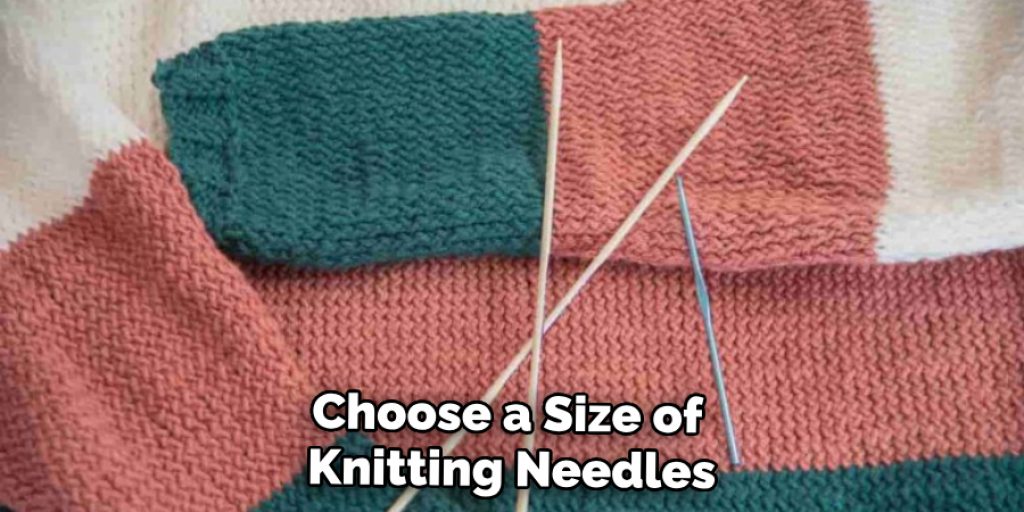
1. Not using the right needles. Choose a size of knitting needles that is appropriate for the yarn you are using. A needle too large will cause your stitches to be loose and sloppy, while a needle too small will make it difficult to knit. Also, make sure the needles are long enough to fit around your head.
2. Not checking your gauge. Gauge is the measure of how many stitches and rows you need to make a certain size. It’s important to check your gauge before starting your project so that the finished product will be the right size for you.
3. Not adjusting the length or width. Not everyone’s head is the same size. Make sure to measure your head before knitting and adjust the pattern accordingly so that the finished product will fit you comfortably.
4. Not leaving enough tail yarn when casting on or binding off stitches. When casting on or binding off, be sure to leave enough length of yarn (about 8 inches) as tails for later use. This will make it easier to sew the edges together when you are finished knitting.
5. Not paying attention to stitch patterns and texture. When crafting your headband, be sure to pay attention to how the stitches fit together in a pattern or texture, as this will create unique design elements that set your piece apart from others.
6. Not blocking the finished product. Blocking is a necessary step in knitting which helps to even out your stitches and flatten out your work. Make sure to block your headband before wearing it so it looks its best!
7. Not weaving in ends securely. Weaving in ends ensures that all of the yarn tails will be securely tucked away so they don’t come unraveled. Take the time to weave in any extra ends of yarn so your headband will look neat and professional.
8. Not celebrating your accomplishment! Knitting a headband with a twist is no small feat! Be sure to take some time to be proud of yourself and admire the work you have produced! You deserve it!
Congratulations on completing your new project! You should now have all the tools you need to successfully knit a beautiful headband with a twist. Just remember to cast on, knit rows, add twisted stitches, block (optional), and weave in ends securely – then you’ll be ready to show off your masterpiece!
Conclusion
Crafting can be an incredibly rewarding and gratifying experience – especially when you create something you’re proud of. Whether you’re a novice knitter or knitting is already part of your everyday life, adding this headband with a twist to your wardrobe will definitely help to make a statement. Creating this amazing piece of wearable art requires some patience, but the effort will not be in vain.
To complete it successfully, you must block the fabric afterward so that it holds its twisted shape correctly. Be sure to take all available tools and techniques into account as well – these will make the crafting process even smoother! With the right supplies and knowledge on how to knit a headband with a twist at hand, there’s nothing stopping you from mastering this amazing project. So what are you waiting for? Get your knitting needles out and show off your finished masterpiece!
Nancy Behan
Nancy is an embroidery artist, fashion blogger and a full time editor at DIY quickly. Nancy edits the fashion section on DIY quickly, focusing on the embroidery and cross stitch articles, alongside with fabric and other costume design elements. She graduated from the University of Michigan with a Bachelor of Arts in Art History. She loves to work on her own projects, read books and watch romantic movies in her spare time.


