How to Knit Letters
Are you a knitting enthusiast looking to add a personalized flair to your projects? Knitting letters can add a personal touch to any piece, whether it’s a scarf, a beanie, or a sweater. Knitting letters may seem daunting at first, but with the right tools and techniques, it’s easier than you think. In this guide, we’ll take you through the steps on how to knit letters like a pro.
Can You Knit Letters?
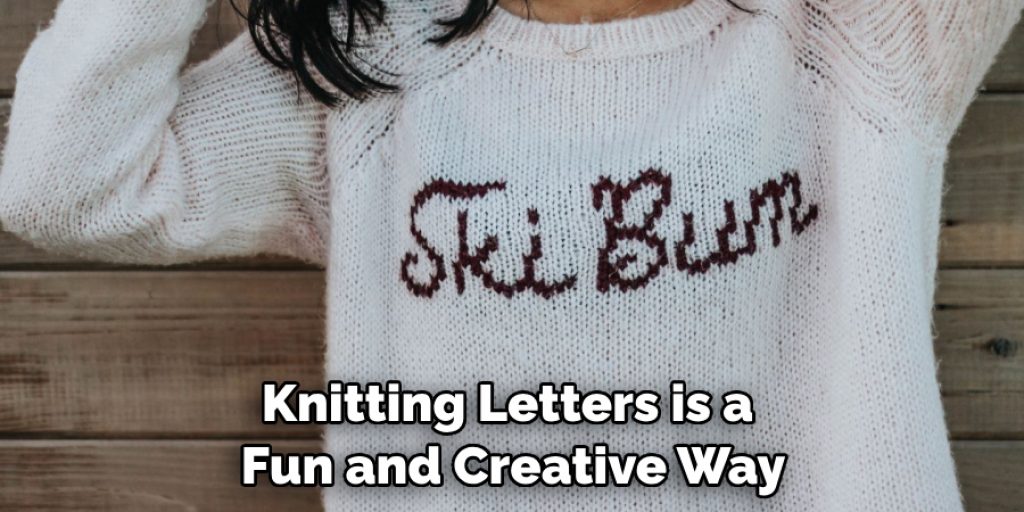
Learning to knit can provide endless opportunities to create unique, personalized items. While many associate knitting with creating cozy blankets or warm hats, the creative possibilities go beyond just functional pieces. Have you ever considered knitting letters? Knitting letters can be a fun and creative way to add personalized touches to your knitting projects.
Whether you want to add initials to a scarf or spell out a favorite quote on a wall hanging, knitting letters is an easy way to add a personal touch to everything you create. With a little bit of practice and patience, you can easily learn to knitting letters and take your knitting skills to the next level.
Why Should You Knit Letters?
Knitting is an incredibly therapeutic and rewarding hobby, but have you ever considered using it to create letters? Not only do knitting letters allow you to further hone your knitting skills, but it also provides an opportunity to create personalized and unique items for yourself or loved ones. With the ability to choose different colors, textures, and stitch patterns, knitting letters allows for endless possibilities for customized designs.
Plus, incorporating knitted letters into accessories like hats, scarves, or even home decor items like tapestries, can add a charming and personal touch that is sure to impress. So why not give it a try and see how knitting letters can enhance your crafting experience?
How to Knit Letters: A Comprehensive Guide for Beginners
Step 1: Choose Your Yarn and Needles
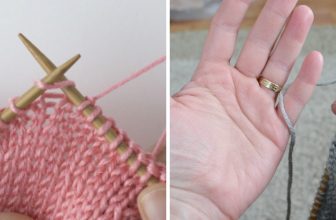
Before you start to knit, you need to choose the right yarn and needles for your project. The weight of your yarn should match the size of your knitting needles. For knitting letters, it’s best to choose a smooth, solid-color yarn to make the letters pop. As for needles, use the size recommended on your yarn label or size down. Smaller needles will give you a tighter stitch, which is important for shaping the letters.
Step 2: Pick Your Stitch
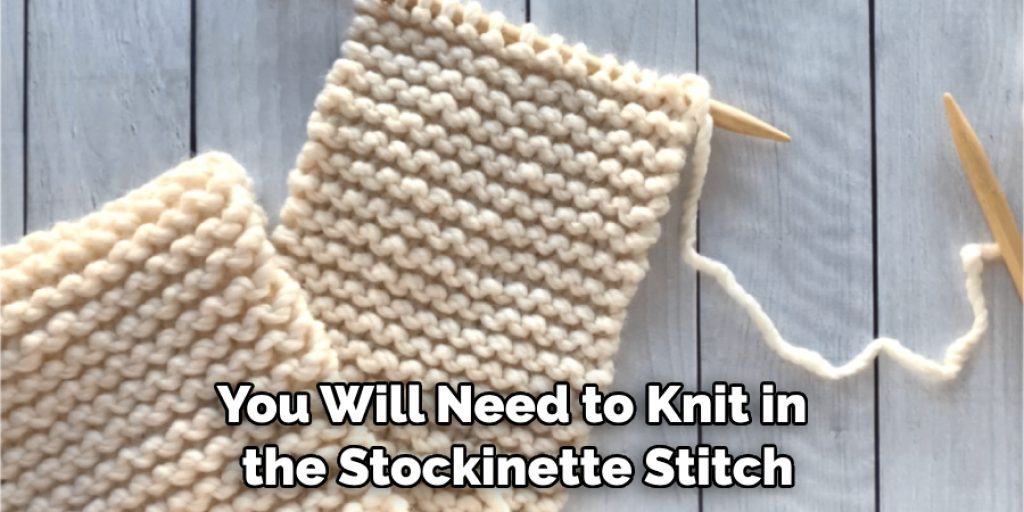
Once you have your yarn and needles selected, it’s time to pick your stitch. The most common stitch used for knitting letters is the stockinette stitch because it creates a smooth fabric with a different texture on each side. To knit the letters, you will need to knit in the stockinette stitch and purl in the reverse stockinette stitch.
Step 3: Chart Your Letters
Planning is key when knitting letters. You can either freehand your letters or create a chart to follow. A chart will help you keep track of your rows and stitches and ensure that your letters are even. To create a chart, draw out your letters on graph paper, with each square representing one stitch. You can also find alphabet charts online to print out and follow.
Step 4: Knit Your Letters
Now that you have your yarn, needles, stitch, and chart, it’s time to knit your letters. Start by casting on the number of stitches needed for your letter. Then, follow your chart by knitting in the stockinette stitch for the right side of the fabric and purling in the reverse stockinette stitch for the wrong side of the fabric. Once you have completed your chart, bind off your stitches and weave in any loose ends.
Step 5: Add Borders and Backing
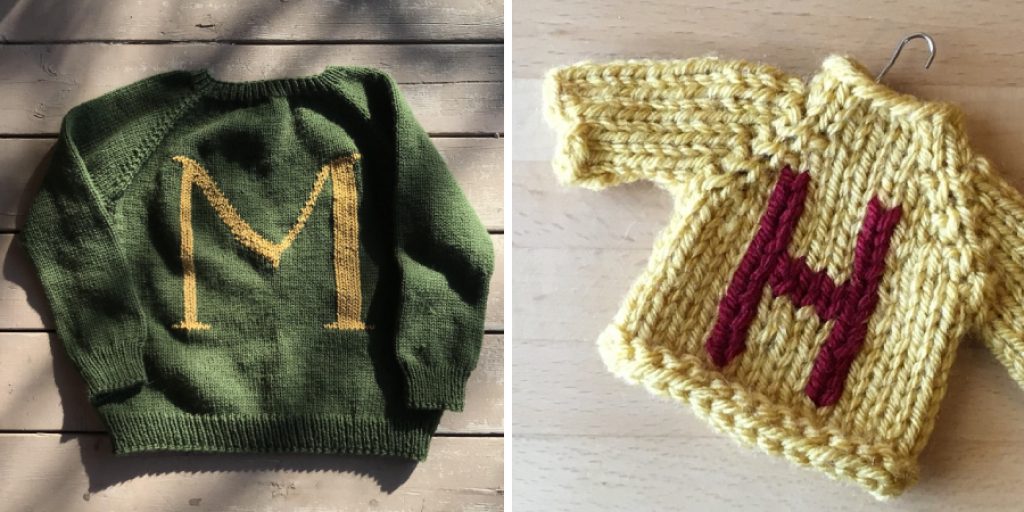
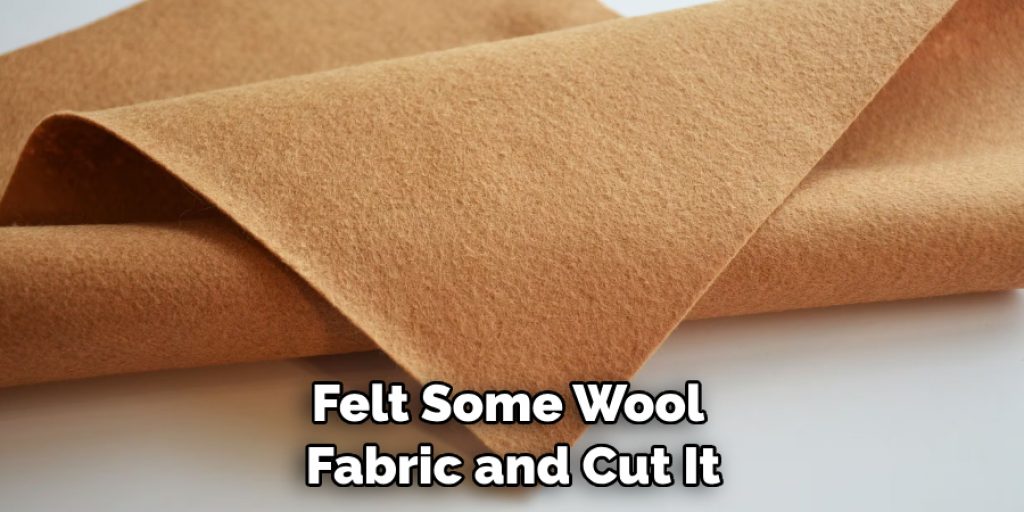
To make sure that the letters are distinct, you can add borders or backing to them. If you add a border, pick up stitches around your knitted letters and knit in the stockinette stitch until it’s as thick as you’d like. For a backing, felt some wool fabric and cut it into shapes that correspond with your knitted letters. Then, attach the cut-outs to the backside of your knitted piece.
Step 6: Block Your Knitting
Blocking helps to even out and stabilize the stitches in your knitting. To block your lettering project, wet it down with a spray bottle or damp cloth and then lay it flat on a blocking board or another padded surface. Use pins to shape the fabric and let it dry completely before moving on to the next step.
Step 7: Enjoy Your Work!
Finally, when your project is complete, you can admire your hard work. There’s nothing like seeing your letters come to life in a unique knitted piece you created with your two hands! Now that you know how to knit a letter, you can make all sorts of personalized items for yourself or as gifts.
That’s it! You’ve now learned how to knit letters. With a bit of practice, you’ll be able to master the technique and make beautiful knitted projects with ease.
5 Considerations Things When You Need to Knitting Letters
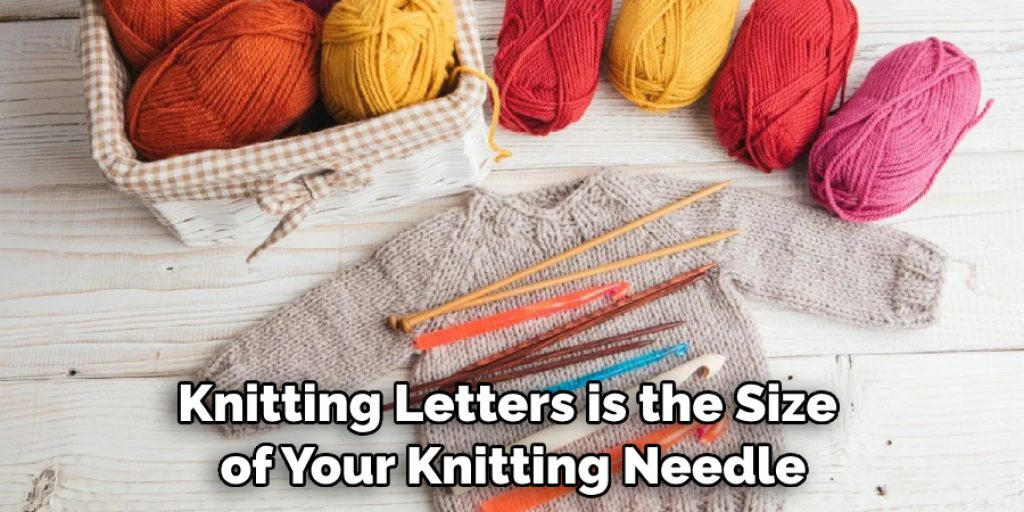
1. The Size of Your Knitting Needle
One important consideration when knitting letters is the size of your knitting needle. The size of your needle will determine the gauge of your knitting, which in turn will affect the overall size of your finished project. If you are using a smaller needle, you will create a denser fabric with smaller stitches. Conversely, if you are using a larger needle, you will create a looser fabric with larger stitches.
2. The Type of Yarn You Use
Another important consideration when knitting letters is the type of yarn you use. The type of yarn you use will affect the overall look and feel of your finished project. For example, if you use a thicker yarn, your project will have a bulkier feel. Conversely, if you use a thinner yarn, your project will have a lighter feel.
3. The Color of Your Yarn
In addition to the type of yarn you use, the color of your yarn is also an important consideration when knitting letters. The color of your yarn will affect the overall appearance of your finished project. For example, if you use light-colored yarn, your project will have a more subtle look. Conversely, if you use dark-colored yarn, your project will have a bold look.
4. The Number of Stitches You Need to Knit
Another important consideration when knitting letters is the number of stitches you need to knit. The number of stitches you need to knit will determine the overall size of your finished project. For example, if you are knitting a small letter, you will only need to knit a few stitches. Conversely, if you are knitting a large letter, you will need to knit more stitches.
5. The Type of Letter You Are Knitting
The final important consideration when you need to knit letters is the type of letter you are knitting. The type of letter you are knitting will affect the overall shape of your finished project. For example, if you are knitting a capital letter, your project will be taller than if you are knitting a lowercase letter.
Benefits of Knitting Letters
Knitting letters is a therapeutic and satisfying hobby that has been gaining popularity recently. Not only does it offer a way to express your creativity, but it also has numerous benefits for your mental health. Knitting requires focus and concentration, which can be meditative and calming. It also provides a sense of accomplishment as you see your project coming together stitch by stitch.
Knitting letters adds an additional challenge and element of personalization to your work, making it even more rewarding. Plus, the possibilities are endless when it comes to combining letters and colors to create truly unique and meaningful pieces. Whether you’re a seasoned knitter or just starting out, giving knitting letters a try can provide endless hours of joy and relaxation.
Some Common Mistakes People Make When Trying to Knit Letters
Knitting letters is a fun and creative way to personalize your handiwork. However, it can also be a bit tricky. People often make the mistake of using the wrong size needle or yarn, resulting in letters that are either too stretched out or too bunched up. Another common mistake is not properly planning out the spacing of the letters, which can make the word look jumbled or uneven.
Lastly, it’s important to follow the pattern closely and not improvise too much, as making changes to the pattern can affect the overall appearance of the letters. Avoid these common mistakes, and you’ll be knitting letters like a pro in no time!
Conclusion
Knitting letters is a fun and creative way to add a personal touch to your knitting projects. Remember to choose the right yarn and needles, plan out your letters on a chart, and practice until you get the hang of it. With these tips and techniques, you’ll be able to knit letters that will impress anyone and make your knitting truly one of a kind. Thanks for reading our post about how to knit letters.
Nancy Behan
Nancy is an embroidery artist, fashion blogger and a full time editor at DIY quickly. Nancy edits the fashion section on DIY quickly, focusing on the embroidery and cross stitch articles, alongside with fabric and other costume design elements. She graduated from the University of Michigan with a Bachelor of Arts in Art History. She loves to work on her own projects, read books and watch romantic movies in her spare time.