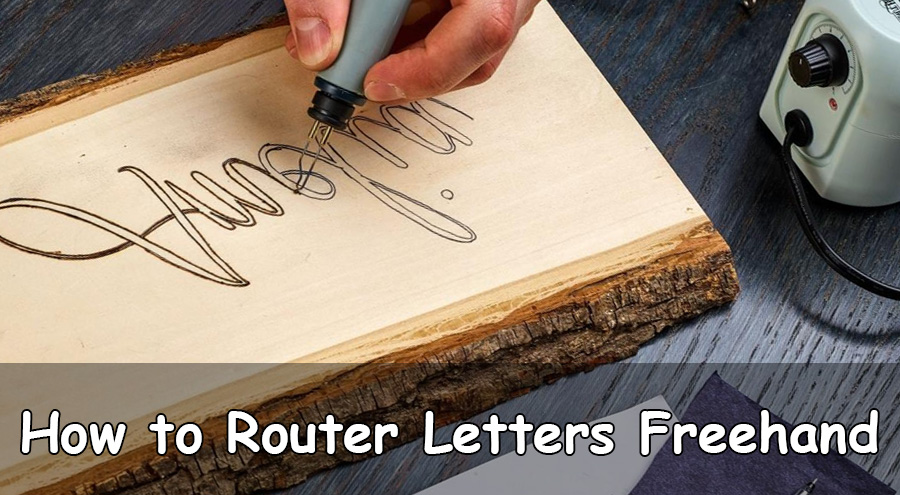
How to Router Letters Freehand
Introduction
Woodworking is always exciting for us. It helps us to build innovative things. Sometimes we prefer carving letters in wood panels. This can be done devoid of any arrangement. For this reason, today, we will show you a technique on how to router letters freehand. This will be much helpful for beginners to learn new things. This technique can highly benefitDIY enthusiasts. Your freehand skills will be improved too.
What Tools and Supplies You’ll Need:
- Router
- Pencil
- Straight edge
- Straight-cutting bit with bearing (no chippers)
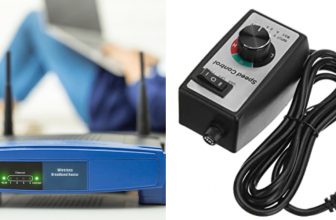
- Variable speed router motor
- Colored pencils for your lettering guides
- Masking tape or other removable tapes
Procedure
There are many ways to carve letters into wood using a router. Some of these methods may be difficult for beginners, so we have shortlisted some steps that will be much easier for beginners to do. These steps will explain the process and help you get the best results.
Step One : Select the Necessary Router
First, select the router hat you want to use for the process. This is an essential part of the whole process because the router bit’s size will influence the letters’ freehand carving. For the betterment of our users, we prefer the plunge router. This is much suitable for carving letters, and the tipped bit provided with this router helps to save the edges of the wood. You will need some clamps to make the wood steady.
Step Two: Take a Pencil and a Printer
In order to carve letters into wood, you will need a pencil, a printer, some paper, and a strong adhesive. First, you will need to print the letter you want to carve out of the computer. Then, you will need to glue the paper to the wood piece. Lastly, you will need to use a heat blower machine and a chisel to detach the paper from the wood piece.
Step Three: Start Designing the Template
In order to start working, you must first manage all the equipment. Carving letters out of wood using a router freehand can be tricky, but you must be sincere throughout the process. You can start by designing a template on the computer. When choosing a template, you must make sure that the alphabets’ most straightforward style will be more comfortable to carve using the router freehand. This will be much helpful.
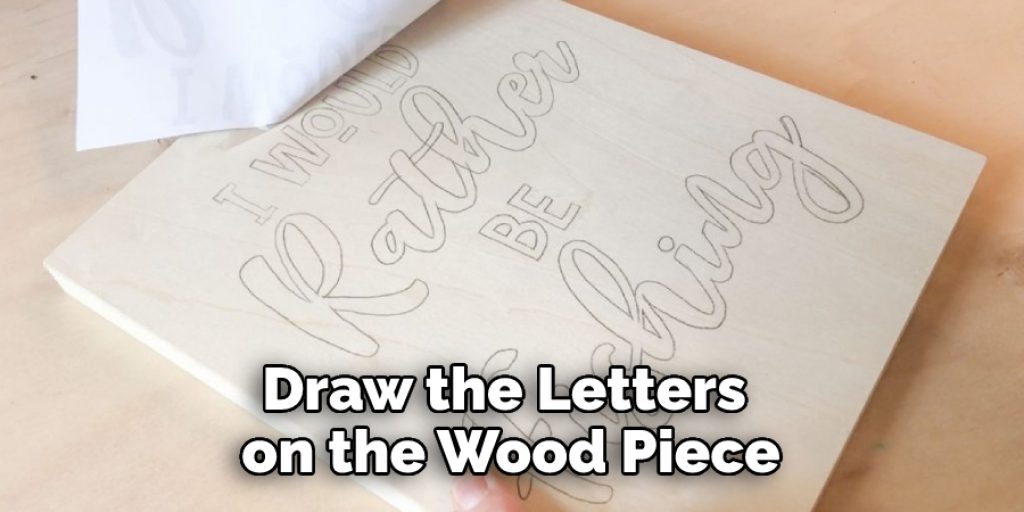
Step Four: Make Sure the Size of the Letter Is Accurate
Now you have to make sure that the size of the letter is accurate for the wood panel. For this, you have to measure the wood panel dimension, and according to the measurement, you have to print the letters. You can write anything suitable and then take the print out. After the paper is printed, you have to attach it to the wood. You can use a cutter to cut the paper’s edges and keep the writing part and then stick it using a strong adhesive.
Step Five: Prepare the Router for Freehand Movement
Once you have attached the letter to the wood panel, you have to start carving the letters. But before that, you must prepare the router for freehand movement. You have to take the router and select the drill bit. Please use the tipped-bit. This is essential, and the edges will be maintained with proper balance. The router’s vibration will not affect the process, and the sawdust will not generate with high force.

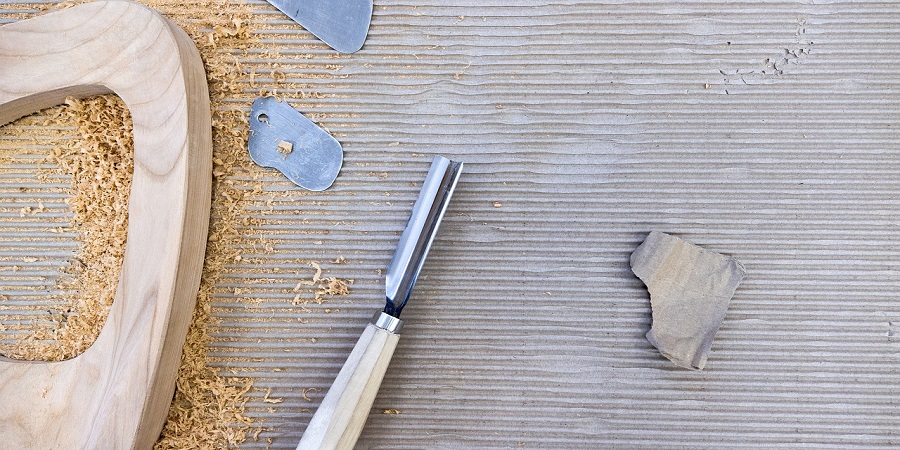
Step Six: Start Carving the Letters
Now you have to start carving the letters. As you have attached the printed portion so you can quickly go through the block letters, and the router will begin to cut the wood piece. There will be a sawdust created, so you have to clear it off after each letter has been carved. In this manner, by making the proper use of the router, you can make the letters. But it would be best if you were careful around the edges because the adjacent alphabets might get affected due to uneven edge routing.
Step Seven: Clear the Wood Panel
After carving the wood panel, you will need to remove the router and then the clamp. You will notice that the wood is messy. To clean it, you will need to take a piece of cloth and remove the sawdust. Once the sawdust is gone, you will need to use a small paintbrush to clean the edges and carved letters. This is necessary because you will need to keep the letters free of dust before painting them.
Step Eight: Take the Paper Off
Now you’ll need a heat blower and a chisel to remove the paper. First, apply the heat blower to loosen the glue and make the paper start to peel away from the wood panel. Then, use the chisel to scrape the paper off, being careful not to damage the letters around the edges. Once the router is used, there will be no going back, so make sure everything is perfect before proceeding.
Step Nine: Start Painting the Letters
After clearing the paper from the wood panel, you can start painting the letters. Applying wood color is easy to do with a sash brush. Once the alphabets are painted, give them time to dry. After the letters are dried, you can start sanding the board. Rubbing the board will make it look much fresher.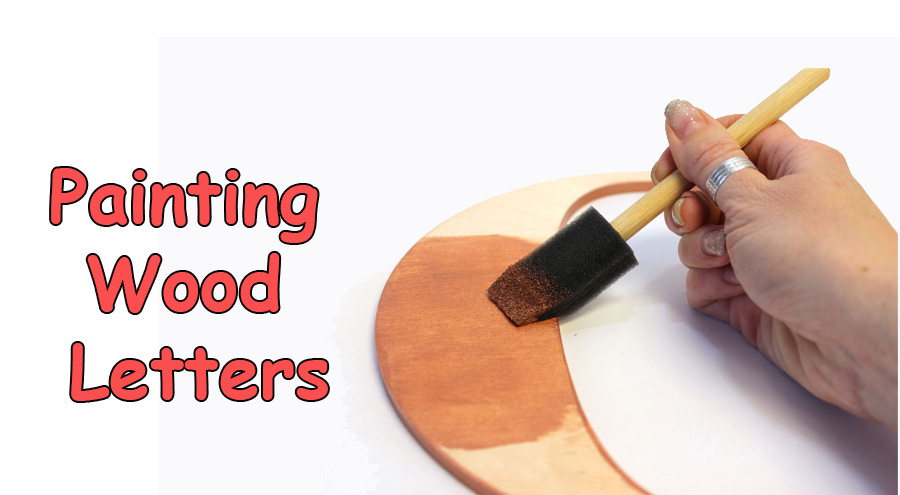
Step Ten: Use a Grit Sanding Machine
You will need an eighty grit sanding machine to sand the wood evenly. It is important to sand the wood evenly so that it will be smooth when you use the router. Always use the router in a clockwise direction. After the wood is sanded, you can apply liquid wood stain to it. The wood stain will give the wood panel a color. Let the wood stain dry before you use the router.
Some Helpful Tips and Suggestions:
1. Always keep your point of hand leading.
2. Angle one side of your lead concerning the paper you are drawing on at a 45-degree angle.
3. Keep your wrist loose and relaxed, but not too loose, or it will move around while the tip is creating the letter shapes causing uneven strokes.
4. Even with all of the techniques, you can still end up with a letter that doesn’t look quite right. In this case, practice makes perfect!
5. Remember to keep your eye on the person you are trying to impress as you draw! Drawing letters for fun is one thing, but drawing them in front of someone takes this activity to a new level!
6. If you end up with a letter that doesn’t look right and you can’t figure out how to make it better, try drawing the same letter in a different style. Drawing the same letter with a different style will make you feel better, but it may even improve your skills.
Things to Consider When Routing Letters Freehand:
1. Router Size:
A standard ½” diameter bit with a ball-bearing guide is all you need for routing letters freehand. This is the simplest and most economical way to rout letters in the short of using an automated router.
2. Routing Depth:
To achieve the proper letter depth (without overcutting), run your router at full speed with the bit held high. Do not plunge the bit into the substrate, but hold it just above it. Work slowly and press firmly to ensure that the bearing stays in full contact with the workpiece.
3. Routing Letters on Edge:
You can rout letters freehand on either side of an edge (either face-up or face-down). For routed lettering on edge, be sure to select a router bit with enough bearing length so the bearing is in full contact with the workpiece.
4. Depth of Cut:
The depth of cut depends on letter height. All you need is enough height for the bearing to clear the face of the workpiece when it reaches each end of its cutting path.
5. Spacing:
Spacing between letters is usually at least half the letter height, but when two or more rows of lettering are needed, spacing between them can be almost equal to the actual letter height.
Precautions You Need to Take:
1. Put on some old clothes, so you don’t ruin your good ones.
2. Ensure that the area is well-ventilated because paints contain many chemicals that can cause lung cancer.
3. If you’re doing this on the floor, always work with a drop cloth because the paint will surely drop on the floor, and your mom will kill you if she sees it.
4. Keep in mind that some paints contain smell intense fumes that can result in nausea or even vomiting; if it happens, go outside or open windows for ventilation.
5. Always prepare the paint beforehand so you won’t have to look for them while working on something else.
6. Do not get any of the paints in your eyes because they are strictly not meant for that area; if it happens, rinse your eye with tap water and then consult a doctor right away.
Things to Consider When Routing Letters into Wood:
1. Letters will need to be 1/2 inch inside the lines of whatever you are cutting.
2. It is better to err on the side of too small than too big for this application.
3. When choosing a letter, just because it looks good in 1/4 inch MDF does not mean it will look good routed into the wood.
4. Letters that are extremely simple in shape work best.
5. Letters with straight lines or sharp corners will be easier to rout than letters with rounded corners or S shapes.
6. Avoid using periods at the end of your letter if possible, as it makes the router bit spin slower and may cause chipping on your letter’s corners.
7. Letters with inside corners, such as a lower case g, are easier to rout than letters without.
Some Helpful Tips and Suggestions:
1. Think about the message you are trying to spell; figure out how it will look when completed. Then, use caution to avoid making mistakes that cannot be undone.
2. Draw a rough sketch of your message, this doesn’t have to be perfect, but if you can visualize what is going on with your final project, this helps determine measurements.
3. Determine the size of your letters and adjust the lettering on your drawing accordingly to ensure they will be a proportional size on your final project.
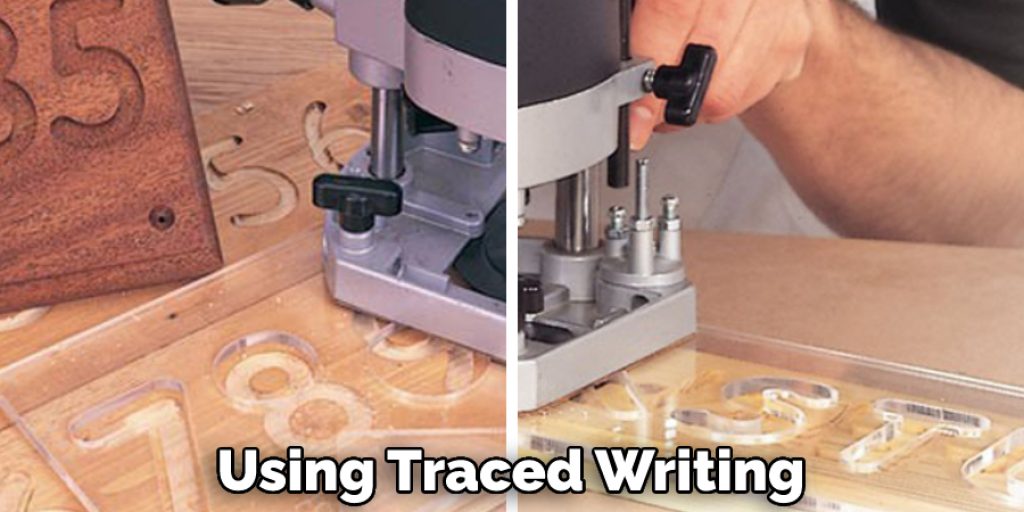
4. If you are using traced writing, try tracing it onto printer paper before transferring it to a wood surface to get an idea of how much space you have to work with.
5. Calculate the length of your router bit to get a rough estimate of how long the message will be. If you are using a stencil, measure both sides and add them up to get your total measurement.
6. Determine the thickness of your wood. To do this, measure from one side to another with a ruler.
7. Use the letters you are most comfortable with; that way if you make a mistake, it is something you are already used to working around in your everyday life.
How Long Does it Take to Router Letters into Wood?
As a beginner, when I first tried to router letters into the wood, it took me about 4 hours. So you’re looking at a good day’s work to add this detail to your project. This estimate can be cut in half if the letters go the same direction and you already have the proper sized bit.
If you are new to routing letters, this may take a few tries, so don’t expect to be able to do it without mistakes immediately. However, one simple trick can save you some time if you have multiple letters going in the same direction. Once you’ve routed a letter, turn off the router, take it out of the machine, and then route the next letter with the bit still in place; this will help avoid any tear out on your project.
Frequently Asked Questions
Do you push or pull a router?
Pushing a router means that you are using your body weight to move the router. Pulling a router means that you are using an electric motor to move the router.
What does a veining bit do?
A veining bit is a drill bit used to create small holes in stone, marble, or other hard materials. It is also known as a keyhole bit because the hole it creates resembles a keyhole.
The benefits of using a veining bit are that it can be used to create intricate designs and patterns in stone, marble, or other hard materials. It is also less likely to cause damage to the material than other types of drill bits.
Can I use a router on slate?
Yes, you can use a router on the slate. However, you will need to make some adjustments to the settings to do so.
First, you will need to connect your router to your slate using an Ethernet cable. Then, open the router’s configuration screen and set the network mode to “Wired.”
Next, set the IP address of your slate to 192.168.1.2 and the subnet mask to 255.255.255.0. Finally, set the gateway address to 192.168.1.1 and disable DHCP on your slate so that it uses static addresses only.
Can you carve stone with a CNC router?
Yes, you can carve stone with a CNC router. However, it is important to understand the basics of CNC routing before starting.
A CNC router is a machine that uses computer-controlled rotary cutting and engraving tools to create detailed pieces from a variety of materials.
To use a CNC router to carve stone, you will need first to select the right type of stone for your project. Next, you will need to determine the dimensions of the stone and input those into the machine. The machine will then start cutting the stone according to those dimensions.
Once the stone has been cut, you will need to mount it on the machine and adjust its position to align it with the rotary cutting tools properly. Then, you can start carving the stone using rotary cutting tools.
If you are new to CNC routing, we recommend that you take some beginner classes before starting any projects. We also have a video tutorial on our website that covers how to use a CNC router to carve stone.
Final Thoughts
You can router letters into the wood to create a personalized, customized product. A router is an essential tool for this task because it creates the lettering by cutting away parts of the surface to make them protrude from the board. The depth of your cut will depend on what you want your final project to look like and how deep or shallow you need that lettering to be.
If you are trying out different depths before committing to one, there are different online guides where people know when they’ve gone too far with their cuts. Once all of your desired letters are routed onto each piece of wood, assemble them using glue or screws for added durability if needed! We hope this blog post on how to router letters into wood has been helpful. If you have any questions or want to know more, then feel free to comment below!
You may also read now