
How to Knit Ribbing in the Round
Knitting ribbing in the round is an essential technique that adds elasticity and texture to your projects, making it ideal for cuffs, hems, and borders. This method creates a stretchy fabric that hugs the body, providing both comfort and style. In this guide on how to knit ribbing in the round, we will explore the basic steps and tips for mastering ribbing, ensuring your knitted items not only look great but also fit perfectly. Whether you’re a beginner or an experienced knitter, understanding will enhance your skills and open up new possibilities for your knitting projects.
Why Knit Ribbing in the Round?
Knit ribbing in the round is an advantageous technique for several reasons. Firstly, it eliminates the need for seaming, which can be time-consuming and may result in uneven edges. By knitting in the round, you create a seamless fabric that enhances the overall appearance of your project. Additionally, ribbing naturally provides a snug fit, making it perfect for items like hats, socks, and fitted garments. The elasticity of ribbed stitches allows your
finished items to stretch and retain their shape, ensuring they are both functional and fashionable. Finally, mastering this technique can expand your knitting repertoire, allowing you to experiment with various patterns and styles while achieving professional-looking results.
Materials Needed
To knit ribbing in the round, you will need the following materials:
Your Preferred Yarn:
Choose a yarn that is suitable for your project and provides the desired elasticity. Wool, alpaca, or acrylic yarns are commonly used for ribbing due to their stretch and durability.
Needles:
Use double-pointed needles (DPNs), circular needles, or the Magic Loop method with a long circular needle – depending on your preference and project requirements. Ensure that your chosen needle size matches the weight of your yarn to achieve the correct tension.
Stitch Markers:
Stitch markers help you keep track of your stitches and make it easier to count rounds in ribbing patterns.
7 Step-by-step Guidelines on How to Knit Ribbing in the Round
Step 1: Cast On
Begin by determining the number of stitches you need to cast on for your project. It’s essential to cast on an even number of stitches for most ribbing patterns, especially those that alternate between knit and purl stitches. Using your preferred method of casting, create the required number of stitches on your needles.
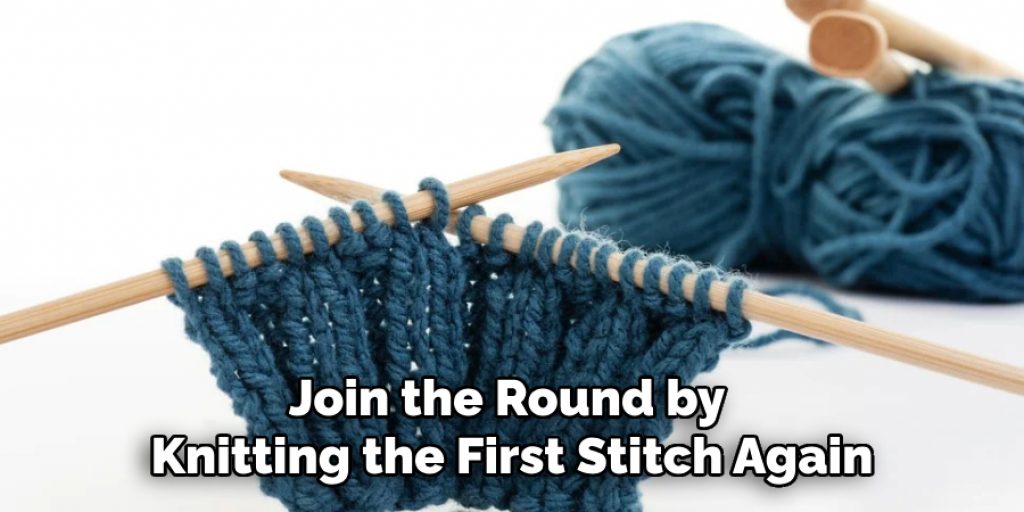
Once you have cast on, make sure the stitches are not twisted around the needle to ensure a smooth start. Join the round by knitting the first stitch again, and place a stitch marker to indicate the beginning of your round. This foundation sets the stage for the elastic ribbing that will follow!
Step 2: Knit the First Round
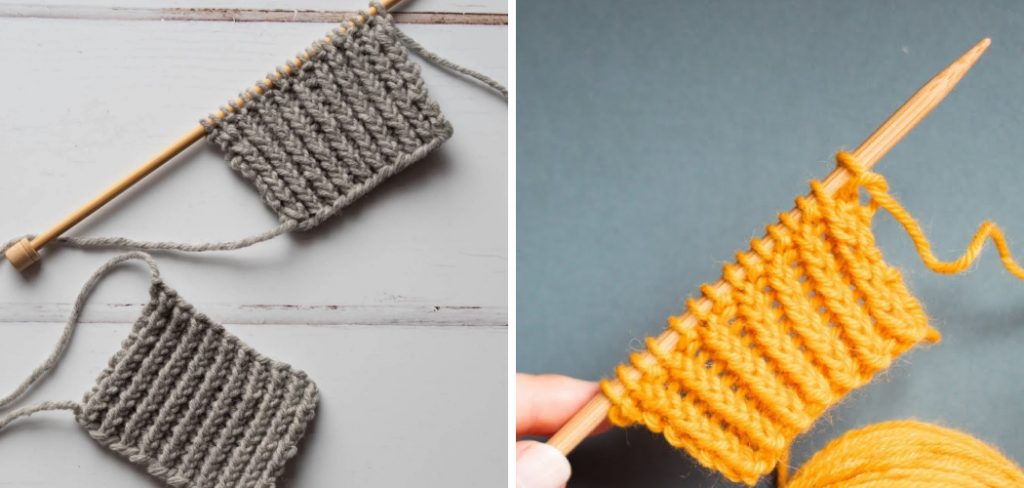
To create a ribbed texture, you will alternate between knit stitches (K) and purl stitches (P). Begin with a knit stitch by inserting your right needle into the first stitch on your left needle from back to front. Wrap the yarn around the right needle in a counterclockwise direction, pull it through the stitch on your left needle, and let it slide off the left needle. This completes one knit stitch.
Next, make a purl stitch by bringing your yarn to the front of your work. Insert your right needle into the next stitch on your left needle from front to back. Wrap the yarn around the right needle in a clockwise direction, pull it through the stitch on your left needle, and let it slide off. Continue alternating between knit and purl stitches until you reach the end of the round.
Step 3: Continue Ribbing
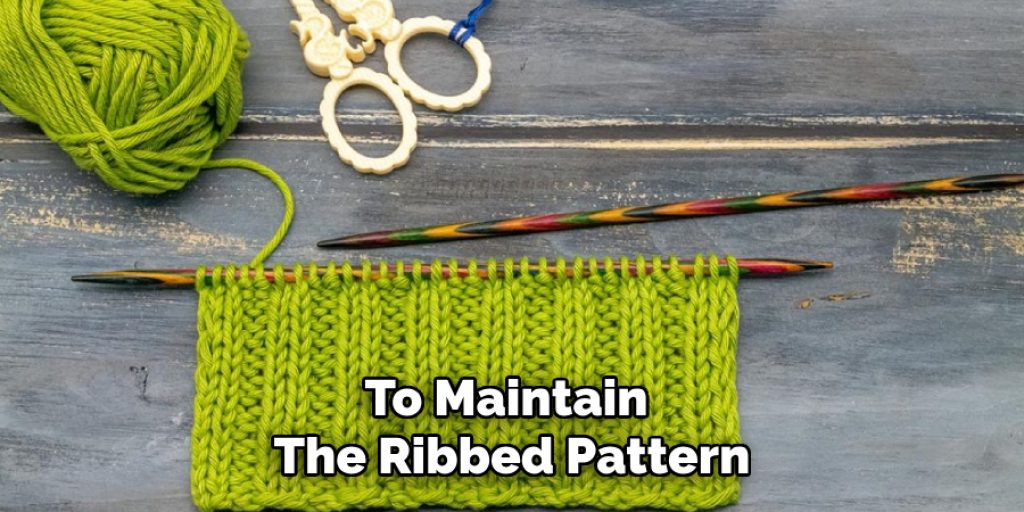
To maintain the ribbed pattern, you will need to alternate between knit and purl stitches in each round. However, for subsequent rounds, make sure to knit any knit stitches you encounter and purl and purl stitches.
This process creates columns of knit stitches that appear raised against the background of purled stitches. It’s essential to keep track of your stitches and use stitch markers if necessary to avoid making mistakes or losing count.
Step 4: Choosing a Ribbing Pattern
The basic ribbing pattern is a 1×1 rib, where you alternate one knit stitch with one purl stitch. However, there are various ribbing patterns you can experiment with, such as the 2×2 rib (two knit stitches followed by two purl stitches) or the seed stitch (alternating knit and purl stitches within each round). Choosing a ribbing pattern adds interest to your project and allows you to play around with texture.
It’s also essential to consider the stretch and tension of your chosen ribbing pattern. A 1×1 rib will provide a tighter fit compared to a 2×2 rib, for example.
Step 5: Knitting in the Round vs. Flat
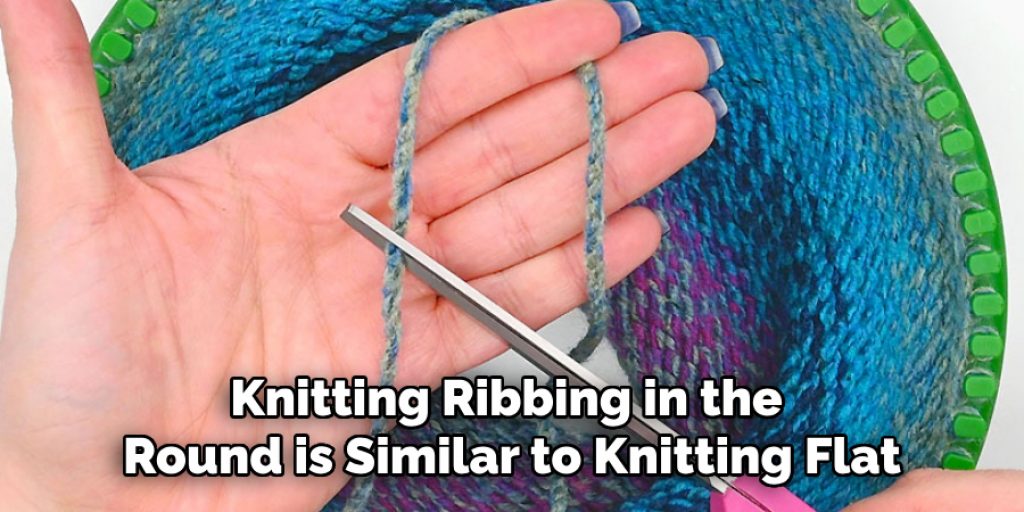
Knitting ribbing in the round is similar to knitting flat, except you are working in a continuous spiral without turning your work. This means that all knit stitches will be knitted and all purl stitches will be purled – no need to switch between knit and purl rows. This makes ribbing in the round a faster and more efficient method, compared to knitting flat and then seaming the edges together.
It’s also worth noting that ribbing in the round can be used for non-circular projects, such as scarves or blankets. In this case, you would knit back and forth on circular needles instead of joining in a round.
Step 6: Knitting with DPNs or Circular Needles
When using double-pointed needles (DPNs) for ribbing, divide your cast on stitches evenly between three or four needles. The fourth needle will be used to work the stitches while the other needles hold them in place.
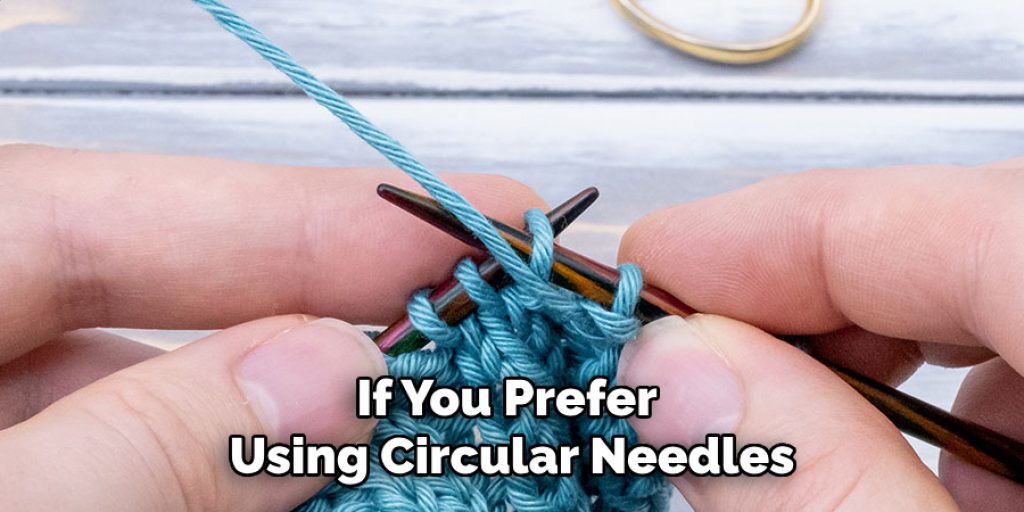
If you prefer using circular needles, start by casting your desired number of stitches onto one end. Keep working in a spiral without turning your work until you reach the desired length of ribbing. For larger projects like sweaters, you may need to switch to the Magic Loop method with a longer circular needle.
Step 7: Cast Off
Once you have reached the desired length of ribbing, it’s time to cast off. Knit the first two stitches together (K2tog) and pass the resulting stitch back onto your left needle. Repeat this process until you reach the end of the round, ending with one stitch remaining on your right needle. Cut the yarn, leaving a tail, and pull it through the last stitch tightly. Weave in any loose ends.
Congratulations! You have now learned how to knit ribbing in the round. This technique can be used for various projects such as hats, socks, cuffs, and more. Experiment with different yarns, needle sizes, and ribbing patterns to create unique and personalized designs. Happy knitting!
Additional Tips and Tricks
- When using DPNs or circular needles for ribbing, it’s important to ensure that the stitches are evenly distributed to avoid any ladders or gaps in your work.
- To make your ribbing stand out more, you can use a smaller needle size for the first few rounds and then switch to a larger size for the remaining rounds. This creates a slightly gathered effect at the bottom of your ribbing.
- If you’re new to knitting in the round, it’s helpful to practice on a smaller project, such as a hat or wrist warmer, before attempting larger projects like sweaters or blankets.
- Remember to always knit with the yarn at the back of your work for knit stitches and bring it forward for purl stitches. This helps maintain an even tension throughout your ribbing.
- Blocking your ribbing can help even out any tension issues and make your stitches look more uniform.
Happy knitting!
Frequently Asked Questions
Q1: What is the Difference Between Knitting in the Round and Flat?
A1: Knitting in the round involves working continuous rounds without turning your work, allowing for a seamless piece, while knitting flat requires turning your work at the end of each row, creating a need for seaming or finishing edges.
Q2: Can I Use a Ribbing Pattern for Non-Circular Projects?
A2: Yes, ribbing patterns can be used for non-circular projects such as scarves or blankets. In this case, you would knit back and forth on circular needles instead of joining in the round. However, keep in mind that your gauge may differ when using different techniques and needle sizes.
Q3: How Do I Know Which Cast Method to Use for Ribbing?
A3: It’s best to choose a stretchy cast-on method such as the long-tail or twisted German cast-on, for ribbing projects to ensure flexibility and elasticity in your work. However, the specific cast-on method may also depend on the ribbing pattern you choose. Experiment with different methods to find the best fit for your project.
Conclusion
In conclusion on how to knit ribbing in the round, mastering ribbing techniques in knitting opens up a world of creative possibilities for enhancing your projects. By understanding the various patterns, methods, and tips provided, you can create versatile and stylish ribbed edges that improve both fit and aesthetics. Whether you choose to knit in the round or flat, using DPNs or circular needles, each technique brings its unique advantages. Keep practicing and experimenting with different yarns and stitch patterns to find what works best for you. Happy knitting, and may your ribbing projects be both enjoyable and fulfilling!
Elizabeth Davis
Elizabeth is a creative writer and digital editor based in the United States. She has a passion for the arts and crafts, which she developed from a young age. Elizabeth has always loved experimenting with new mediums and sharing her work with others. When she started blogging, she knew that DIYquickly would be the perfect platform to share her tutorials and tips. She's been writing for the blog from the beginning, and her readers love her helpful advice and easy-to-follow instructions. When she's not writing or editing, Elizabeth enjoys spending time with her family and friends.


