
How to Make a Balloon Sculpture Frame
If you’re looking for a unique way to display your balloon sculpture, a frame might be the answer. This blog post will teach you how to make a balloon sculpture frame using PVC pipe and connectors. Balloon sculpture frames are easy to construct and customized to fit any size sculpture.
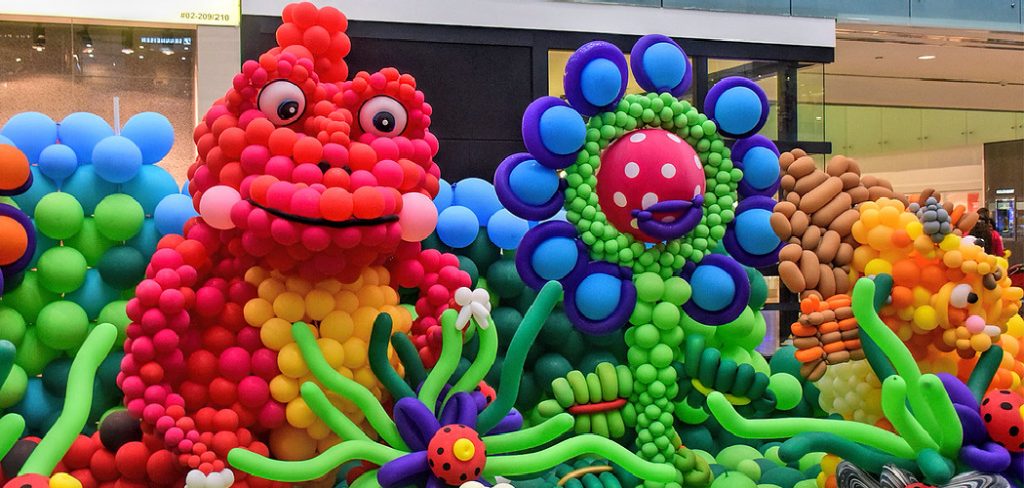
You may be surprised at how much you enjoy working with balloon sculpture frames! You can use any size pipe and connectors that you like, but we recommend using 3/4-inch pipe and connectors for medium to large sculptures. So gather your materials, and let’s get started!
10 Easy Ways on How to Make a Balloon Sculpture Frame
1. Tissue Paper:
To make a balloon sculpture frame for your art, you will need many balloons and tissue paper. To get started, blow up one balloon and tie it off. Next, wrap a sheet of tissue paper around the neck of the balloon so that it is tight enough to stay on its own but not so tight that it breaks the balloon when you unwrap it.
Finally, make sure there are no spaces between the tissue paper and around the neck of the balloon, or else it won’t hold.
2. Bubble Wrap:
Blow up two balloons and tie them off. Next, wrap a sheet of bubble wrap around the neck of one balloon so that it is tight enough to stay on its own but not too tight that it breaks the bubble wrap. Make sure there are no gaps between the bubble wrap and around the neck of the balloon, or else it won’t hold.
3. Duct Tape:
To make a balloon sculpture frame for your art, you will need lots of balloons and duct tape. Start by blowing up six small balloons and tying them off. Next, take two pieces of the duct tape and stick them side-by-side onto each other’s sticky sides (this way, when you stick them together, they won’t come unstuck).
Then lay the third piece of duct tape sticky-side up on the table and put the two duct tape pieces from before on top of that. After that, fold the duct tape you just made in half and stick it to another balloon. Then open up the duct tape and put a piece of tissue paper inside before closing it again and sticking it to another balloon.
4. Beads & String:
Fill your balloon with beads of various colors. Then tie the end of the string to something sturdy, like a wall or chair leg. Let the string hang down, and the beads fall, creating a hanging sculpture. (The more complex you blow up the balloons, the fewer they can hold).
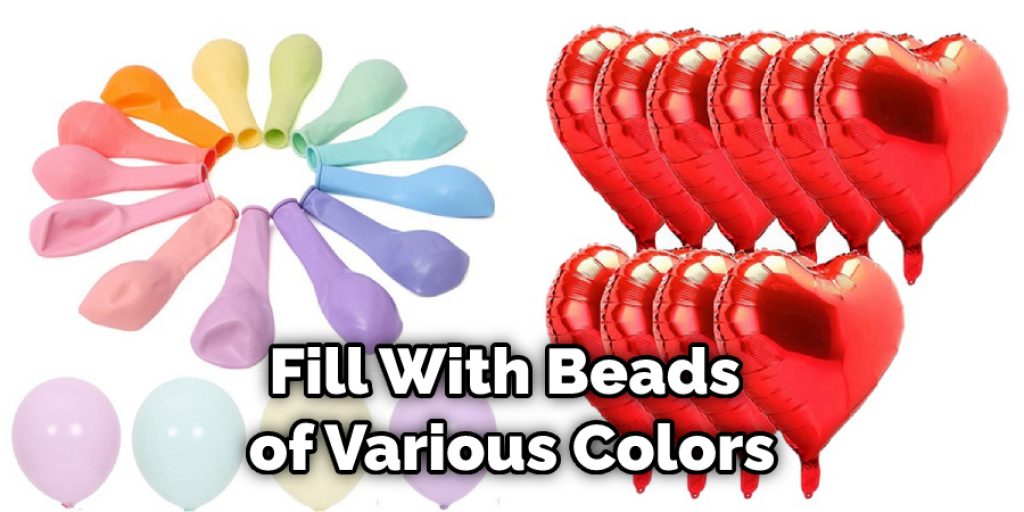
You can make these interesting sculptures by filling your balloons with varying amounts of air. Then tie the strings of varying lengths to something sturdy, like a wall.
5. Picture Frame:
Blow up two medium-sized balloons and tie them off. Next, wrap tissue paper around one balloon so that it is tight enough to stay on its own but not too tight that it breaks the tissue paper when you unwrap it.
Make sure there are no gaps between the tissue paper and around the neck of the balloon, or else it won’t hold. Next, stick another sheet of tissue paper on top of that one to overlap with the first layer about halfway.
6. Cotton Balls & Glue:
When you make a balloon sculpture frame for your art, don’t forget to use cotton balls and glue to hold the balloons! You can start by blowing up four small balloons and tying them off. Next, take two pieces of duct tape and stick them side-by-side onto each other’s sticky sides.
Then lay the third piece of duct tape sticky-side up on the table and put the two duct tape pieces from before on top of that. After that, fold the duct tape you just made in half and stick it to another balloon. Then open up the duct tape and put a cotton ball in between before closing it again and attaching it to another balloon.
7. String & Popsicle Sticks:
To make a balloon sculpture frame for your art, you will need many strings and popsicle sticks. Start by blowing up four small balloons and tying them off. Next, take two pieces of string and tie them together. Now tie one end of the string to something sturdy, like a wall or chair leg. Let the string hang down and connect the other end to a popsicle stick.
8. Sticks & Rubber Bands:
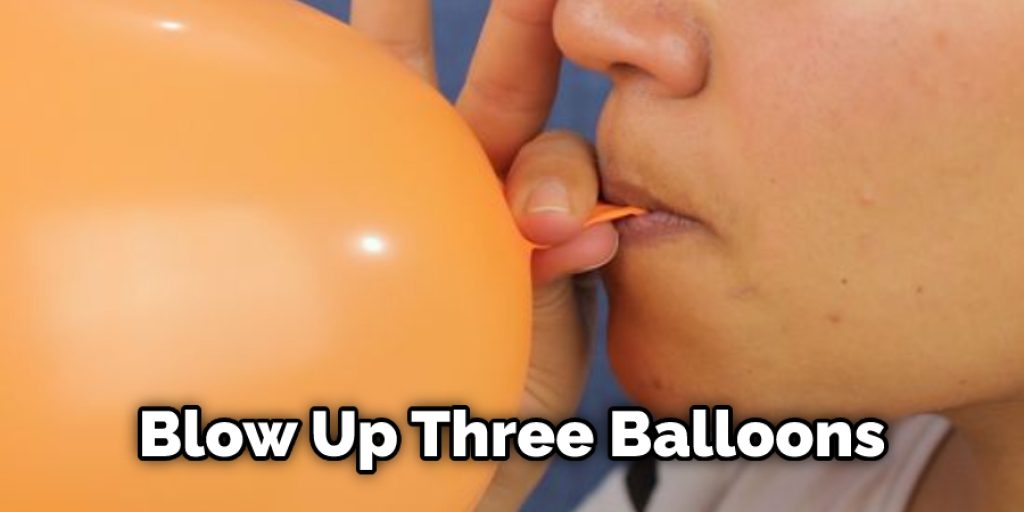
To make an interesting sculpture, first blow up three balloons of different sizes and attach them with rubber bands, making sure the knot is small enough to not show through the balloon.
Next, stick a bunch of popsicle sticks into the rubber bands. Then separate the three balloons and stick them back together with more rubber bands, making sure you leave enough space to stick in more popsicle sticks. Keep adding popsicle sticks until it reaches your desired height.
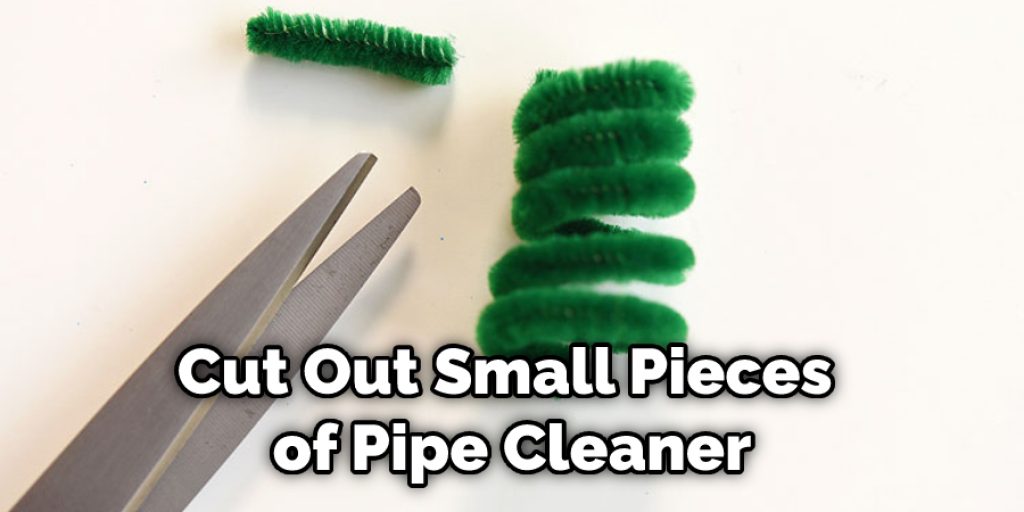
9. Pipe Cleaners & Scissors:
Cut out small pieces of pipe cleaner and twist them into a circle. Don’t worry about making these perfect; try to get the same length from each one. Then glue all of the circles together until it forms a ball.
10. Paper Clips & String:
To make a balloon sculpture frame for your art, you will need many paper clips and string. You can start by blowing up two balloons and tying them off. Next, take a piece of string and tie it to each balloon so that the string is about 12 inches long.
Then take another piece of string and tie it to the first string so that you have room to work with it. Now tape a paper clip to the top of the string and tie another piece of string onto the knot to reach about 12 inches.
Some Tips and Suggestions
Here are some tips and suggestions on how to make a balloon sculpture frame.
1. If you are making a sculpture for someone else, let them know the dimensions to help guide your work.
2. If you dislike tying knots, try cutting small holes in the rubber where you want to place each knot. Then push the knot through the hole before pulling it tight. It may take some practice to do well, but perseverance should win out.
3. If you do a lot of balloon twisting, it is probably cheaper and easier to use thin wire to connect pieces. I have often glue-gunned some pieces together instead of trying to find string or fishing line that matched the color of my balloons.
4. Many new sculptors try to make their balloons stick together by using lots of glue. Remember that the more glue you use, the less flexible your sculpture will be. Perhaps try certain coating spots, to begin with, and let dry completely before doing others. You don’t want it to get too dry or hard while working on it that you can’t adjust things easily.
5. If you are sculpting for an event or party, think about what might happen when you set up your sculpture. If it is indoors, the air conditioning may have a drying effect on the balloons and lose their shape. But, if you are outside in the hot sun, they may get over-inflated.
6. If you are trying to make a standing sculpture or animal that will need to stay up all by itself, use a string or fishing line for the bottom two rows of balloons to provide extra support. Make them different colors than your main sculpture, so it is easy to see which balloons are attached.
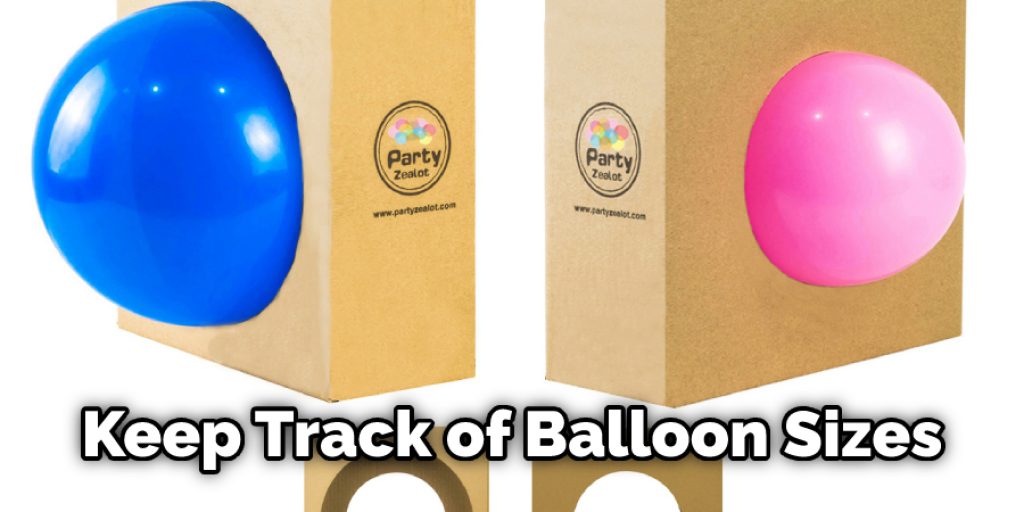
7. Keep track of your balloon sizes if you are using them in several different sculptures or for other projects, such as garlands. You may have something that you think should work well, but it turns out to be just a little too small or large.
How Long Will Balloon Arches Last
Balloon arches are safe and cost-effective. Balloon arches will remain intact for about four days but can last up to one week if the weather is nice and not too windy. If there is a slight breeze or windy, balloons may pop sooner than they would on a calm day. Balloons that aren’t popped won’t deflate right away either. As long as the balloons stay inflated, they will look great for your event.
Conclusion
A balloon sculpture frame is a great way to turn any party into an event. It’s easy to make and doesn’t require much more than balloons, tape, wire hangers or clothespins, string, scissors, and some time! It may seem like making a balloon sculpture frame is an arduous task, but we assure you it can be done in just a few hours and with minimal supplies.
The steps mentioned in this blog post will give you the tools to turn any event into a fun, memorable experience for both children and adults alike. In addition, these will make your finished product look even more stunning! So we hope this blog post on how to make a balloon sculpture frame has been helpful. If you have any questions or want to know more, then feel free to comment below!


