
How to Make a Belt Into Handcuffs
There are all sorts of creative ways to make handcuffs, and this is one of them. This accessible article will show you how to make a belt into handcuffs in just a few minutes. With just a few basic supplies, you can easily create a set of functional handcuffs that will help you get out of any tricky situation. So, whether you’re looking for a fun project or an emergency backup plan, be sure to check out this DIY article!
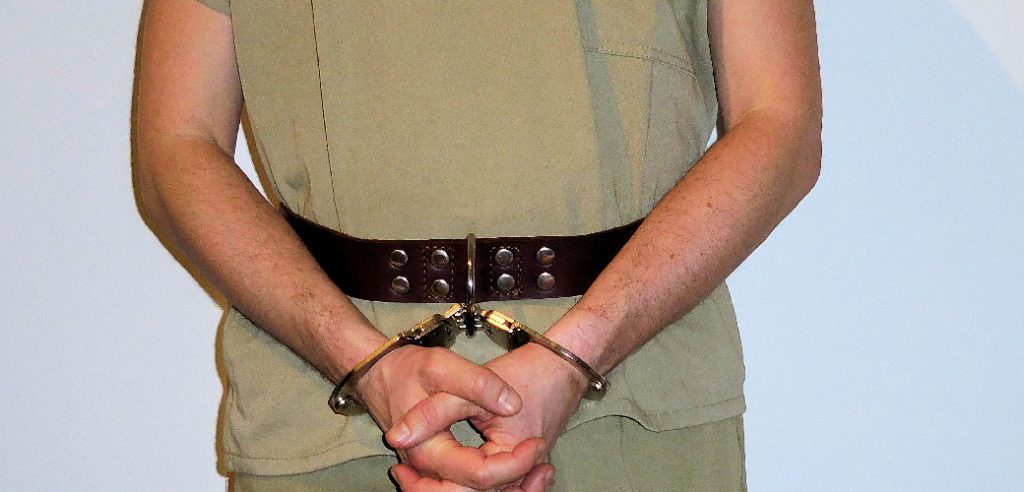
We all know that belts are a great way to keep our pants up, but did you know that they can also be used to restrain someone? That’s right, with a little bit of creativity, you can easily turn a belt into a set of handcuffs. And while this may not be the most traditional use for a belt, it can certainly come in handy in a pinch. So, if you’re ever in a bind and need to restrain someone quickly, give this method a try!
A Detailed Guide on How to Make a Belt Into Handcuffs
Method 1: Using a Regular Belt
When you would like to make a belt into handcuffs, the first step is to find a regular belt. It is best if the belt is made of sturdy material such as leather or cloth. You will also need two metal D-rings, which can be found at most hardware stores.
What You’ll Need:
- A regular belt
- Two metal D-rings
- Needle and thread (optional)
Step 1: Determine the Length
The first step is to determine the length of the belt. You will need to measure from the tip of the belt to the end of the buckle. Once you have chosen the size, add six inches to this measurement. This extra length will be used to create the loops that will go around your wrists.
Step 2: Cut the Belt
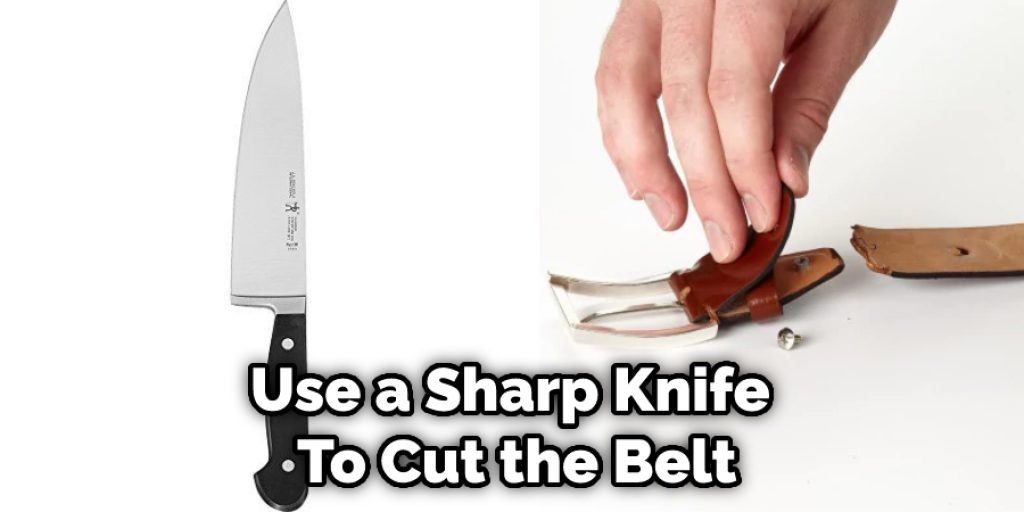
After you have determined the correct length, use a sharp knife or scissors to cut the belt at this point. Make sure that you cut through both layers of the belt so that you have two separate pieces.
Step 3: Punch Holes
Next, you will need to punch holes at each end of both belt pieces. These holes should be large enough to fit the D-rings through. Again, you can use a sharp knife or a hole punch to make the holes.
Step 4: Attach D-Rings
Now, it is time to attach the D-rings. First, thread one end of each belt piece through a D-ring. Then, fold the end of the belt over and sew it in place. You can also use glue or a hot glue gun to secure the D-ring.
Step 5: Wear It!
Your new belt handcuffs are now ready to use! To put them on, thread the loose ends of the belts through the D-rings on the other end. Once tight enough, you can loop the excess belt through the D-ring on your wrist to keep them in place.
Method 2: Using a Ratchet Belt
If you would like to make a belt into handcuffs, but you don’t have a regular belt, you can use a ratchet belt instead. Ratchet belts have a mechanism that allows you to adjust the tightness of the belt, which will come in handy when you’re trying to make handcuffs.
What You’ll Need:
- A ratchet belt
- A pair of pliers
Step 1: Before You Start
Ensure that no one is wearing the ratchet belt before you begin. If the belt is being worn, it could be uncomfortable for the person wearing it if it is tightened too much.
Step 2: Loosen the ratchet
Start by loosening the ratchet on the belt. You can do this by using a pair of pliers to pull on the ratchet lever. Once the lever is released, you should be able to slide the ratchet out of the belt.
Step 3: Remove The prong
Next, use your pliers to remove the prong from the end of the belt. The prong keeps the ratchet in place, so removing it will make it easier to work with the belt.
Step 4: Cut The belt
Now, you’ll need to cut the belt to the desired length. How long you make the belt will depend on how big your hands are and how much slack you want in the handcuffs. Once you’ve cut the belt, use your pliers to put the prong back in place.
Step 5: Tie The ends together
Tie the two ends of the belt together, ensuring that the ratchet is on the inside of the knot. You can now adjust the tightness of the handcuffs by pulling on the ratchet lever. When you’re finished, replace the lever to keep the handcuffs secure.
Method 3: Using a Latex Belt
Latex is a type of rubber often used in medical and industrial settings. It is also used to make some types of clothing, including belts. A latex belt will be stronger than a regular belt, and it will not break as easily. This makes it a good choice for making handcuffs.

What You’ll Need:
- A latex belt
- A sharp knife
- A lighter
Step 1: Choosing a Latex Belt
When selecting a latex belt, it is essential to choose one made from thick latex. Thin latex belts will not be strong enough to hold someone securely. The belt should also be wide enough to comfortably go around the person’s wrists.
Step 2: Cutting the Belt
Use a sharp knife to cut the belt into two pieces, each long enough to go around the person’s wrist. Cut the belt at an angle so that the two pieces will fit together snugly when wrapped around the wrist.
Step 3: Heating the Belt
Use a lighter to heat the end of one of the pieces of latex belt. Hold the heated end of the belt against the unheated end of the other piece of belt. The heat will cause the two pieces to fuse together.
Step 4: Wrapping the Belt Around the Wrist
Wrap the belt around the person’s wrist, ensuring that the fused end is underneath. Pull the belt tight so that it is snug against the skin. The tighter the belt, the more secure it will be.
Now you have a makeshift handcuff made from a latex belt! This type of handcuff will be strong and difficult to escape from.
You Can Check It Out To Tie Rope Handcuffs
Tips and Warnings:
Tips:
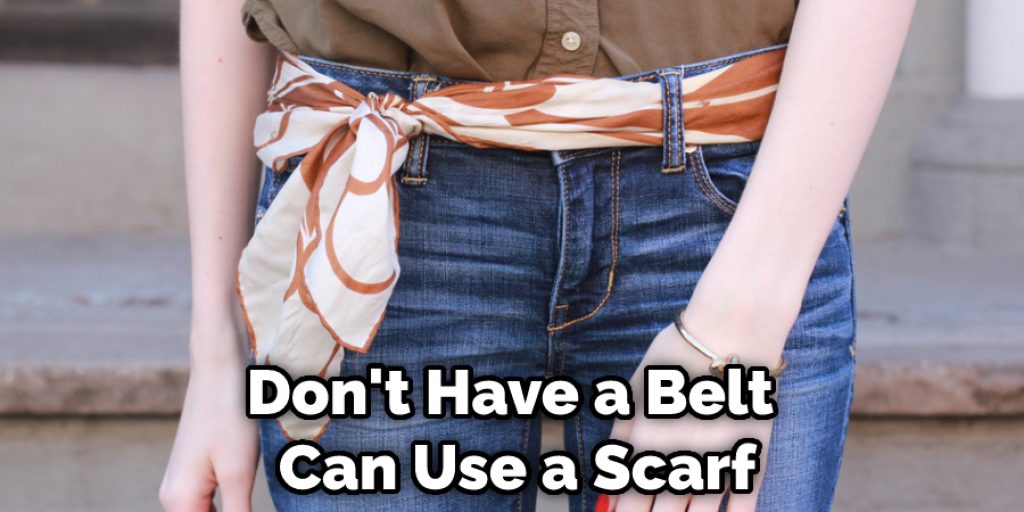
If you don’t have a belt, you can use a scarf, tie, or even a pair of pantyhose. Just be sure that whatever you use is strong enough to support your weight.
To make your handcuffs more comfortable, consider wrapping them in a soft cloth before putting them on.
If you need to escape from your handcuffs, try using a paperclip or bobby pin to pick the lock.
With a little creativity, anything can be turned into a set of handcuffs! All you need is a little imagination and some sturdy material. So get creative and have fun!
Warnings:
Don’t use handcuffs if you are allergic to metal.
If you are pregnant, have diabetes, or any other condition impairs your circulation, do not use handcuffs.
Do not use handcuffs if there is any chance you will be unable to remove them yourself. If you lose the key, seek medical assistance immediately.
Never leave someone alone who is handcuffed.
Precautions:
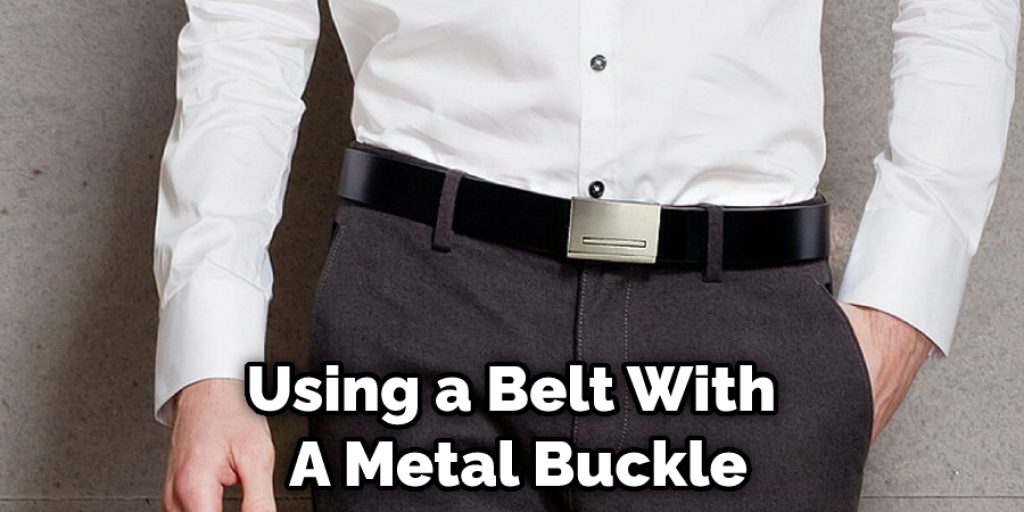
- If you are using a belt with a metal buckle, ensure that the person’s hands are not near their face when you secure the belt around their wrists. The metal could cause serious injury if it came into contact with their skin.
- Make sure that the belt is not too tight. It should be snug but not so tight that it cuts off circulation or causes discomfort.
- If you are using a leather belt, be aware that the edges can be sharp. Wrap the belt in something soft (like a scarf) before securing it around someone’s wrists to avoid cuts or scrapes.
- Check periodically to ensure that the belt has not become too tight and is still comfortable for the person wearing it.
- When you are finished using the belt as a handcuff, carefully undo it to avoid hurting the person’s wrists.
Conclusion:
So there you have ut, how to make a belt into handcuffs. Despite the simplicity of this project, it can be a lot of fun to make and even more fun to use. So get creative with your materials and have some fun making your own set of belt handcuffs. You may just come up with the next great Halloween costume idea. We’d love to hear about it if you have ever made something like this before.
You Can Check It Out To Clean Rusty Handcuffs
Nancy Behan
Nancy is an embroidery artist, fashion blogger and a full time editor at DIY quickly. Nancy edits the fashion section on DIY quickly, focusing on the embroidery and cross stitch articles, alongside with fabric and other costume design elements. She graduated from the University of Michigan with a Bachelor of Arts in Art History. She loves to work on her own projects, read books and watch romantic movies in her spare time.


