
How to Make a Bottle Disappear in a Paper Bag
This blog post will teach you how to make a bottle disappear in a paper bag. It is an easy trick that can be performed on children or adults. You will need three things: an empty paper bag, water, and a clear plastic cup with the bottom cut off. Pour some water into the bottom of the paper bag and put your hand over it so that only two inches of air are left at the top.
Put one end of the cut-off plastic cup in your mouth with both hands on either side like you’re drinking from it, then place it inside the open end of the paper bag with your head sticking out through one side. Next, place the bottle over your fingers and put the second bag around both hands. Wait for someone to come nearby, then quickly light the rag on fire and throw it into the bag!
12 Steps to Follow: How to Make a Bottle Disappear in a Paper Bag
Step 1:
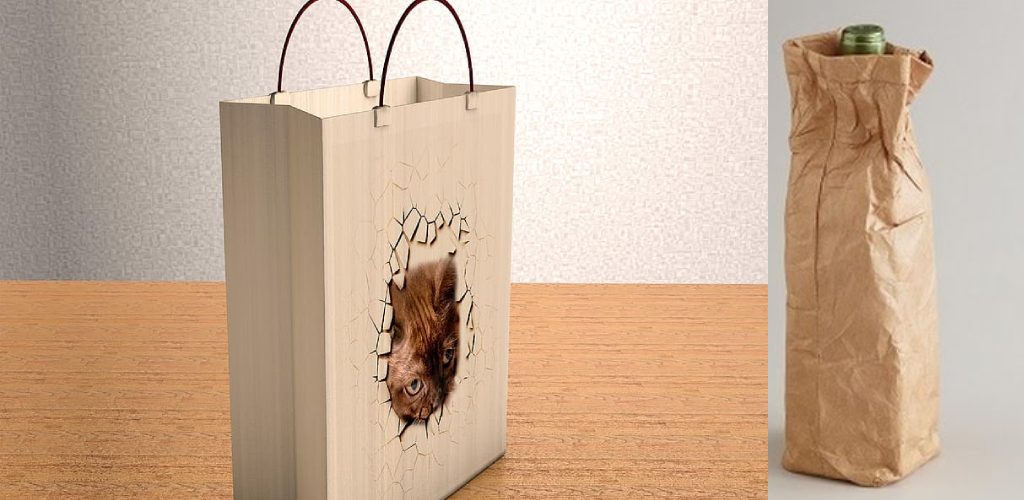
Roll the paper bag a long way and place the bottle in the center of it. Fold the top of the paper bag over the bottle, keeping it as close to one end as possible. If your bottle is big enough, try putting its neck protruding from a hole cut at the bottom corner of the folded opening. Repeat the above three times, and the bottle should be safely hidden.
Step 2:
- Take a piece of black paper and cut it to fit inside your bag.
- Cut a hole in the center of the paper big enough for the bottle’s neck to fit through.
- Push the bottle through the hole so that the neck sticks out of the bag.
- Cut away any excess black paper around the neck.
- Seal up any small cuts at the bottom of the bag.
Step 3:
If you want to carry something still visible to spectators, you can take a piece of white paper and cut it in the shape of your bottle. Next, glue this piece on top of all your other pieces to cover up your bottle completely. At this point, the inside lining should be black paper, and cut a hole just large enough for your bottle to fit through it. If the paper is too big, then you will have to glue or tape it.
Step 4:
To make the bottle invisible but still visible, you can use a box to hide it in with a hole cut out of one end for the bottle’s neck to stick through. Your box must be bigger than your paper bag to not fit onto each other.
Step 5:
Cut another small hole on the side of your paper bag, which is about the same height as the diameter of your bottle. This hole should be cut right at where you would fold over one end of your paper bag.
Place the bottle in the position it will take when you are ready to make it disappear and slide its neck into this small hole at a diagonal angle. Fold over the end of the bag, which will be closest to your body, and prepare yourself.
Step 6:
While carrying your paper bag in one hand, take hold of the bottle’s neck with another hand. Please ensure you are right-handed, so it is easier to turn your left palm over while holding on tight to the bottle’s neck with your right hand.
Your left arm should be bent, and your palm turned upwards at about the height of your hip. With your right hand, grip the bottle firmly and make sure to keep it hidden in the paper bag.
Step 7:
Start walking slowly around with your left arm outstretched. As you walk, lean forward a pinch while still holding tightly onto the neck of the bottle. Keep walking but ensure your actions do not entirely consume you.
For example, if you were walking in a circle, then make sure that your footwork, i.e., the direction in which you aim your feet while walking, is not consistent with how you carry yourself concerning your arm movements.
Step 8:
After this, feign an accident by bumping into an object. This can be a wall, a chair, a person – anything that does not move. If you bump into someone else, they will most likely cease to pay attention to their surroundings and try to contain the “falling” object, which is actually just your bottle being carried in a paper bag.
Step 9:
While feigning your accident, try to keep your left arm in its position. If done correctly, this should conceal the bottle’s neck from where you bumped into things while keeping it visible to a spectator who is watching you directly from behind.
Step 10:
After bumping into something and recovering, take a few steps back and relax your arms. Your left arm should be bent at the elbow with your palm facing upwards while your right arm is straight and holding onto the bottle. To spectators behind you, both arms are relaxed, so they will not suspect that the bending of your left arm earlier concealed something being held by your right hand.
Step 11:
Bend down one knee and hold the paper bag on your bent knee. Next, show your left arm to your audience by holding it up in front of you. The bottle should be concealed underneath your paper bag, resting on top of your bent left leg.
Step 12:
Slide the neck of the bottle into a hole cut on one side of your paper bag. This hole is similar to an arm-hole cutout for a shirt, so the bottle should fit in quite snugly. If done correctly, no one can see the bottle inside your paper bag even though they are looking straight at it.
The secret is that while you were feigning your accident, you were walking slowly around and ensuring that the direction of your left arm’s movements was opposite to that of the bottle.
Conclusion:
This blog post has covered some basics of making a bottle disappear in a paper bag. Many other methods can be used, so please let us know if you have any questions! We hope this information helps your next magic show or trick for kids go off without a hitch.
If not, don’t worry too much! After all, it’s just an illusion, and everyone knows their tricks, but they still love them anyway! Keep practicing new ways to dazzle your audience with illusions like these until perfection is achieved!
Check out our article How to Make a Vest Out of a Paper Bag
Elizabeth Davis
Elizabeth is a creative writer and digital editor based in the United States. She has a passion for the arts and crafts, which she developed from a young age. Elizabeth has always loved experimenting with new mediums and sharing her work with others. When she started blogging, she knew that DIYquickly would be the perfect platform to share her tutorials and tips. She's been writing for the blog from the beginning, and her readers love her helpful advice and easy-to-follow instructions. When she's not writing or editing, Elizabeth enjoys spending time with her family and friends.


