
How to Make a Braided Rug Without Sewing
This blog post will show you how to make a braided rug without sewing. The process is simple, and you can use any yarn that you like. This tutorial was created to help those who do not have access to sewing materials or equipment but would still like to develop their rugs.
Braided rugs are a great way to add texture and style to any room, but they can be an expensive purchase. This DIY tutorial shows you how to make your braided rug without sewing! It also includes an overview of what supplies are needed for this project and some helpful tips along the way. Additionally, images accompany each step so that it’s easier for you to understand what needs doing at every stage in the process. So let’s get started!
Step by Step Guide: How to Make a Braided Rug Without Sewing
Step 1: Gather Supplies
You can use any color of yarn that you want for your braided rug. You will need to purchase several skeins depending on how large you want the finished product to be. A good rule of thumb is half a pound per square foot or 50 yards. If you want a six-by-nine rug weighing approximately five pounds, you will need 15 skeins of yarn. You may also want to add a bit more for worsted weight and stripes.
Step 2: Divide Yarn Into Sections
Divide your yarn into four equal sections with weights in one hand and the remainder in the other. The weight will be distributed from side to side when braiding.
Step 3: Begin Braiding
Take the left section and cross it over the next area, then take the right section and cross it over to meet on top. Continue crossing pieces until you have reached your desired length for a single strand of yarn.
Step 4: Continue Braiding
Continue braiding your four strands until they are as thick as you want the finished product to be. For example, for a 6′ by 6′ rug, you will need at least 18 inches of thickness to create sufficient cushioning.
Step 5: Create Two Strands
Divide your yarn into two sections. Use one section to braid for six inches, then take the other section and fold it in half, so that tucked inside of it is a looped strand. Stick both ends through this loop and pull them out the opposite side.
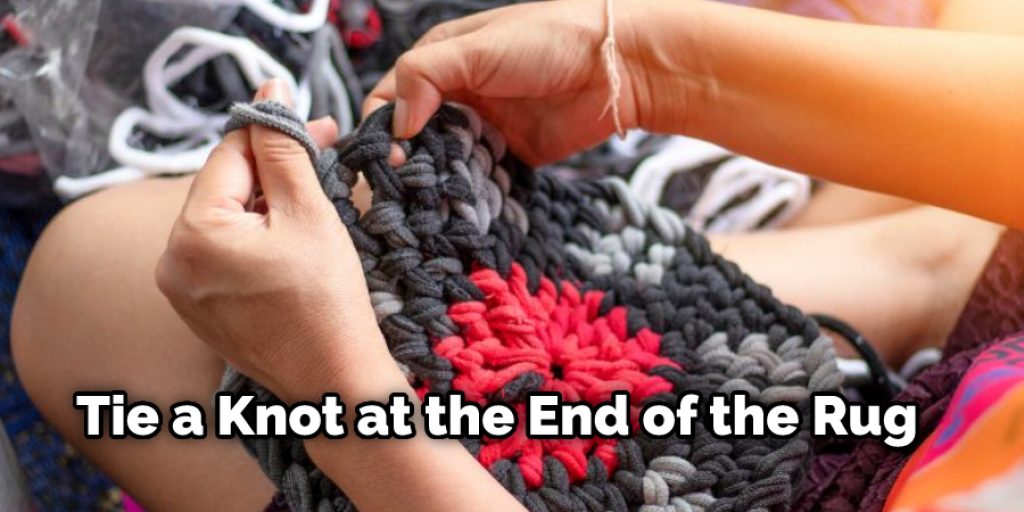
Step 6: Tighten Braids and Knot
Your braiding should naturally tighten up after you have finished creating two strands. If not, use your hands to tighten it further. Once the yarn is tight enough, tie a knot at the end of the rug to secure it in place.
Step 7: Cut Off Excess
Cut off any excess yarn that does not have a loop. Make sure not to cut the knot, as this will unravel your entire rug when you try to remove it.
Step 8: Trim and Clean Up
Trim any excess strands of yarn sticking out, then clean up the edges with scissors to create a nice border.
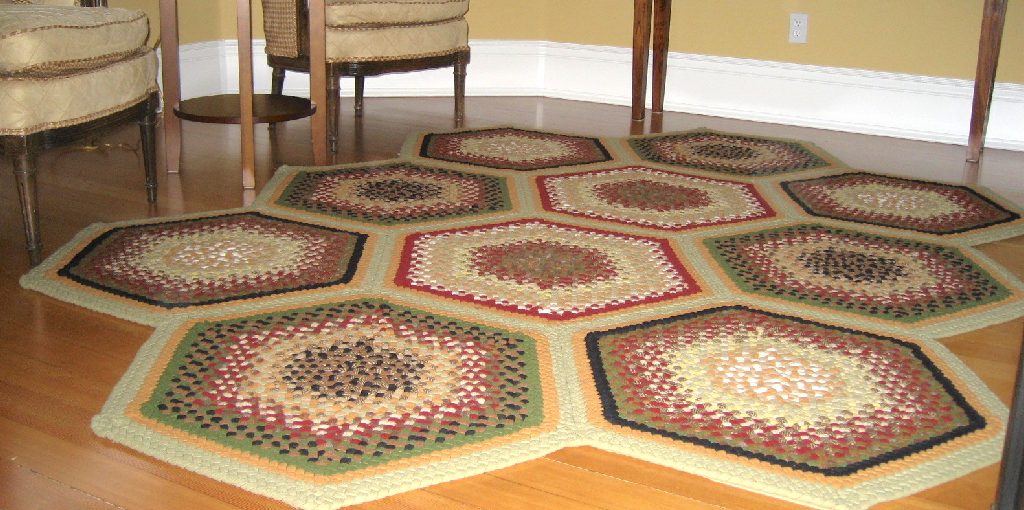
Your braided rug is now complete and ready to use. It can be used as a doormat, an area carpet or floor mat, or simply as an accent piece for your home decor. You can also use this technique with other materials such as ribbons or strips of fabric for a unique look. You can even create custom colors and patterns by mixing yarns.
You Can Check It Out to Crochet a Giant Circular Rug
Some Tips and Suggestions:
- You can braid any length of strips or pieces, but it is a good idea to make them at least an inch wide. Any amount of pieces will work, but I would suggest making between 10 and 25 at a time.
- It is best to use as many different colors as you want in the finished rug, but for beginners, it is best to use four or five.
- Before you start braiding, cut the pieces into a comfortable length for your arms and shoulders to hold while braiding. This is usually around 3 feet long.
- As you braid, pull the strips back and forth on top of each other to tighten up the strip that you braided in the previous step. This will make your finished rug very tight and smooth on one side and loose and bumpy on the other.
- It is best to braid with the bumpy side up. This will give your rug a smooth, finished bottom when you are done.
- If you have knots in your pieces after braiding, just cut them out with scissors. They will not show up in the finished product.
Things to Consider When Making a Braided Rug Without Sewing:

- Always braid the plies to each other and never strand for strand because one will be stronger than the other and break.
- When braiding, keep the ply strands flat and not round or squiggly because it will cause uneven braids that can come apart as you braid.
- It’s best to use a high-quality ply for the entire rug because if one strand breaks, you may have to replace all of them.
- The tighter you braid the rug, the better off you will be in that it will not come loose or unravel as fast as a loosely braided rug.
- When starting to braid, always use the same ply; you will continue for the whole rug because if it breaks, it can stop your progress, and all of them could break.
- When braiding, don’t let one-ply stay loose or not flat, or it can cause a bad spot in the rug that may unravel.
- Make sure you braid tightly and not lose any ply strands because that will cause a bad spot in the rug.
- When braiding, keep checking for any loose ply or loose strands and take it out if necessary before it causes problems in the braid.
Conclusion:
Learning how to make a braided rug can be an enjoyable and rewarding process. In the article, we’ve covered all you need to know about braided rugs. From how they were initially made and their evolution over time to what materials are used for a modern-day rug that will last.
Braided rugs are incredible because they can be customized in any way that you want. Use different yarns or fabric strips, add borders and stripes, mix patterns; the possibilities are endless. We hope you enjoyed this guide on how to make a braided rug without sewing! If you have any questions or would like more information, feel free to reach out to us!


