How to Make a Breastplate Out Of Cardboard
We often come across various costume parties for your children. On some specific occasions, you have to make your kid look different than others. In such cases, you might wonder how to make homemade costumes because these will be more fascinating, and your kid will love to help make his/her costume. Having a breastplate as a consumer will make your kid look like an ancient warrior. For this reason, today, we will discuss a chronological process of how to make a breastplate out of cardboard.
Summary: Making a breastplate out of cardboard is simple and can be done in a short amount of time. All you need is some cardboard, a sharp knife, and a drill. Start by cutting your cardboard into a square shape that will fit comfortably around your chest. Next, use the knife to cut out a hole in the center of the square. Finally, use the drill to make small holes all around the hole in the center. You now have a beautiful breastplate to protect your chest!
Procedure
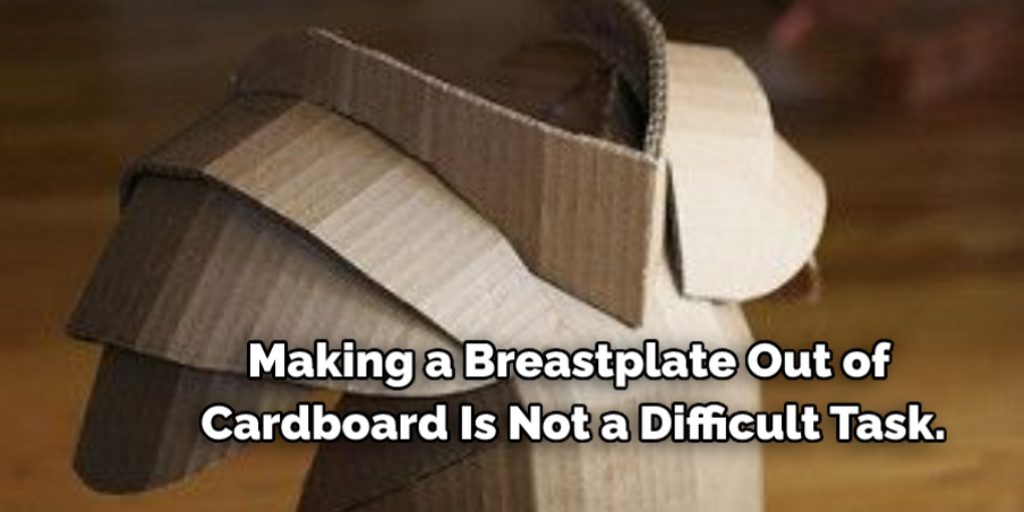
Making a breastplate out of cardboard is not a difficult task. With some everyday items and minimal knowledge, anyone can perform this task. For our readers’ betterment, we are starting the process and all the necessary information you require to accomplish the task. Making a breastplate out of cardboard is not a difficult task. With some everyday items and minimal knowledge, anyone can perform this task. For our readers’ betterment, we are starting the process and all the necessary information you require to accomplish the task.
Step One:
The first step of every process is gathering all the necessary items to make the breastplate. For this, you will need cardboard. This will be the main element of your construction process. Then you will need a cutter and ruler. You will also need a measurement tape, and then you will need some adhesive. We highly suggest a hot glue gun for the adhesive, these are relatively stable, and the breastplate joints will not fall off. Lastly, you will need some colors to give the breastplate a robust look.
Step Two:
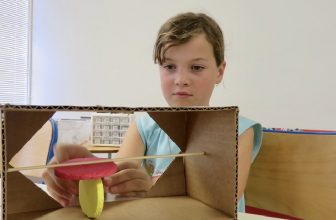
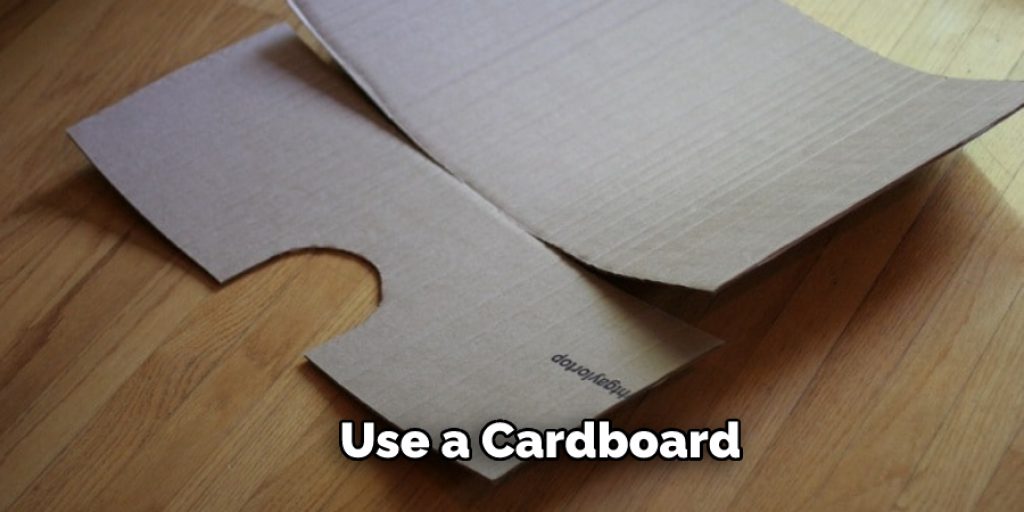
After you have gathered all the necessary elements, you should go for the final work. First, you have to place the cardboard on the floor. You have to make sure that the cardboard is not too thick, and there should be total rigidity in the material. After you have placed the cardboard on the floor, you have to cut it. But before cutting the cardboard, you have to measure the chest and body of your kid. Once you have measured it, you have to start cutting the cardboard.
Step Three:
You have to start by drawing the entire body diagram on the cardboard. For the breastplate, you must keep some space for the head and the arms. After drawing the armor, you must cut through the entire cardboard and remove the piece. Then you have to cut another similar armor-shaped cardboard. After that, you have to cur a separate portion for the shoulder. This will be slightly wide, providing a muscular look to the users. And for the side and waist, you should keep some extensions on the cardboard.
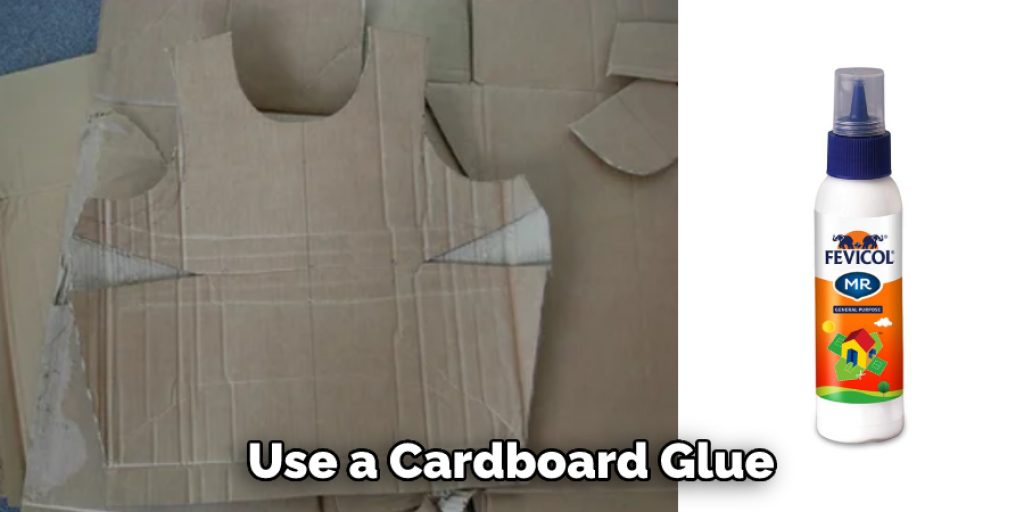
Step Four:
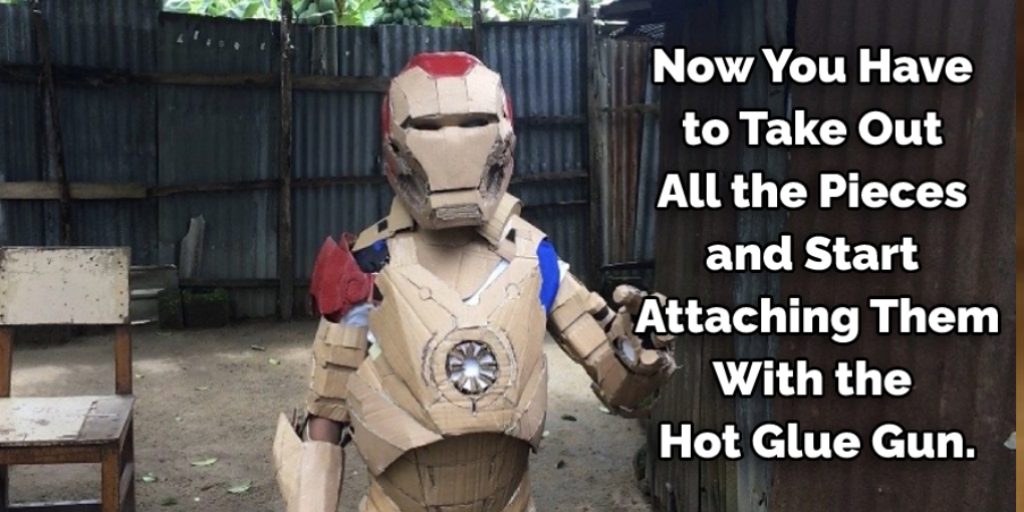
Now you must remove all the pieces and start attaching them with the hot glue gun. You must connect the shoulder patches, and for the side gap, you must use plugs that come with school bags. You can also use D-ring hooks. This will be very effective. Now you have to take the entire cardboard and paint it with silver color to make it look fascinating.
Frequently Asked Questions
How Do You Make a Mandalorian Mask Out of Cardboard?
It is possible to make a Mandalorian mask out of cardboard by following these steps:
1. Cut out the shape of the mask from cardboard.
2. Paint it with black acrylic paint and allow it to dry for 24 hours.
3. Cut out eye holes in the shape of circles and draw lines around them with a pencil or pen.
4. Glue fabric over the eye holes, ensuring they are not too big or small.
5. Add string through the eye holes and tie knots on both sides so that you can wear it like a necklace or use it as a decoration at home or work!
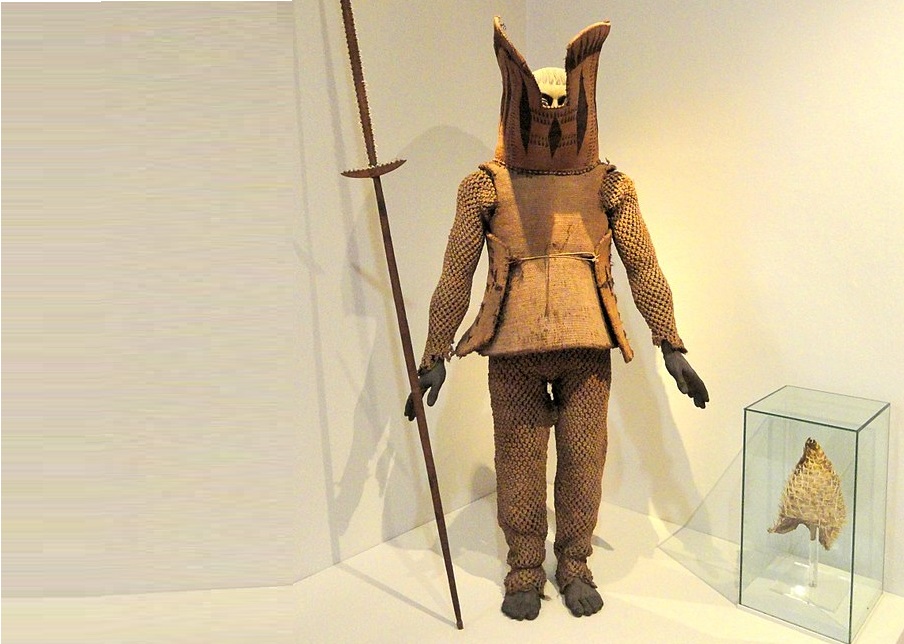
How Do You Make Samurai Armor Out of Cardboard?
To make samurai armor out of cardboard, you need to have a lot of patience and dedication.
First, you will need to cut the pieces of cardboard that will be used for the construction. You can use a knife or scissors for this. Next, you will need to paint the pieces with different colors to look like metal plates. After that, arrange them together in an order according to their size and shape so that they can fit on your body properly. Finally, add all the details, such as creases and folds, using glue or tape, and apply some protective coating before wearing it on your body.
Conclusion
In conclusion, we hope that the process we have stated here will be efficient for making a breastplate out of cardboard. You should check the cardboard properly before buying it, and you should also be careful while cutting the cardboard. Thank you for your time. Have a nice day!
You May Also Read – How to Make a Bow out of Tissue Paper
Nancy Behan
Nancy is an embroidery artist, fashion blogger and a full time editor at DIY quickly. Nancy edits the fashion section on DIY quickly, focusing on the embroidery and cross stitch articles, alongside with fabric and other costume design elements. She graduated from the University of Michigan with a Bachelor of Arts in Art History. She loves to work on her own projects, read books and watch romantic movies in her spare time.