
How to Make a Bunny Tail With Cotton Balls
My kids prefer projects which make it possible for her to perform with adhesive. In the home, we need glue jars, and she likes to get her hands on them anytime she has the opportunity. I figured we should create tiny rabbit bottoms today. This would offer her the chance to use those soft cotton adhesive & enjoy what I just thought she might want.
What you’re going to need:
- Bowl
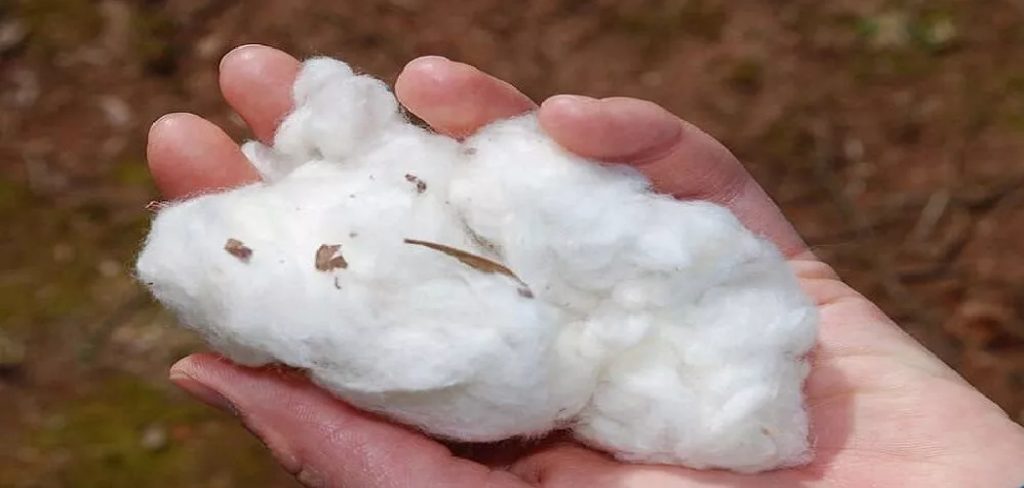
- Balls of cotton
- Adhesive
- Construction paper
Directions:
Type 1:
Attach the balls of cotton all over the cup. Add additional cotton to the center of the rabbit tail composition once you have filled the cup. For feet and toes, take out two ovals. By each paw, slice out a pink circle & 3 circles & then adhere them in position to shape the bunny feet. Cut off the ears & place them in position underneath the bowl. Attach the foot in position and let them dry.
Type 2:
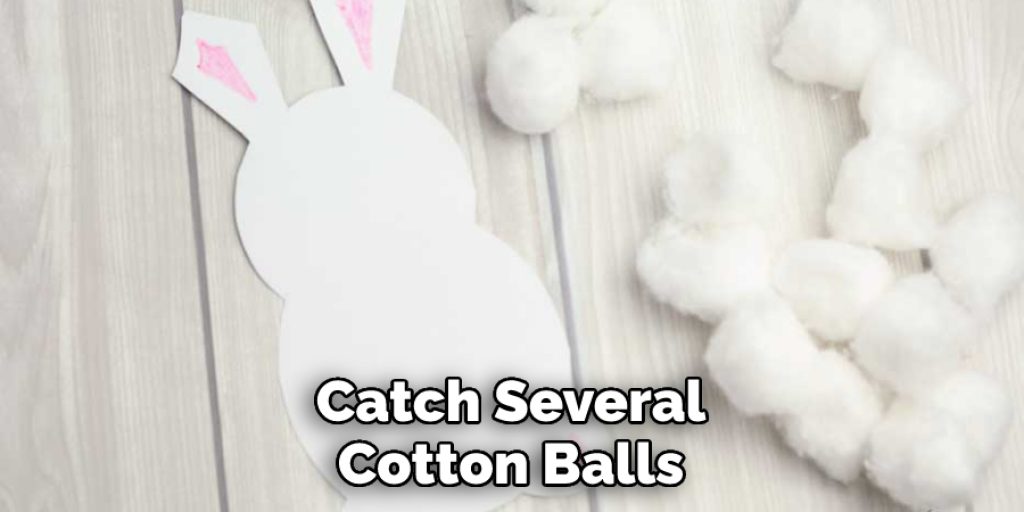
Take a walk in the restroom and catch several cotton balls, bobby pins, another sort of thread, and the glue gun, of course. Slide the rope in part and, at the folding edge, begin to glue the balls around. I started spreading several cotton wool apart because those looked super round and stuck them over the entire cotton wool. It offered it a design that was more even and circular.
Until you’re pleased with the scale, loop the threads across the opening edge of the bobby pin and afterward remove the loose threads (mine was just a little smaller than a baseball). Safeguard yourself well with some adhesive, let everything dry, and later see the adorability occur!
Type 3:
• Create a head for the rabbit. To construct the fluffy rabbit’s head, turn a piece of cotton into a ball.
• Design an ear set. Take out a set of rabbit ears from white cardboard or construction paper. Sketch a large oval in the middle of every ear and paint it inside.
• Paste the ears. Adhesive the paws on the peak of the head of the rabbit.
• Create two tiny ovals of cotton. Adhesive the ovals with cotton from the cotton flecks into a set of tiny oval forms to keep the rabbit’s snout smoother texture. Glue a pair of cotton ovals to the lower portion of the front of the pet. Attach the nose and eyes.
• Attach a set of eyes along with a fuzzy nose. Mentioned here were several products you are using.
• Eyes-eyes wiggle, little pins, crystals, rings of paper, or felt.
• Nose-a small pompom, a circular pin, a button, and paper folded into a little bundle.
• Create a body out of hemp. Getting a block of cotton at a minimum three times bigger than that which you used for the head of the rabbit builds the core. From the cotton into the form of a cloud or circle. Connect the body and head—adhesive the torso to the face.
• Build the tail. Folding a small chunk of cotton into a ball to make a fuzzy rabbit tail. Under the body, add it. Create the feet of a rabbit. Form the wool into four sausage-shaped bits to create the rabbit’s feet. The legs bind.
• Raise the rabbit and attach the bits of sausage-shaped cotton underneath the neck, a couple in front of it to build its front legs, and a couple for the hind legs at the rear. Let the adhesive fully dry. This fuzzy rabbit will be cute company when enjoying a beloved rabbit or Easter tale.
• Since this cotton creature is a little delicate, you could bring it for loads of hours of entertainment and fun in a bit of a container or an egg container part!
You may read also –
Elizabeth Davis
Elizabeth is a creative writer and digital editor based in the United States. She has a passion for the arts and crafts, which she developed from a young age. Elizabeth has always loved experimenting with new mediums and sharing her work with others. When she started blogging, she knew that DIYquickly would be the perfect platform to share her tutorials and tips. She's been writing for the blog from the beginning, and her readers love her helpful advice and easy-to-follow instructions. When she's not writing or editing, Elizabeth enjoys spending time with her family and friends.


