How to Make a Cardboard Haunted House
Are you ready to make your own spooky cardboard haunted house? Then follow these simple steps!
How to make a cardboard haunted house is an engaging and imaginative project that brings the spooky spirit of Halloween right to your home. It is an excellent way to foster creativity and allows for hands-on crafting that individuals of all ages can enjoy. You can transform ordinary cardboard into a spine-chilling abode filled with surprises and eerie decorations using simple materials like cardboard boxes, scissors, and paint.
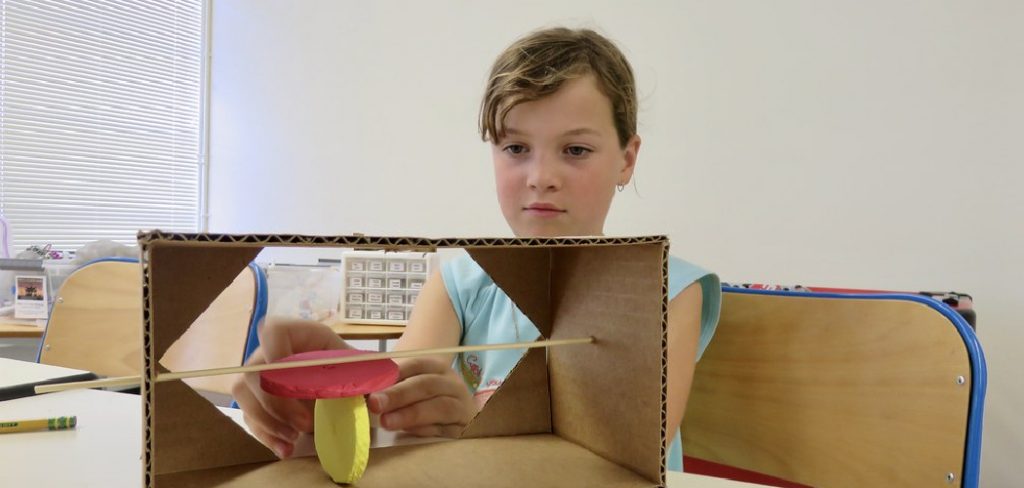
Whether planning to use it for a Halloween party or simply as a fun family activity, this guide will take you through the essential steps to construct your own haunted house, ensuring it’s both a fright and delight for all who dare to enter.
What Will You Need?
Before you begin your project, gathering all the necessary materials is important. Here are some of the basic things you’ll need:
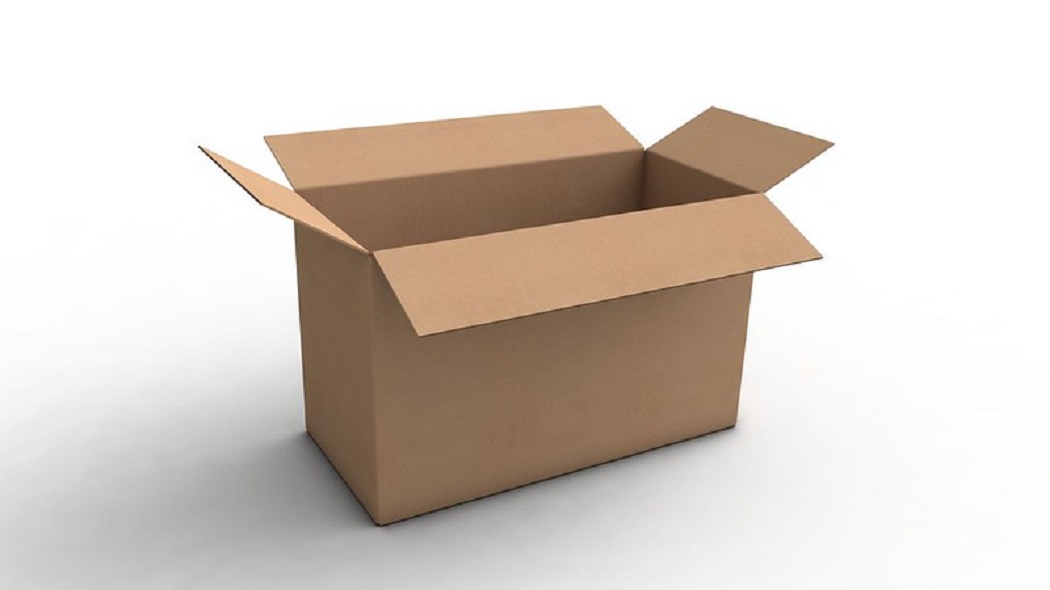
- Cardboard boxes (various sizes and shapes)
- Scissors and/or utility knife
- Tape or glue
- Paints and paintbrushes
- Markers or crayons
- Assorted spooky decorations (such as spider webs, fake spiders, skeletons, etc.)
It’s also a good idea to have some reference images for inspiration, especially if this is your first time making a cardboard haunted house. You can search online for ideas or even look at
10 Easy Steps on How to Make a Cardboard Haunted House
Step 1: Planning Your Design
Before diving into the construction, it’s essential to plan the design of your haunted house carefully. Consider the size and shape you want your haunted house to take and any specific features you’ll include, such as windows, doors, and spooky elements like towers or a roof. Sketch a rough blueprint of your layout on paper to visualize how everything will come together.
Consider the overall theme—will it be a classic haunted mansion, a creepy crypt, or perhaps a whimsical ghosthouse? Don’t forget to incorporate rooms or sections that can surprise and delight, like a secret passageway or a hidden room filled with unexpected decorations. Having a well-thought-out plan’ll ensure that your building process is smooth and that your haunted house turns out just as you envisioned!

Step 2: Gather Your Materials
Once you have a straightforward design, it’s time to gather all the materials you’ll need for your haunted house. Start by collecting cardboard boxes of various sizes, as they will serve as the main structure for your project. Make sure to have a pair of sturdy scissors or a utility knife when cutting the cardboard.
Tape or glue will be essential for securing the pieces together, so keep those nearby. Don’t forget to stock up on paints and paintbrushes to bring your haunted house to life, along with markers or crayons for additional details. Finally, gather an array of spooky decorations, such as spider webs, fake spiders, and skeletons, to embellish your haunted creation.
Step 3: Constructing the Base
With your materials gathered and your design planned, it’s time to start constructing the base of your haunted house. Begin by selecting a sturdy cardboard box to serve as your foundation. This will provide stability to your structure. Use scissors or a utility knife to cut the box to the desired size based on your design. If you want multiple levels or sections, consider using additional boxes stacked on top of one another.
Once the base is ready, securely tape or glue the pieces together, ensuring everything is reinforced to withstand any spooky additions you’ll create. Remember to leave openings for doors and windows as you build, as these will enhance the overall haunted house effect.
Step 4: Creating Walls and Roof
Now that your base is ready, it’s time to create the walls and roof of your haunted house. Start by cutting rectangular pieces of cardboard for the walls according to the height and width specified in your design. Attach these walls securely to the base using tape or glue, ensuring they stand upright and create a solid structure. For added spookiness, consider creating uneven wall heights or angling some walls to give a more eerie, crooked effect.
Step 5: Painting and Decorating
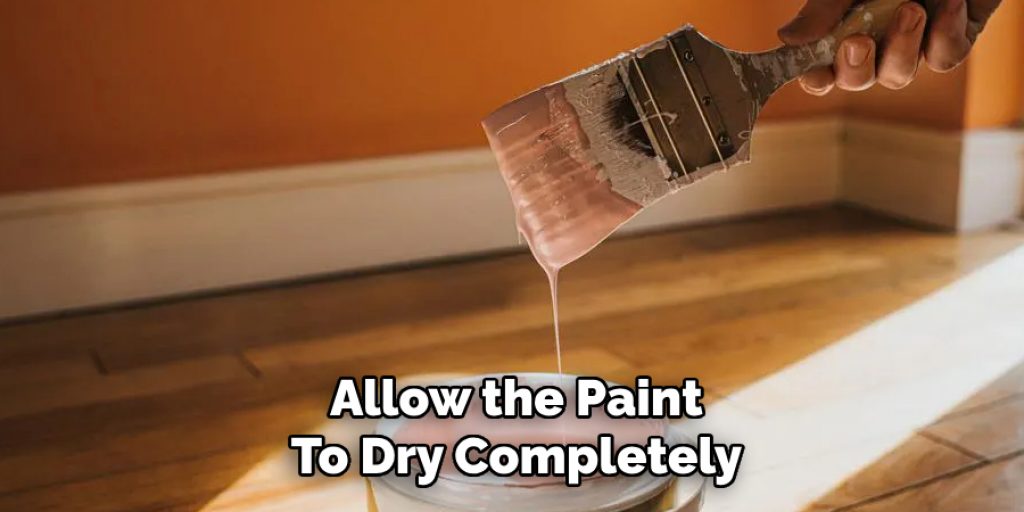
With the walls and roof securely in place, it’s time to unleash your creativity by painting and decorating your haunted house. Begin by applying a base coat of paint to the exterior—choose dark colors like black, gray, or deep purple for a spooky atmosphere, or go for more whimsical hues if you opt for a playful theme. Allow the paint to dry completely before proceeding. Once the base coat is dry, you can add details such as cobwebs, creepy faces, or ghostly silhouettes using paintbrushes or markers.
Don’t forget to personalize your haunted house with the assorted spooky decorations you’ve gathered. Use glue or tape to attach items like fake spiders hanging in the corners, skeletons peeking out of windows, or luminous paint for a glow-in-the-dark effect. The key is to have fun while adding character and charm to your eerie creation!
Step 6: Adding Windows and Doors
Now that your haunted house is painted and decorated, it’s time to add the finishing touches by creating windows and doors. Use a utility knife or scissors to cut out openings for your windows in the walls you previously constructed. You can create various shapes—arched windows for a classic look or jagged openings for a more eerie effect. Consider making doors slightly smaller than your wall cutouts to give a spooky, accessible appearance.
Step 7: Creating Interactive Elements
Consider incorporating interactive elements that will surprise your guests to make your haunted house even more exciting. This could be anything from a door that swings open to reveal something spooky to a hidden compartment where treats can be found. Use lightweight cardboard flaps for doors or panels that can be pushed or pulled. Additionally, think about sound effects—placing small sound boxes with creepy noises inside rooms can elevate the eerie experience. Create a ‘jump scare’ surprise by using a pop-up figure that a hidden string or mechanism can activate.
Step 8: Final Touches and Clean-Up
With all your construction and decoration completed, take a step back and look at your creation. Make any necessary adjustments or additional paint touches to ensure everything looks just right. This is the time to add those last-minute details, such as hanging bats, glowing eyes, or flickering lights. Once satisfied, ensure your workspace is neat and clean up any excess materials. If possible, display your haunted house in a well-lit area where it can be admired by family and friends, sharing the fun and excitement of your project.

Step 9: Showcasing Your Haunted House
After all your hard work, it’s time to showcase your haunted house! Consider organizing a small gathering or Halloween party to invite friends and family to experience your creation. You could even set up a spooky photo booth near your haunted house, encouraging guests to take fun pictures in front of your masterpiece. Alternatively, if you’re creating the haunted house for a school event or community gathering, safely transport it and set it up in advance.
Step 10: Reflecting on the Experience
After the festivities are over, take a moment to reflect on the experience. Think about what you enjoyed most about creating your haunted house, the challenges you faced, and how you overcame them. This is also a great time to document your project through photos or by jotting down notes for future reference. You may discover new ideas for next year’s haunted creation or even inspiration for a different themed project!
By following these steps and getting creative, you can build a unique and spooky haunted house that will be the talk of the neighborhood.
5 Things You Should Avoid
- Using Weak Adhesives: Avoid using glue that isn’t strong enough. Use a reliable adhesive, such as hot glue or strong craft glue, to ensure your haunted house maintains its structure and can withstand handling.
- Neglecting Safety Precautions: Always prioritize safety when working with sharp tools. Use a cutting mat and scissors or a utility knife with caution. If kids are involved, supervise them closely and consider pre-cutting intricate designs.
- Overcomplicating the Design: While creativity is encouraged, avoid overly complicated structures that are difficult to assemble. Keep the design manageable to ensure you stay motivated and finish the project on time.
- Skipping the Weatherproofing: If your haunted house will be displayed outdoors, don’t forget to weatherproof it. Use sealants or waterproof paints to protect your creation from potential rain or moisture that could damage the cardboard.
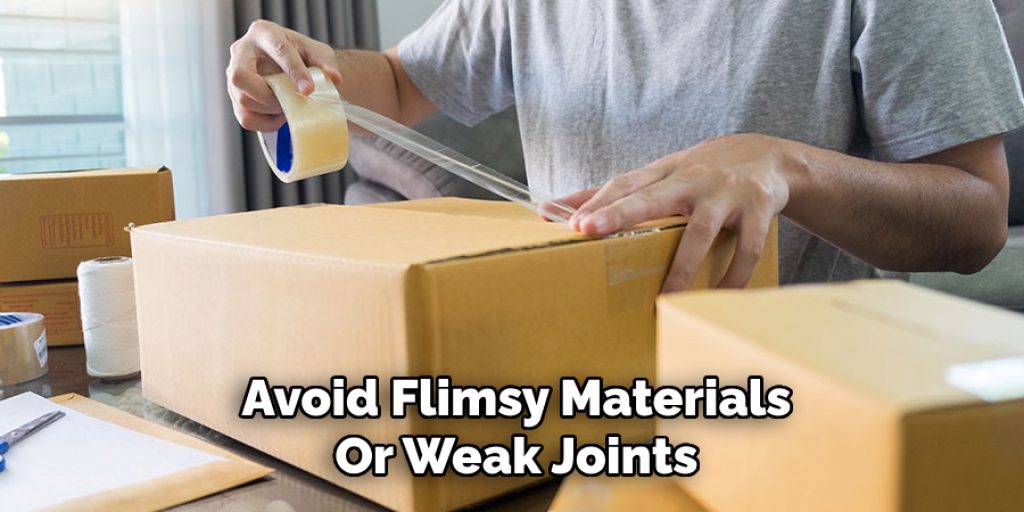
- Ignoring Stability: Ensure the base of your haunted house is sturdy enough to support the walls and roof. Avoid flimsy materials or weak joints that could lead to a collapse. Reinforce key areas where stress might occur, especially if planning for interactive elements.
Conclusion
How to make a cardboard haunted house is not only an engaging craft project but also a wonderful way to foster creativity and bring the spirit of Halloween to life.
By carefully following the steps outlined in this guide—from designing and decorating to adding interactive elements—you can produce a spectacular and spooky display that delights guests of all ages. Remember to remember safety and have fun throughout the process, allowing your imagination to lead the way.
Whether showcased at a party or used as seasonal decor, your haunted house will evoke smiles, laughter, and a hint of fright, making it a memorable highlight of the Halloween festivities!

