
How to Make a Cardboard Tree Prop
Creating paper plants is a perfect means to spend your time or think about plants on a gloomy day. Fortunately, there’s all manner of methods of managing paper plants. The chances are limitless, from pine trees to palm trees! Most of all, you’ll get a lovely plant to show in the playhouse, diorama, or on the desktop until you’re finished.

Summary: Cardboard Tree Prop Making is the perfect way to get them engaged and excited! This simple craft is easy to follow, and you can create a beautiful tree that will be a favorite decoration for any room in your home.
Used stuff:
• With cardboard
• With cardboard
• Colored (green and brown) board
• Décor on Christmas
• Scissors
• Sticky Adhesive
• Cutter for container
• Marker
Instructions:
Type 1:
Fold part of the brown paper and trace amount of the empty tree across the fold. Grab a set of thick brown paper and cut it in half, like cardboard. Create part of the form of a tree all along the edge.
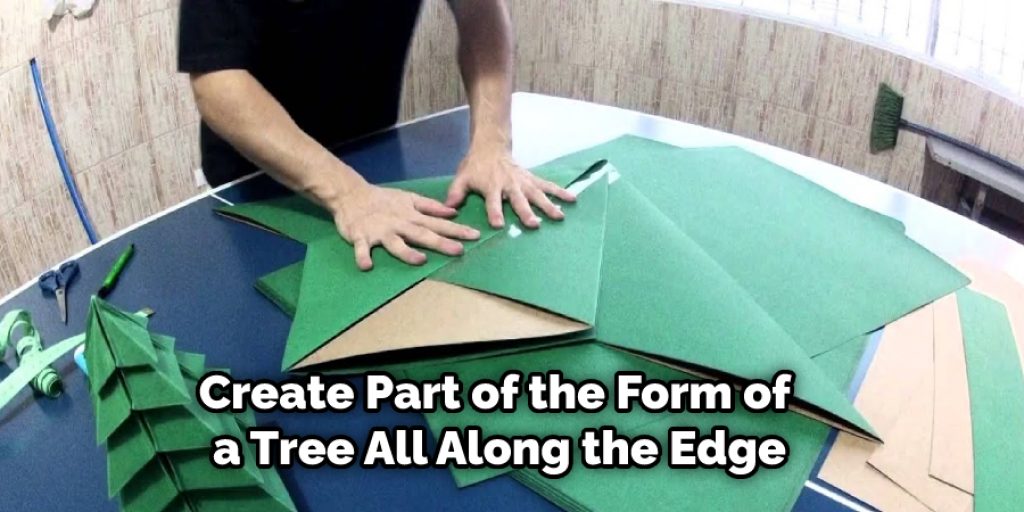
Design a Xmas tree layout on the paper, ensuring that the base, branches, and divisions are included. Do not add the grass. (My design is a rough sketch; suppose that is indeed the signature look besides bad finishing.) By cut to form.
Type 2: Paste the piece of paper utilizing adhesive and continue fixing up and cutting out wood to render the second replica of it. Initially, slice out plants. Pull the second paper of brown paper in part and then outline the folding side of the tree. Also, take out the next tree. You’re going to finish up with two similar tree forms.
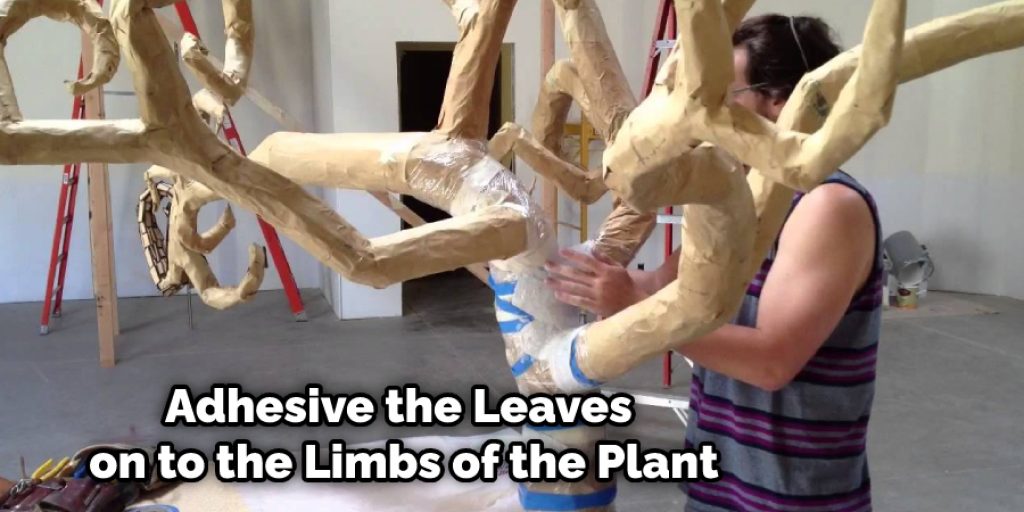
Around 1 of the folding ends, tie the trees around. Keep folding all branches. Uncover the tree, raise it, and let it dry out. Like such a wind, bend a sheet of thin green parchment. Use a board, like toilet tissue or a tea towel, of thin green material. When it is already turned, make a leaf shape out from the fan. Adhesive the leaves on to the limbs of the plant.
Take a creature out of cardboard and, if needed, attach this to the plant. On card stock, sketch a little owl, den, bunny, or squirrel, and cut it off—adhesive the tree with it, next to the roots. Let your tree dry up. The amount of time it takes varies based on the sort of glue you are using. In 1 to 2 hrs, a piece of adhesive dries. Even so, liquid school adhesive could take considerably longer. You’d have to wait for the paper to be dried and no moister.
You May Also Read –How to Make a String Christmas Tree
Elizabeth Davis
Elizabeth is a creative writer and digital editor based in the United States. She has a passion for the arts and crafts, which she developed from a young age. Elizabeth has always loved experimenting with new mediums and sharing her work with others. When she started blogging, she knew that DIYquickly would be the perfect platform to share her tutorials and tips. She's been writing for the blog from the beginning, and her readers love her helpful advice and easy-to-follow instructions. When she's not writing or editing, Elizabeth enjoys spending time with her family and friends.


