
How to Make a Cooler Scooter
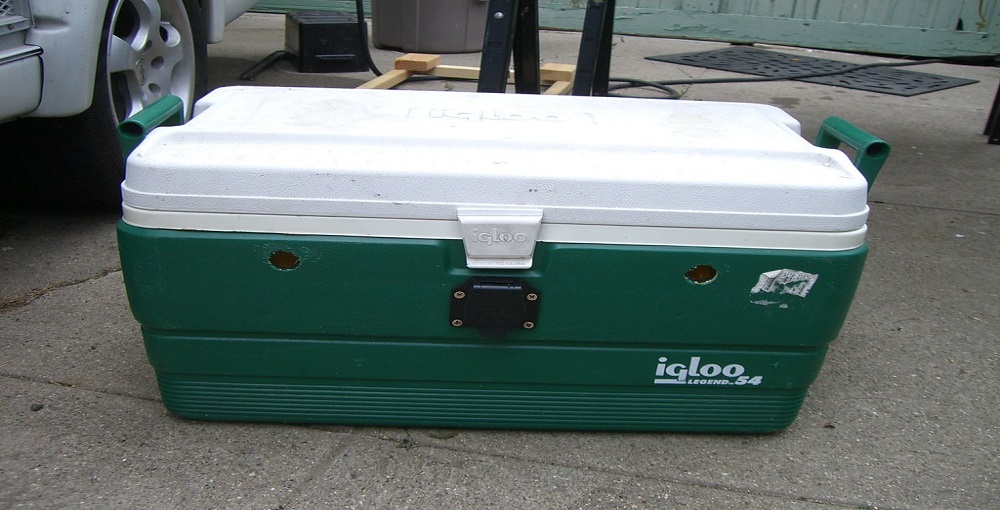
I got bored and wanted to make my baby in the fun scooter. The container, the string connections, the razor scooter, and the glue gun were everything I wanted. By re-using that older beloved cooler and scooter in the rear of the house, you could create one’s cooler scooter. When you plan to reuse old pieces or purchase fresh ones, it’s only a question of mixing two things to bring together a better scooter—Internet study with pre-made cooler scooters.
Look at the cooler accessories included, including weight and form and the frameworks used inside the scooter. You will have to understand the impact of the cooler’s mass — if empty and full — and the consequence, like a driver, of any additional weight.
I created a simple three-dimensional model utilizing solid work software to launch the task. This allowed me to see what materials I might require and if they would go along. Firstly, I suggest taking this move, so when preparing which pieces you initially have to conduct the work, this is a massive benefit. I designed this plan across the 40 “length aluminum scale I got. I then built the concept around scale, so that’s what I made.
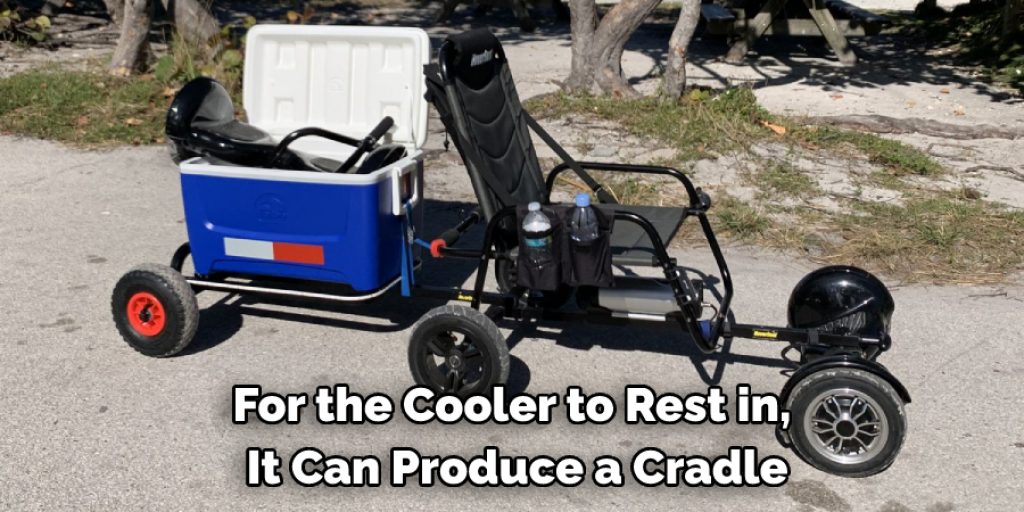
Buy or find a scooter that would be capable of holding the load you want. Buy the cooler and any necessary attachments, such as the wire basket, that will give the cooler a cradle. To modify the completed scooter cooler, buy color decals and textures.
Summary: In this article, we will be showing you how to make a cooler scooter. This is a very easy and fun project that can be done with just a few materials. All you need is a cooler, some duct tape, and some creativity. First, cut a piece of duct tape the same size as the cooler lid. Then, place the lid of the cooler on the duct tape and tape it down firmly. Next, take the scooter handlebars and put them on top of the cooler. Finally, attach the front wheel of the scooter to the back of the cooler. You’re ready to go!
Instructions:
Having a smoother experience with a very well-functioning vehicle would be just as necessary. I built the frame from a sheet of plywood, seating padding, and waterproof vinyl. I inserted carriage screws into the hardboard and stuck my padding onto the board. I then placed the vinyl across the chair and fastened it underneath the sheeting.
Therefore, I attached the cooler cover to the place with soapy water. To protect the workplace surface, I cleaned the scooter and cooler and left them to dry properly. Then, I put out a dropped sheet. I sliced off the logo label on the cooler or sale prices using a sharp knife to aid in cleaning off the residual adhesive or tape.
Sprinkle with a glue remover, then wash with a wet towel and a dry rag afterward. Fill some cooler areas with painting tape or sealed bin bag papers you don’t like to paint. Place on the mask and protective eyewear, and brush on your primary color coating. Enable the painting to dry completely.
Polish on the cooler styles in different shades. Continuing to follow the same measure, wash and color your scooter. To mount the cooler to the scooter, carry out the necessary components.
Tighten the edge railing on the edges of the scooter’s countertop. For the cooler to rest in, it can produce a cradle. You may build the simple framework from a hardboard or welded metal or buy a big bunch of metal and lock it with hooks in position.
Stable loop gaps even at distances on the edges of the cooler. Put the cooler on the vehicle’s worktop. Far below the worktop, extend the bungee straps and mount the hooks. Check the cooler’s durability, and install other rings and strings appropriate to hold the cooler in position. Place your seating area and rear seats, and secure it to the edge of the cooler with your zip ties and clamps.
Use good glue; you may securely mount the seating to the cooler base if you want. Connect the cooler and scooter power cords to the electronic device. For each device, recharge the batteries entirely and attach the required power. Securely out of the path, cable ties cords and strings to get stuck between the tires when working.
And now you get it, a cooler scooter developed! Then you’ll have a nice bike to carry with you to tailgate parties, football matches, gatherings with the community, or just a wonderful thing to drive. Not all specific steps description is instructive, so it’d be quite a long lesson to study.
This would provide a quick rundown of how I built this system and encourage you to construct and expand it or add your little variation to it. Construct it through your chance! Be mindful of the risks of not having sufficient protective devices. While cycling, carry a proper helmet.
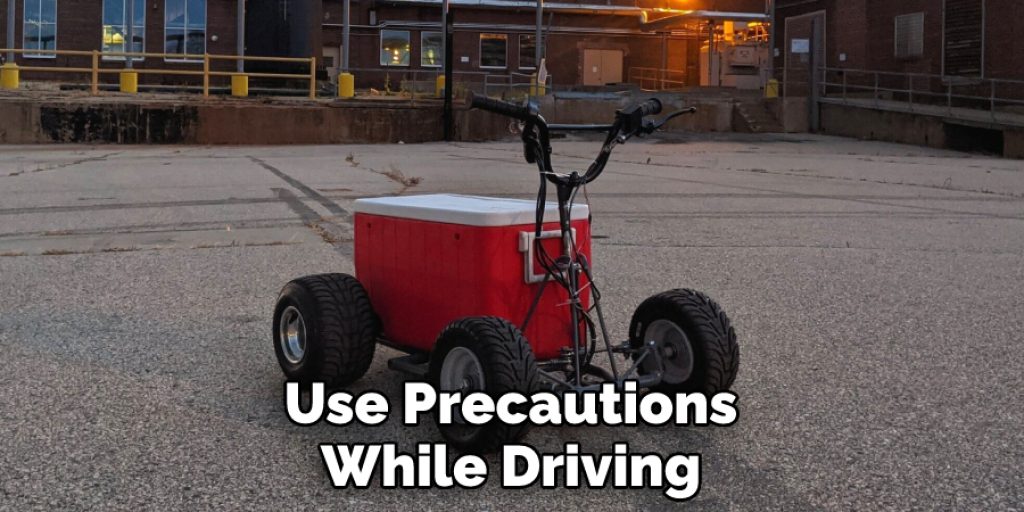
If not treated correctly, this scooter can become very unsafe. Make sure that when building this scooter, you pay attention to that it is secure. This scooter may hit 25 mph speeds, so be cautious and then use precautions while driving. I assume this guidance was useful and encouraged a lot of future ventures.
What is a Cooler Scooter?
A cooler scooter is a type of motorized vehicle that combines a traditional kick scooter with a built-in cooler for storage. It is typically used for recreational purposes and allows users to easily transport drinks and snacks while riding around on the scooter. Cooler scooters can be purchased pre-made or can be constructed using old or new materials. They are popular among tailgaters, campers, and other outdoor enthusiasts. So why not try making your own cooler scooter today? The instructions provided in this article will help you get started on your very own DIY project! Just remember to have fun and be safe while building and riding your new cooler scooter. Happy scooting!
Why Build a Cooler Scooter?
There are many reasons why someone might want to build a cooler scooter. For one, it is a fun and creative DIY project that allows you to customize your scooter to fit your personal style. Additionally, having a cooler attached to your scooter makes it easy to bring cold drinks and snacks with you on outdoor adventures such as tailgating or camping. It also adds an extra level of convenience to everyday activities like running errands or commuting. Building your own cooler scooter is also a great way to repurpose old materials and reduce waste, making it an eco-friendly choice. Plus, let’s not forget the added benefit of saving money by building your own rather than purchasing one pre-made! Overall, building a cooler scooter is a unique and practical way to enhance your outdoor experiences. So why not give it a try?

Necessary Safety Precautions:
As with any DIY project, it is important to take necessary safety precautions when building and riding a cooler scooter. Some potential hazards to be aware of include:
- Sharp objects, such as tools or broken materials
- Electrical components if using a motorized scooter
- Fast-moving parts that could cause injury if not handled carefully
To ensure your safety while building and riding your cooler scooter, be sure to:
- Wear proper protective gear, such as gloves, goggles, and a helmet
- Work in a well-ventilated area to avoid inhaling fumes from adhesives or paints
- Handle tools and materials carefully to avoid accidents
- Test the stability of your scooter before riding it at high speeds
- Follow all instructions and guidelines carefully to avoid any mishaps
Remember, safety should always be the top priority when undertaking any DIY project. So take your time, work carefully, and enjoy building your very own cooler scooter!
7 Easy Step-by-step Guides on How to Make a Cooler Scooter:
Step 1: Gather Materials and Tools
First, you will need to gather all the necessary materials and tools to build your cooler scooter. This may include a kick scooter, a cooler, bungee cords or straps, zip ties, clamps, glue remover, protective gear (gloves, goggles, helmet), paints or sealants (if desired), and any other additional materials you may want to add for customization.
Step 2: Prepare the Scooter
If you are using a pre-made kick scooter, it is recommended to remove any unnecessary parts such as the existing storage basket or handlebars. If using an old scooter, make sure it is in good condition and any rusted or broken parts are replaced. You may also want to sand and repaint the scooter for a fresh look.
Step 3: Attach the Cooler
Using bungee cords or straps, secure the cooler onto the worktop of the scooter. Make sure to leave enough space for your feet to comfortably stand on the scooter. You can also use additional rings and strings to further secure the cooler in place. It is important to ensure the cooler is securely attached to prevent any accidents while riding.
Step 4: Add Seating (Optional)
If desired, you can add seating to your cooler scooter for added comfort. This can be done by attaching a small stool or cushion onto the cooler using clamps or zip ties. You can also make your own custom seat using foam and fabric materials. But be sure to test the stability of the seat before riding at high speeds.
Step 5: Add Motor (Optional)
For a motorized cooler scooter, you will need to install the motor according to the manufacturer’s instructions. This typically involves attaching the motor to the rear wheel and connecting it to a battery. Make sure all electrical components are safely installed and avoid any exposed wires or connections.
Step 6: Test Ride
Before taking your cooler scooter out for a spin, make sure to test its stability and functionality in a safe area. Take it slow at first and gradually increase speed to ensure everything is working properly and the scooter is balanced. If any adjustments need to be made, do so before riding at high speeds.
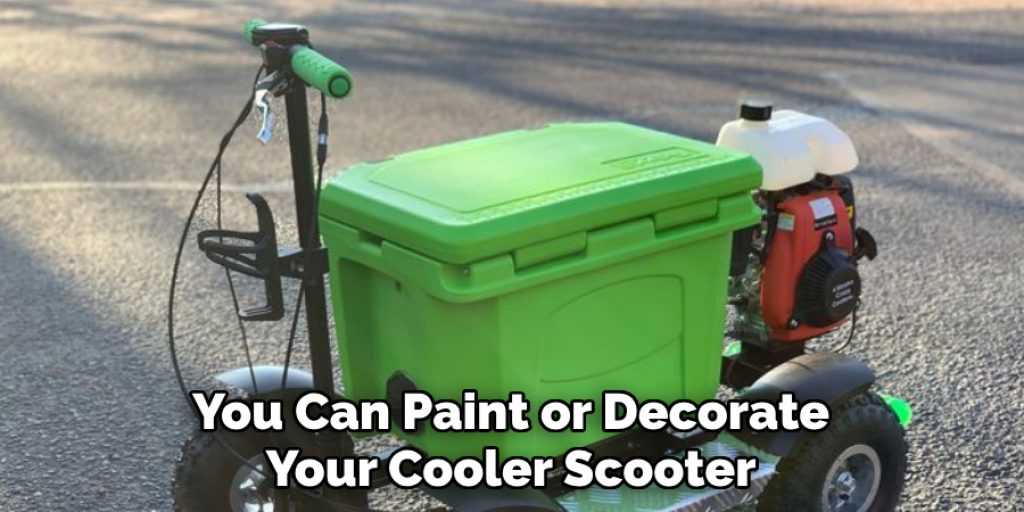
Step 7: Customize and Enjoy!
Once you have tested your cooler scooter and made any necessary adjustments, it’s time to add your personal touch! You can paint or decorate your cooler scooter however you like, adding stickers, decals, or other accessories. Just be sure to keep the cooler as the main focus for stability purposes.
Following these simple steps on how to make a cooler scooter, you can easily build your very own cooler scooter and enjoy the benefits of having a convenient and unique mode of transportation. So grab your materials, get creative, and happy scooting!
Tips for Customizing Your Cooler Scooter
Looking to make your cooler scooter truly unique? Here are some tips for customizing your ride:
- Use different colors and patterns of duct tape to decorate the cooler and handlebars
- Add LED lights or stickers to give your scooter a personalized touch
- Attach a small sound system or speakers to play music while you ride
- Install cup holders or additional storage compartments for added convenience
- Add a cushion or padded seat for extra comfort during long rides.
- Consider using a larger or smaller cooler depending on your needs and preferences
- Use different types of wheels, such as skateboard wheels or inflatable tires, for a smoother ride.
- Experiment with different attachment methods to find the best fit for your specific cooler and scooter combination.
- Don’t be afraid to get creative and add your own unique touches!
By customizing your cooler scooter, you can make it truly one-of-a-kind and stand out from the rest. Have fun with the process and enjoy your personalized ride! So why not give it a try and create your own unique cooler scooter today? With these tips, the possibilities are endless. Happy building!
Frequently Asked Questions
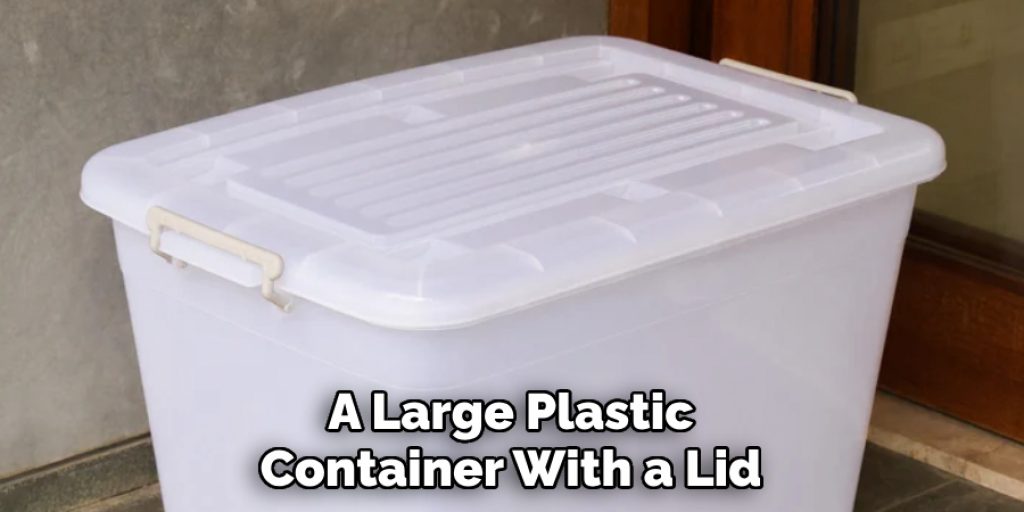
What Household Items Can You Use to Make a Cooler?
The items that you can use to make a cooler are:
1. A large plastic container with a lid.
2. Ice cubes or ice packs.
3. Plastic wrap and aluminum foil, depending on the type of cooler you want to make (if using ice packs).
4. Water bottles or cups to fill with water and place in the bottom of your cooler as an insulator (or else they will melt into your drink).
What Is the Best Insulation for a Cooler?
The best insulation for a cooler is a combination of two things:
1. A cooler that has good insulation and
2. Insulation that is not air-permeable.
An effective insulating material should be able to keep the cold out and the heat in without letting any outside moisture inside. The best options are closed-cell foam like closed-cell polyurethane foam or closed-cell PVC foam with an adhesive back preventing water from getting through.
What Is a Motorized Cooler?
A motorized cooler is a type of cooler that is powered by an electric motor and typically has two or four wheels. These coolers are used for personal cooling and commercial purposes such as food service, manufacturing, event staging, healthcare, and retailing.
They usually provide low-cost power cooling to large buildings or events requiring constant temperature control.
Some examples of the benefits of using these coolers include:
• Easy transportability from one location to another without having to be on-site all day.
• Low operational costs because it does not require refrigerant gases as traditional air conditioners do.

• Low maintenance costs because there is no need for regular lubrication and oil changes like traditional AC units.
Q: How Much Weight Can a Cooler Scooter Hold?
A: The weight capacity of a cooler scooter may vary depending on the type and size of the scooter. However, most standard models can usually hold up to 250 pounds. It is always important to check the manufacturer’s guidelines for specific weight limitations before use. Additionally, it is best to avoid overloading the cooler scooter to maintain its stability and safety while in use. Overall, it is recommended to follow the manufacturer’s instructions and common sense when using a cooler scooter. So, be mindful of your weight limit when planning on constructing or riding a cooler scooter.
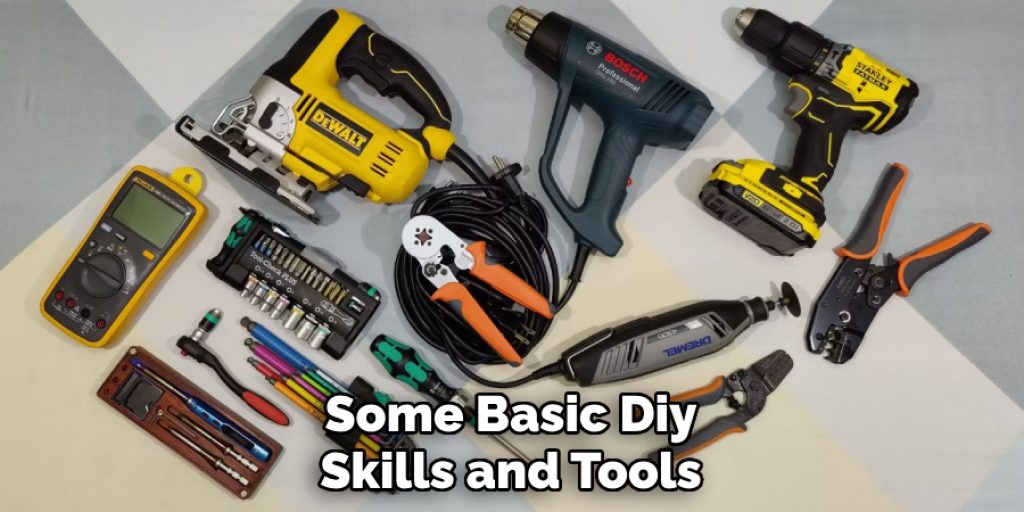
Q: Is Building a Cooler Scooter Difficult?
A: Building a cooler scooter may require some basic DIY skills and tools, but it is not overly complicated. With the right materials and instructions, anyone with a bit of patience and determination can successfully build a cooler scooter. It is important to thoroughly read and understand the instructions before beginning construction to ensure safety and accuracy. If you have any concerns or difficulties, it is always best to seek help from a professional or experienced individual. Remember to always prioritize safety when working on any DIY project. Good luck with your cooler scooter build!
Conclusion
In conclusion on how to make a cooler scooter, building a cooler scooter can be a fun and rewarding project for those who enjoy DIY projects and outdoor activities. With some basic materials, tools, and instructions, you can have a unique and practical mode of transportation that will surely turn heads. Remember to prioritize safety by following instructions carefully and using protective gear while riding. Additionally, don’t be afraid to add your own personal touches or improvements to make your cooler scooter truly one-of-a-kind. Have fun and stay cool on your new cooler scooter! Happy crafting!
You may also read – How to Thaw Cool Whip Quickly
Elizabeth Davis
Elizabeth is a creative writer and digital editor based in the United States. She has a passion for the arts and crafts, which she developed from a young age. Elizabeth has always loved experimenting with new mediums and sharing her work with others. When she started blogging, she knew that DIYquickly would be the perfect platform to share her tutorials and tips. She's been writing for the blog from the beginning, and her readers love her helpful advice and easy-to-follow instructions. When she's not writing or editing, Elizabeth enjoys spending time with her family and friends.


