
How to Make a Crucible Candle
A simple, fun craft project for the whole family! It’s easy to make your own DIY candles at home with a few simple tools and ingredients. This post will walk you step-by-step through the process of how to make a crucible candle from start to finish.
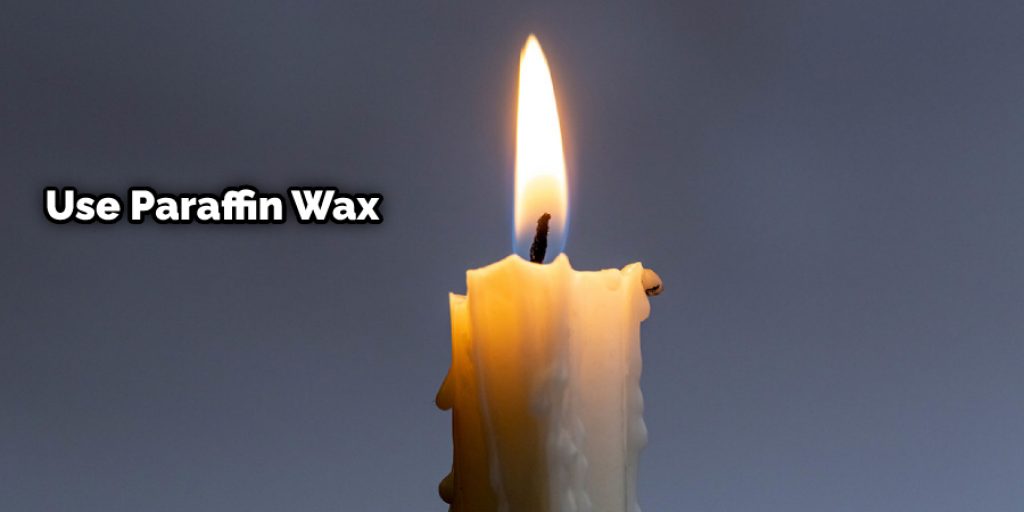
You’ll need safety goggles and gloves, as well as an adult helper with hot glue gun experience. Finally, we’ll talk about what kind of wax is best for making candles and why you must use beeswax or soy wax instead of paraffin wax when possible. Let’s get started!
Summary: The Crucible Candle is a unique and beautiful candle that is easy to make. All you need is some wax, a wick, and a heat source. First, melt the wax in the heat source. Then, pour the melted wax into a container, and trim the wick to the desired length. Finally, light the wick and enjoy your beautiful Crucible Candle!
What Are The Things You’ll Need to Make a Crucible Candle?
Here’s what you’ll need to make a crucible candle:
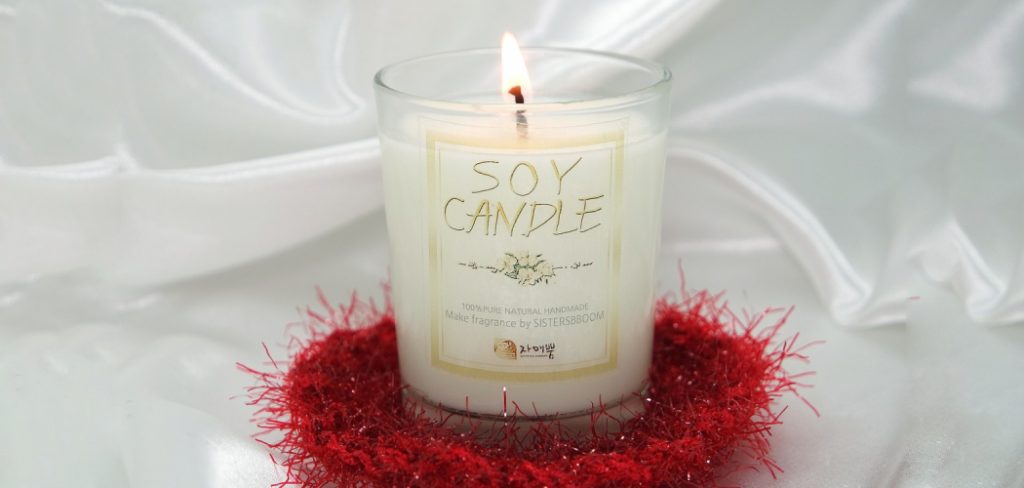
- Wax (we used beeswax, but soy wax will work too)
- Silicone mold for making candles or cups with handles
- Hot glue gun and extra glue sticks
- Stepladder (optional)
- Plastic spoon or long-handled stirring stick
- Paper towels and plastic bags
- Small metal funnel or small cup/bowl
- Plastic wrap
- Long-handled lighter
You Can Check It Out to Make Ear Candle
Step by Step Guide: How to Make a Crucible Candle
Step 1: Prepare Your Materials.
Before you begin, gather your materials. You can find everything you need for this project at a local craft or dollar store, with the exception of a stepladder (if you don’t already have one). The materials required for this project are relatively inexpensive and easy to find.
Beeswax is used to make candles. A pound of beeswax will make around four candles. Paraffin wax can also be used to make candles, but it is more expensive and there are some health and environmental concerns with using paraffin over other types of waxes.
Step 2: Melt Your Beeswax.
You’ll need a heat-proof container that you don’t mind getting hot and messy to melt your wax. You can buy all different kinds of pots, bowls, etc., made especially for candlemaking or use a large bowl or pot. You’ll also need a heat-proof silicone mold if you’re not using something like cups instead.
Our recipe for beeswax candles uses equal parts of beeswax and paraffin wax. This gives the candles a higher melting point, which helps them last longer and makes them less likely to rip or tear when they get old or if the wick is too high or too low.
Step 3: Add Paraffin Wax to Beeswax
Add water until there’s about an inch of water on top of the beeswax, then place your pot over very low heat. You can also use a steamer (if you have one) or a double boiler to get the beeswax melted. Ensure that none of your water gets into the wax since this can cause problems with your candle later on.
Step 4: Stir in Paraffin Wax.
To make a candle, you need to melt some wax. You can use a double boiler or just a pot on the stove. If you’re using a double boiler, put 10 parts beeswax and 1 part paraffin in the top part, and add more water if the wax isn’t melting. If you’re just using a pot, put equal parts paraffin and beeswax in the pot. Slowly stir the wax until it’s all melted, or use a whisk if you have one.
Step 5: Pour the Melted Wax Mixture.
Pour the excess water from your pot, then pour in your candle mixture or cup/bowl slowly so that it fills each container about 2/3 of the way. Our recipe makes four candles, so we made each cup/bowl to hold two cups of melted wax mixture. If you don’t have silicone molds or bowls with handles, you can use a stepladder to pour your melted wax mixture into a mold.

Step 6: Smooth the Top
To make sure your wax is smooth, use a long-handled spoon or spatula to smooth out the top of your mold or bowl. You can also use another spatula or plastic wrap to push down any bubbles that might form on the surface of the wax.
Step 7: Let It Cool and Harden.
Once you’ve smoothed out your wax, put the bowl in a cool place where it won’t be disturbed. You can also wrap a towel around the top to hold any heat in, or you can wrap it and place it on a plate in the freezer if you need faster cooling. We left the candles for about two hours until they hardened enough to remove them from the molds.
Step 8: Remove Candle From the Mold
To remove your candles from their silicone mold or plastic bowl, use a long-handled utensil. It’s easiest to wait until the candles have cooled off, since the wax will pop out easier once it has hardened slightly. To keep any wax drippings in check, line your molds with plastic wrap or wax paper before pouring.
Step 9: Trim Wicks and Light Candles
Once you have removed your candle from its mold, trim the wick to about 1/4 of an inch using a pair of scissors. You can also use a long-handled lighter (or a match) to light your candles. Make sure your wick is centered and that there’s no smoke coming from the candle when you light it since this could indicate a wick that needs trimming or a hole in the wax.
Step 10: Enjoy!
Use these candles to illuminate dark spaces like bedrooms, bathrooms, or outdoor areas. You can also dip the candles in wax to make a surface that will hold melted wax for easy pouring and candlemaking. We covered the candles with six layers of wax, three-layer coats on the sides, one layer on top, and one on the bottom. This made them slightly thicker than they would be if you just dipped your candle once or twice.

Conclusion
You can learn how to make a crucible candle that has an amazing fragrance and is made with natural ingredients. The process for making the candles are simple, but you will need some basic equipment like a saucepan or double-boiler pot, wax (beeswax), wick, oil (coconut oil), and essential oils of your choice.
Crucible candles have been around since ancient times when they were used in religious ceremonies and burnt during funerals. They are now being revived because people love their warm glow on cold winter nights while enjoying the aroma each one produces from its unique blend of scents. If this sounds like something you would enjoy doing at home, then read more about it here!
You may read also – How to Wax Thread without Beeswax


