How to Make a Fake Collar
Creating a fake collar is a simple and fun way to elevate your clothing without the need for sewing or permanent alterations. This versatile accessory can transform a plain top into a stylish statement piece, adding a touch of sophistication to both casual and formal outfits.

Whether you’re aiming for a preppy look or a vintage-inspired style, a fake collar can be easily customized to suit your personal fashion tastes. In this guide, we’ll walk you through the materials needed and provide step-by-step instructions on how to make a fake collar to help you craft your own unique fake collar effortlessly.
Why Make a Fake Collar?
Adding a fake collar to your wardrobe has many benefits. Here are some reasons why you should consider making one:
Cost-effective:
Instead of buying new tops with collars, you can simply attach a fake collar to your existing clothes and instantly elevate their look.
Versatile:
A fake collar can be worn with various types of clothing, such as dresses, shirts, and even sweaters. It also allows you to easily switch between a casual or formal look by swapping out the fake collar.
Sustainable:
By making your own fake collar, you are reducing waste and contributing to a more sustainable fashion industry.
Materials Needed
Fabric:
Choose a fabric of your choice – cotton, lace, satin, etc. Make sure the fabric is lightweight and easy to work with.
Interfacing:
This is a stiff fabric that will help give your collar structure and prevent it from dropping. You can use fusible or sew-in interfacing.
Scissors:
A good pair of scissors will make cutting the fabric easier and more precise.
Fabric glue/needle and thread:
To attach the collar to your clothing, you can either use fabric glue or sew it on with a needle and thread.
7 Step-by-step Instructions on How to Make a Fake Collar
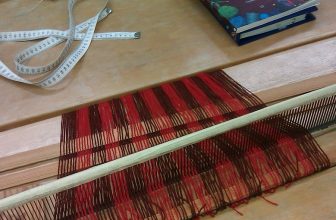
Step 1: Measure Your Neck
Begin by measuring the circumference of your neck using a flexible tape measure. Wrap the tape around your neck, ensuring it sits comfortably and is not too tight. Take note of the measurement, as this will determine the length of the collar you will create.

To ensure a perfect fit, it’s advisable to add an extra inch to your measurement for ease when attaching the collar later on.
Step 2: Create the Collar Pattern
Using a ruler and pencil, draw a rectangle on your fabric that is twice the length of your neck measurement. The width can be anywhere from 3 to 4 inches, depending on how wide you want your collar to be.
Next, fold the rectangle in half lengthwise and make a diagonal cut at both ends to create a pointed shape. Unfold the fabric, and you should have a symmetrical V-shaped collar pattern.
Step 3: Cut Out Your Collar
Once you have created your collar pattern, place it on the fabric and secure it with pins to prevent movement while cutting. Carefully cut around the pattern, ensuring that you cut through both layers of the fabric if you’ve folded it. After cutting, you should have two identical collar pieces. If you are using interfacing, repeat the same process to cut out two pieces of interfacing as well. These will be fused or sewn to the fabric collar pieces for added structure.
It’s important to note that if you want a detachable collar, you can skip the interfacing step.
Step 4: Fuse or Sew Interfacing
If using fusible interfacing, follow the instructions provided by the manufacturer to fuse it onto one of the fabric collar pieces. If sewing in the interfacing, place it between the two fabric collar pieces and sew along the edges to secure it in place.
You should now have one fabric collar piece and one reinforced with interfacing.
Step 5: Sew the Collar Pieces Together
Place the two fabric collar pieces right sides facing each other, and pin them together. Make sure to leave a gap of about 2 inches at the center back for turning later on.
Sew along the edges, leaving a seam allowance of around ¼ inch. When you reach the center back gap, do not sew across it. This will allow you to turn the collar inside out easily.
After sewing, trim off any excess fabric and clip the edges of the collar’s pointed ends to help them lay flat.
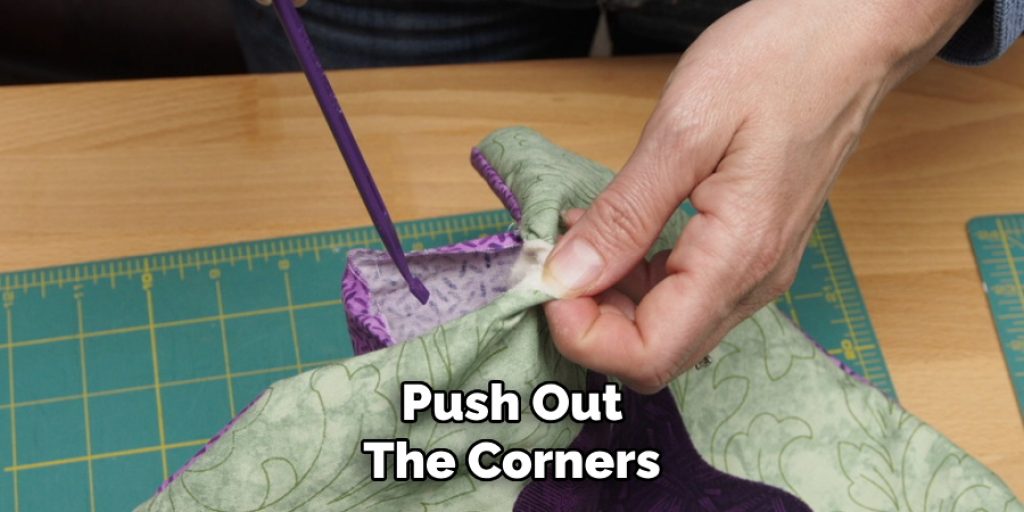
Step 6: Turn the Collar Inside Out
Once you have sewn the collar pieces together, it’s time to turn the collar inside out. Start by carefully pulling the fabric through the gap you left at the center back. Use a pencil or a chopstick to gently push out the corners and ensure that the points of the collar are well-defined.
Once the collar is fully turned, take a moment to smooth out any wrinkles and press it with an iron on a low setting to give it a crisp look. After this step, your collar should have a neat shape and be ready for the final touches.
Step 7: Attach the Collar to Your Clothing
The final step is attaching your fake collar to your clothing. You can either use fabric glue or sew it on with a needle and thread. If using fabric glue, simply follow the instructions provided by the manufacturer and carefully apply the glue to the collar’s back edges. Then, press it onto the neckline of your clothing and allow it to dry completely.
Following these steps on how to make a fake collar, you can easily make your own fake collar and elevate your wardrobe with this versatile and stylish accessory. Experiment with different fabrics, colors, and patterns to create unique collars that perfectly complement your personal style. Happy crafting!
Additional Tips
Fabric Selection:
Choose fabrics that complement your outfits. For a playful look, consider bright colors or fun patterns, while elegant fabrics like lace or satin can elevate more formal attire.
Finishing Touches:
To add some personality, embellish your fake collar with beads, lace trims, or embroidery that matches your style.
Experiment with Shapes:
Instead of the traditional V-shape, try creating rounded or scalloped edges for a unique twist on the collar’s design.
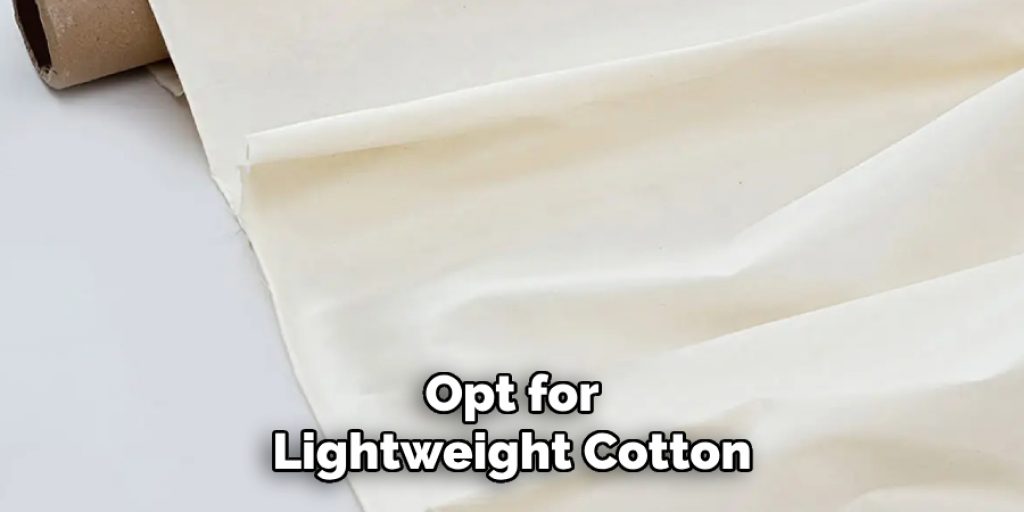
Adjust for Seasonal Wear:
For warmer months, opt for lightweight cotton or linen fabrics. In contrast, for cooler seasons, thicker materials like felt or wool are considered to add warmth.
Care Instructions:
Always check the care instructions for your chosen fabric to ensure that your collar maintains its appearance after washing. If using delicate fabrics, hand washing might be the best option.
Versatility in Styling:
Don’t be afraid to mix and match! Fake collars can be layered over turtlenecks, dresses, or even worn under jackets for added flair.
Practice Makes Perfect:
If you’re new to sewing, don’t hesitate to practice on scrap fabric before working on your final collar. This will help you feel more confident in your technique.
Frequently Asked Questions
Q: Can I Make a Detachable Collar?
A: Yes, you can make a detachable collar by skipping the steps of fusing or sewing when interfacing. Instead, attach snaps or buttons to the ends of your collar so that it can easily be removed and attached to different pieces of clothing.
Q: How Do I Care for My Fake Collar?
A: To care for your fake collar, hand wash it with mild soap and lay it flat to dry. Avoid wringing or twisting the fabric to prevent any damage. If needed, you can lightly iron the collar on a low setting to remove any wrinkles.
Q: Can I Use Different Shapes for My Collar?
A: Absolutely! While the classic pointed collar is most common, you can experiment with different shapes such as round, square, or even asymmetrical collars. You can also add embellishments like lace trim or embroidery to make your collar even more unique.
Q: Is it Necessary to Use Interfacing?
A: No, using interfacing is optional. It adds structure and stiffness to the collar, but if you prefer a softer look or are using thicker fabrics, you can skip this step. It ultimately depends on personal preference and the desired look for your collar.
Overall, making a fake collar is a fun and easy way to add some variety to your wardrobe without breaking the bank. With just a few simple materials and steps, you can create unique and stylish collars that will elevate any outfit. So why not give it a try and unleash your creativity with this versatile accessory? Happy crafting!

Conclusion
Creating a fake collar is a fun and rewarding project that allows you to enhance your wardrobe with minimal effort. By following the step-by-step instructions on how to make a fake collar outlined, you can craft a stylish accessory tailored to your personal taste.
Whether you choose to make it detachable or explore various shapes and embellishments, the possibilities are endless. So gather your materials, unleash your creativity, and enjoy the process of crafting a unique collar that can transform any outfit. Happy sewing!
Elizabeth Davis
Elizabeth is a creative writer and digital editor based in the United States. She has a passion for the arts and crafts, which she developed from a young age. Elizabeth has always loved experimenting with new mediums and sharing her work with others. When she started blogging, she knew that DIYquickly would be the perfect platform to share her tutorials and tips. She's been writing for the blog from the beginning, and her readers love her helpful advice and easy-to-follow instructions. When she's not writing or editing, Elizabeth enjoys spending time with her family and friends.