
How to Make a Faux Exterior Window
Faux windows are much used for giving the interior of your house a different look. But sometimes the measurement of the windows does not suit the interior of your home. For this reason, it is better to make it by yourself if you have the correct instrument and a suitable environment. Today we are going to discuss a simple method of how to make a faux exterior window. This will be much effective for your woodworking.
Summary: Making a faux exterior window is a quick and easy project that can add a touch of realism to your home’s exterior. To create your own window, you’ll need a sturdy piece of cardboard, some tape, and a paintbrush. First, cut a rectangular piece of cardboard to the shape of your window. Then, use tape to secure the cardboard to your outside wall. Next, paint the cardboard with a light color, such as cream or beige. Finally, use a darker color to paint the outline of the window onto the cardboard.
Procedure
Faux exterior windows are much likely used for decorative purposes. For this reason, making them is not at all a challenging task. There are quite a couple of ways you can build these windows. We are going to suggest some chronological steps which will be useful for this purpose. These steps are simplified below. Faux exterior windows are much likely used for decorative purposes. For this reason, making them is not at all a challenging task. There are quite a couple of ways you can build these windows. We are going to suggest some chronological steps which will be useful for this purpose. These steps are simplified below.
• Step One

At first, you need to gather some woodworking instruments. This includes a complete drill set. You will need an angular drill bit locator. This is used to attach the frames. Then you will need some good quality wood. You have to manage a miter saw, which will be used to cut the wooden frame. There will be much necessity of nails as well as adhesives. You will need a punch locator, and you will also require some measuring tape and a pencil
• Step Two
After you have managed all the necessary things, you should start working. The first task is cutting the frames in the desired size. For this, you can draw a draft that will be helpful, and the measurement of the structure should be adequately marked. Next, you have to take some wood and then cut the window’s four panels using a miter saw. After the panels are cut, you have to start working for attaching the panels.
• Step Three
Now you have to take the angular drill bit locator, and using a clamp, and you have to attach it at the corner of each panel. After securing the locator firmly, you have to use the drill machine and drill three holes on each panel’s corner. Once all the panels are prepared, you have to switch the drill machine and attach the panels with nails. You also have to use adhesive to connect the edges of the panels. In this manner, both nails and adhesives will make the connection firm.
• Step Four
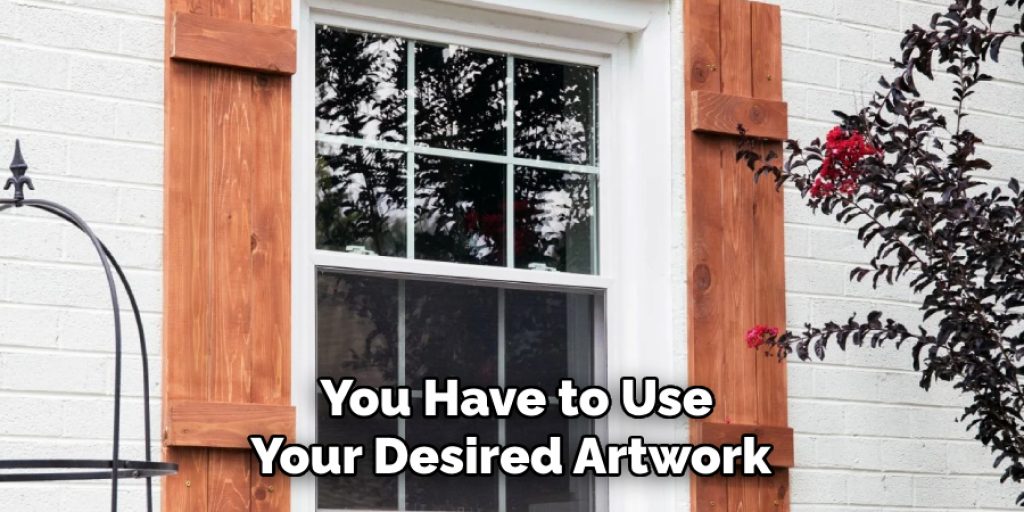
After the panels are attached, you can cut the middle frames that you want to install. It is better to make the panels symmetrical. You can use the drill machine and adhesive to attach the panels. After the interior panels are attached, you should use hinges and then install them at the interior panels’ corners. In this way, the full-frame will be prepared. Next, you have to use your desired artwork and attach them with the structure using adhesives.
Final Thoughts
In conclusion, we would state that the process we have exhibited here will benefit your DIY faux window. The steps are much straightforward, and you can smoothly perform them without facing many difficulties. Have a nice day!
You may read also – How to Cover Up a Window With Drywall


