
How to Attach Picture Frames Together
Do you want to know how to attach picture frames together? If yes, then we must say this entire article is specially written for you. Yes, you got that correctly, and believe us, we are not bluffing!
Remember to perform this task flawlessly; you will require to follow some steps, tricks, and tips. But if you anyhow failed to follow the steps correctly, then it is possible that you might not be able to attach the picture frames.
Do not worry because, in this whole article, we will discuss an overall overview of why you would attach picture frames and how you are going to perform the task. Here in this content, we provide all the detailed steps and precautions that will never forget to help you out in learning the attaching method of picture frames together.
In order to attach a frame to a wall surface, one must first be willing to learn and understand the process. This article provides detailed instructions on how to successfully attach a frame to a wall.
Why Should You Attach Picture Frames?
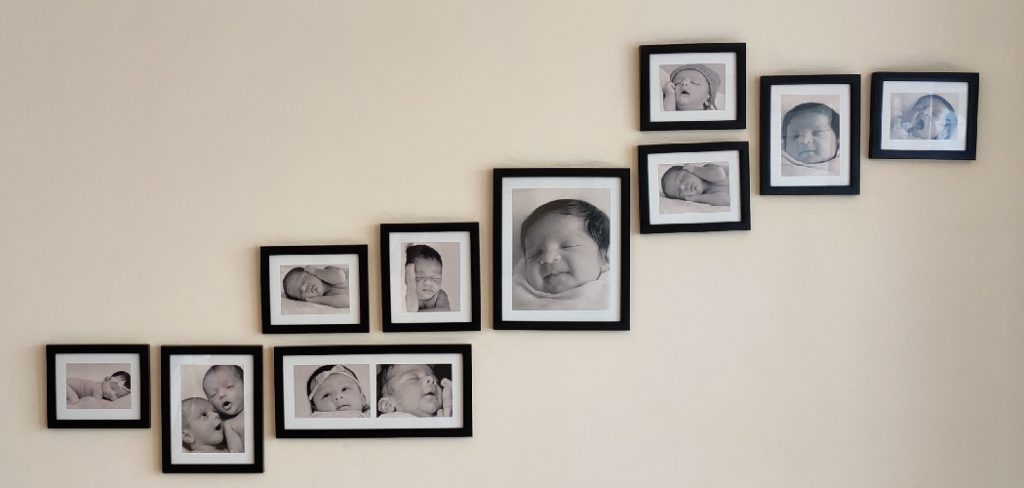
If you have a lot of small pictures, you can group them together to create a bigger impact in your home decor. This is a great way to add your own personal touch to your home.
Different types of furniture and decoration that work well together give you a lot of options to be creative with your home.
Things You Will Need:
- Casings
- Little pivots
- Unbending supporter board
- Covering tape
The Process of How to Attach Picture Frames Together
Step by step instructions to append picture outlines together:
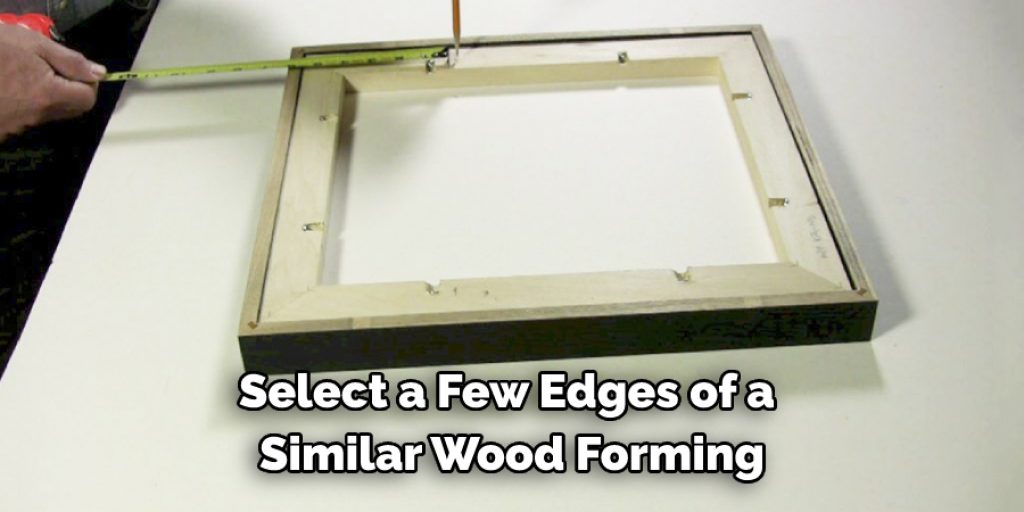
To make a wooden frame, select a few pieces of wood that are the same size and shape. Place them next to each other to see if you like the effect. To consolidate two pieces, use the same frames. To combine three pieces, select either three or the same or one which is more significant to be the center piece.
Put two tips together in a row, and imprint the pivot situation. The arrangement must be even on both sides from the base edges of each casing to guarantee that the assembled pictures stand safely on the tabletop. Attach two little pivots to the connecting sides of the corners.
You should put the rotate of the axes at the front edge sufficiently far forward to permit the level part to lie tight against the casings. Pre-drill the gaps for the screws to forestall parting the wood. Use a piano pivot on the off chance that you like to have an insignificant presentation of the pivots.
You should put the rotate of the axes at the front edge sufficiently far forward to permit the level part to lie tight against the casings. Pre-drill the gaps for the screws to forestall parting the wood. Use a piano pivot on the off chance that you like to have an insignificant presentation of the pivots.
The rotate must be flush with the front of the casing to work correctly. This means that the wood shaping must be broad and level enough for the axes to be connected to the front. The axes should be connected to the front only off the side edge of everyone.
There is a space between the casings the width of the pivot. This is so that the pivot can move freely. Pivots that are 3 to 4 inches apart should be sufficient.
The most widely recognized sorts of hanging equipment are the sawtooth and wire frameworks. For littler casings – anything under around 14″ x 14″ – a sawtooth section on the top rail of the housing offers enough help while making simple hanging and leveling. A single nail in the divider is all you need.
For somewhat bigger outlines, a hanging wire connected to the two side rails is the best approach. The cable can securely manage more weight and is effectively joined to the rear of your edge with d-rings.
Wire likewise considers the utilization of different hanging snares for much more help when hanging curiously long edges. Two snares 10″ to 12″ aside from each other will bear the heaviness of a substantial margin and pull it in near the divider.
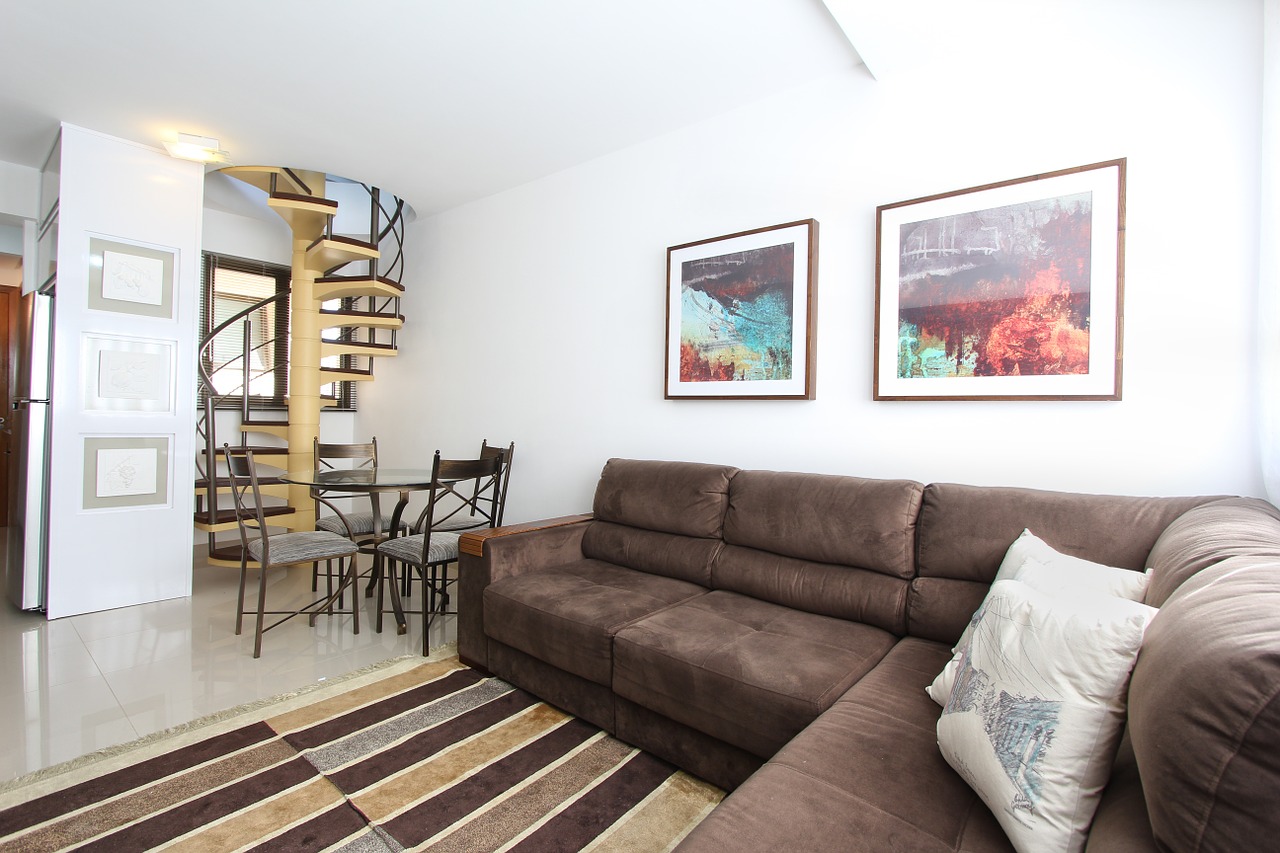
One of the most common mistakes when hanging art is not paying attention to the placement – hanging your artwork too high or too low. Try to keep things around eye-level, especially when balancing your frame over a piece of furniture like a bed or a couch. A good general rule is to leave 6″ between the top of the furniture and the bottom of the frame to allow for some breathing room.
Before you hammer any nails set up, you can design your position with painter’s tape or kraft paper to give a thought of how everything will look when wrapped up. Utilize the materials to make an original scale format, which is only a paper pattern or tape plot of a similar size and shape as the edges.
To keep your edge from scraping the divider and keep it level, put forth a concentrated effort to glue guards to the base corners on the rear of the casing before hanging. Every smooth edge should have felt or plastic guards that you can apply as the last step.
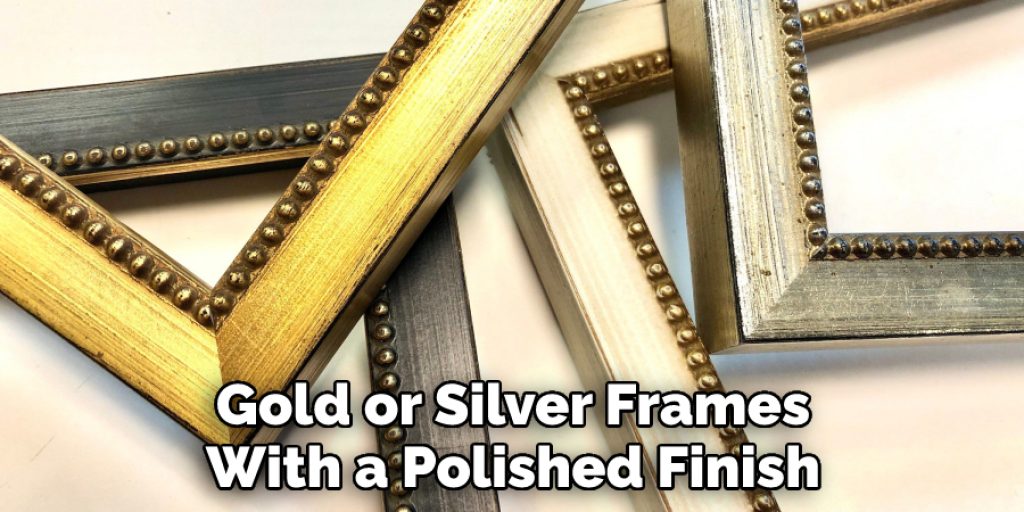
Not everyone can perfectly brighten a room without fearing they will choose the wrong color and potentially ruin the entire space. For many of us, the desire to make everything match – to keep things simple – is strong. But get creative with your combinations, mixing different wood tones or adding in some gold or silver frames with a polished finish to make things pop.
By the ending of this article, we will assume that you have learned all the necessary tricks and tips that you require to know to perform the task. Now we believe you have got an overall overview of how to attach picture frames together.
If you want to hang a picture frame, you need to follow some steps. First, find a spot on the wall where you want to hang the frame. Then, use a measuring tape to find the center of the frame. Once you have the center, mark it with a pencil. Next, find the center of the wall and mark it with a pencil. Then, use a level to draw a line between the two marks. Finally, use a hammer to nail the frame to the wall.
So, reread the whole article with the proper concentration and then try to apply it in your practical work so that you can achieve your most desired outcome that you wanted for a long time.
You may read also – How to Make Easel Backs for Picture Frames
Elizabeth Davis
Elizabeth is a creative writer and digital editor based in the United States. She has a passion for the arts and crafts, which she developed from a young age. Elizabeth has always loved experimenting with new mediums and sharing her work with others. When she started blogging, she knew that DIYquickly would be the perfect platform to share her tutorials and tips. She's been writing for the blog from the beginning, and her readers love her helpful advice and easy-to-follow instructions. When she's not writing or editing, Elizabeth enjoys spending time with her family and friends.


