
How to Make a Genie Lamp
A genie lamp is a popular decoration for many people. They can be purchased in many different colors and sizes to suit any need but are often used as fun party favors at children’s birthday parties. This blog post will explain how to make a genie lamp for your next event!
To make a genie lamp, you will need to gather some supplies. These include a glass jar, paint in the color of your choice, gold spray paint, and glue. Then, use your paints and brushes to create the design on the jar that you want for your lamp. Once this is done, allow it to dry before applying another coat or two of paint in a different color if desired. Read on to know more information!
8 Reasons Why You Should Make a Genie Lamp:
- Ideal for meditation and relaxation
- Can be used to enhance scrying abilities or even as a candle holder
- Easy to make and will only take you about an hour
- An excellent gift for your loved ones or to sell at a local craft show
- You can make several of these lamps in no time
- Looks great with oil or liquid paraffin
- Will make your room smell great with the scented oil you use
- You can also use it for decoration if you don’t want to light it up
10 Steps to Follow: How to Make a Genie Lamp
Step 1: Obtain a Lamp
First, you need a lamp. Any old lamp will do. They can be found in thrift and antique stores and sometimes at garage sales for next to nothing. You might luck out and find one that has a shade already! If not, don’t worry; they’re pretty cheap to buy new or even made by you if you’re crafty.
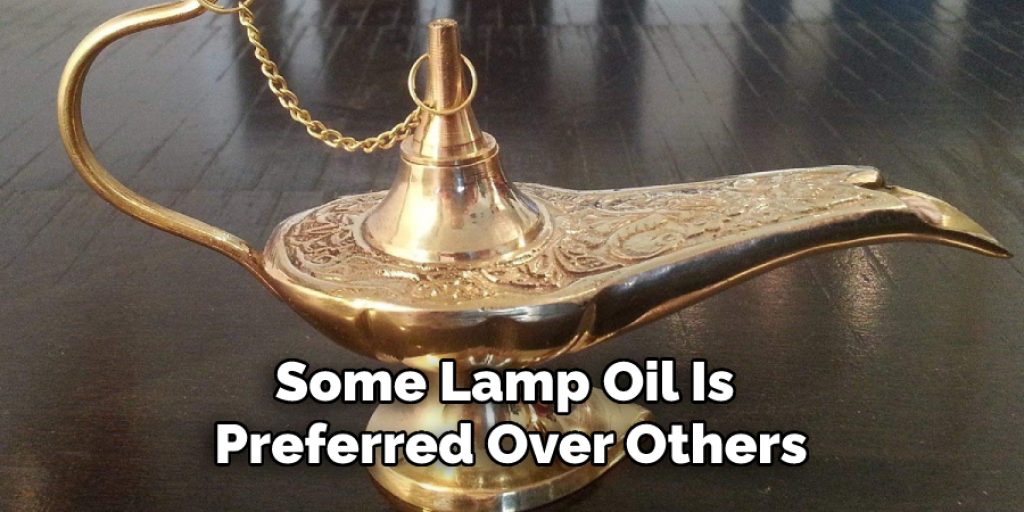
Step 2: Obtain a Bottle of Oil
Some lamp oil is preferred over others, so be sure to check the label when buying! Lamp oil typically has no scent, but if you want your lamp to have some fragrance, then, by all means, go for it! The most important thing with the oil (other than being flammable) is that you do not use vegetable oil or anything else that does not lamp oil.
Lamp oil can be found at hardware stores, craft stores, and even department stores like Walmart or Target.
Step 3: Find a Piece of String
The length of the string doesn’t matter so much as long as it’s at least a foot or two long. You can find string almost anywhere, but it’s best to use twine or yarn because they are more likely to hold up to the heat of an open flame.
Step 4: Gather Some Wax Bits
Wax bits come right off of wax candles. You don’t need to buy a whole candle, though. Instead, just go through your house and collect bits of wax from anywhere you can find them! If you want to make the project more fun for kids, this is a great way to let them help out.
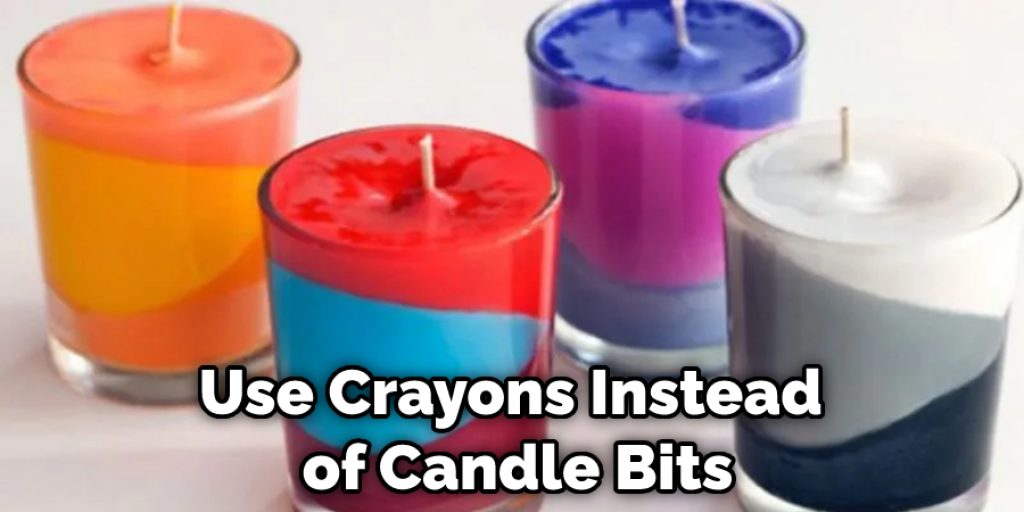
Step 5: Get Some Partially Used Candles
If you’re feeling extra crafty, you can make your wax bits by melting down used and partially used candles. This is great for those of us who love to save all the good parts of a candle just in case we need them or want to melt them down later. Of course, you can also use crayons instead of candle bits, but we prefer using candle bits because they are already partially melted.
Step 6: Get Ready for the Party
Now that you’ve got all your materials, it’s time to start assembling them! Of course, the first thing you want to do is gather everything together in one place so that when you need something, it’s all easy to find.
Step 7: Put the Oil in the Lamp
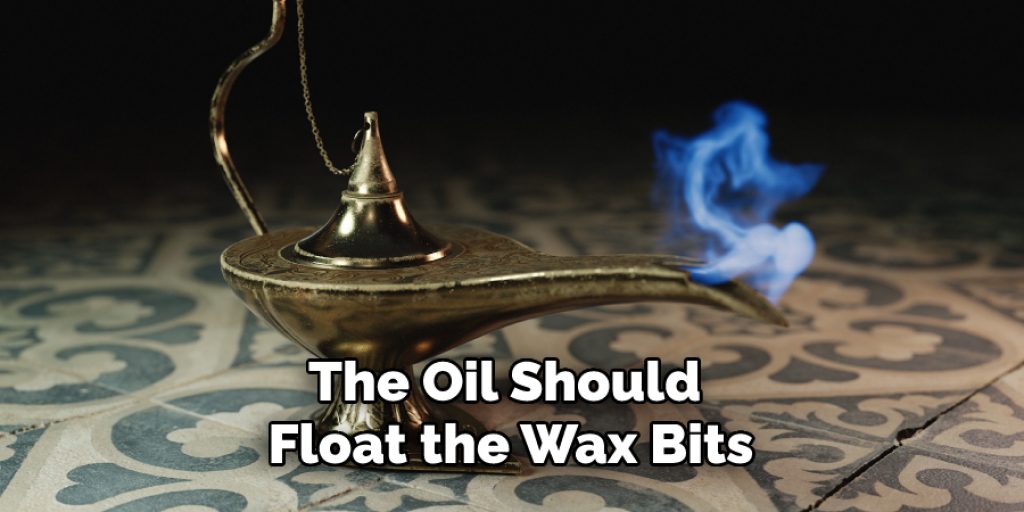
Before you put any oil in the lamp, make sure it is clean. You don’t want to get dirt or dust into your new lamp! Next, pour some oil into your container of choice until it’s around 2/3 full. Then take a piece of scrap paper and carefully pour all of your wax bits into the oil.
The oil should float the wax bits to the top. If it doesn’t, you can use a spoon or fork to take each bit out and help it up, but be careful! Too much water could cause a messy flare-up.
Step 8: Fill It Up!
Now that your lamp is almost full, pour in some lamp oil. You want to fill it up about 1/3 of the way. If you need more, be sure to add it in small increments so that your wax bits stay floating on top and don’t sink under!
Step 9: Put Your String Inside
Take out some twine or yarn, and tie one end around the wick of the candle. Then, put that end into your lamp. If you’re using an already lit candle, just pull the wick out to be completely in the oil.
Step 10: Add the Lid!
Once you have everything in place, all that’s left is to add a lid! The main thing with this step is to be careful not to smother your wick, or it will go out. You can use a screw-top jar lid or even a bowl as long as it’s something breathable so that your lamp doesn’t lose its flame. Make sure the lid is on all the way and tight!
Some Tips and Suggestions:
1. Try not to drop the lamp when it is finished, as this may lessen or break your genie wish
2. If you make a lamp out of a glass bottle, do not place it in the microwave. The heat from the lamp can cause the glass to shatter and will leak hot oil on your food.
3. If the lamp is made of clay, do not place it in the oven, on a stove, or in any hot area. The heat can cause the clay to expand and explode.
4. If you are making your lamp out of wax, please consider putting a wick in so that it will not catch fire when you light it.
5. It is advisable to place the lamp in a location where it will not be knocked over, as this may also lessen or break your genie wish. Please note that most genies are rather clumsy and can easily trip when exiting their lamps if they do not have a wide-open space with enough room to stand up straight and begin their magic.
How Do You Make a Genie Bottle?
A genie bottle is an ancient tradition, with the earliest examples dating back to around 1000 B.C. During this time, they were used as oil lamps, and they often depicted the face of the “genie” who lived inside them. When you make your genie bottle, it’s essential to understand how these vessels originally functioned, as the symbolism of the lamp is at least as important as how it’s made.
For example, why would you make a genie bottle with three mouths? It may have originally represented faith in the trinity, particularly in the concept of the Christian trinity. As the symbolism of a genie bottle grew, however, it became more associated with wishing and wealth, and the three mouths were a reminder that you needed to be careful what you wished for!
Can You Make a Genie Lamp Out of Cardboard?

All you need is a little elbow grease and some paint since cardboard isn’t that exciting. You can also make a genie lamp out of paper, though again all you’ll get is some fine pieces of paper with a crude shape for the lamp. Let’s talk about how to make a genie lamp out of a bucket, though. That has a lot more potential for creativity and imagination.
The only limit is the size of your bucket and the amount of paint you have to hold that shape. You could even use it as a planter if you had some succulents and soil to plant in it. You should paint the inside of your bucket if you plan on using it like a lamp so no light shows through. But you could also put a nightlight in there and leave the paint off if that’s what you want.
The important thing about making your genie lamp out of a bucket is to have a good place to put it in your home. Think of the center of attention you’ll be wherever you put this lamp.
Frequently Asked Questions
What is a genie lamp made of?
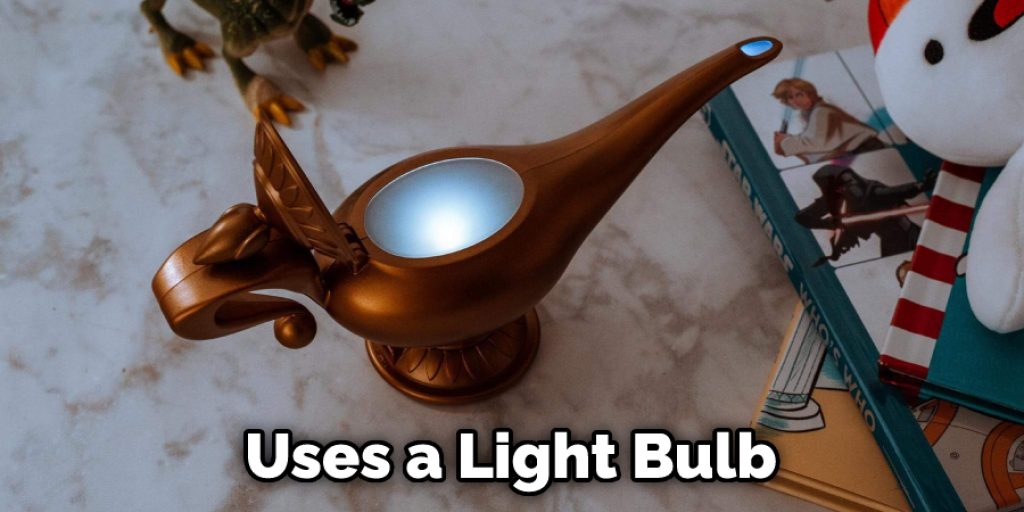
A genie lamp is a type of lamp that uses a light bulb with a genie inside it. When you turn the knob, the genie inside the light bulb will turn the light on or off.
Why do genie lamps look like teapots?
Genie lamps are often shaped like teapots because that is the type of lamp that was most popular when they were first made. However, there are many other types of lamps that genie lamps can be made into, so it’s important to choose the right one for your needs.
Can I use vegetable oil in an oil lamp?
Yes, you can use vegetable oil in an oil lamp. However, it is important to note that the quality of the oil will affect the quality of the light emitted from the lamp. If you are using high-quality vegetable oil, the light will be bright and pure. If you are using a lower-quality oil, the light will be yellow and less intense.
Can you use vegetable oil in a kerosene lamp?
Yes, you can use vegetable oil in a kerosene lamp. However, it is important to note that the oil will eventually clog the lamp, and it will need to be replaced.
Conclusion:
Now you have a genie lamp! The great thing about this project is that you can get creative and use any materials you like. We hope this blog post on how to make a genie lamp has been helpful. If you find that wax bits don’t work for your lamp, try using crayons or even parts of a candle.
For those interested in selling these lamps, be sure that your product is well-made and meets all safety requirements for use by children before going into production with them. The key thing with this project is to experiment and learn about all the different options! So be patient, and soon you’ll have a brand new genie lamp. Good luck, and happy crafting!


