
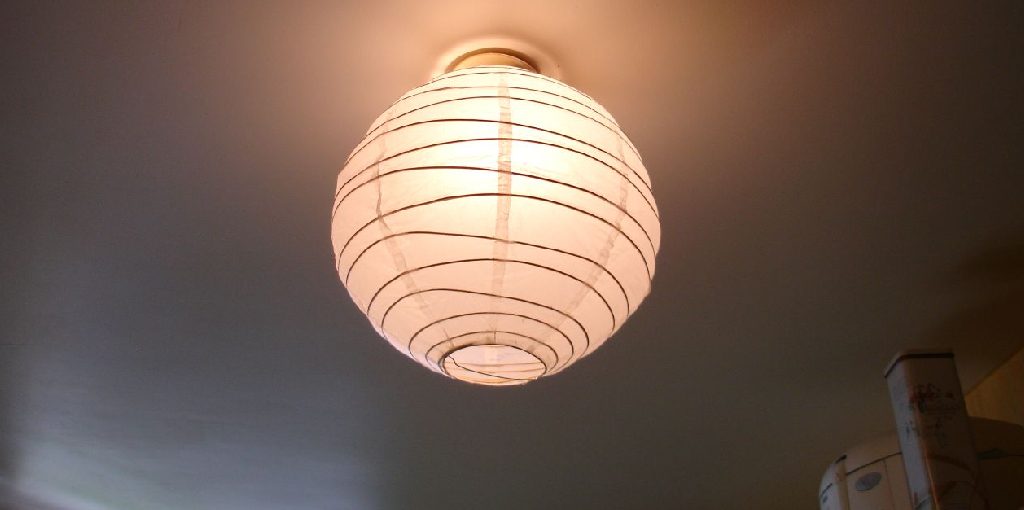
How to Make Rice Paper Lamp Shades
Labels are a great way to make your home feel like a space you can call your own. They help you get more organized, personalize areas of the house, and separate rooms into distinct spaces that are easily identifiable. One area where labels can come in handy is with lamps; if every lamp has its unique label, it makes it easier for everyone to know which one belongs in which room.
With so many different ways you can customize these labels, from photos or designs to choosing colors that match the room’s decor beautifully, there’s no reason not to take advantage of this simple method for spicing up your lighting! This blog post will show you how to make rice paper lamp shades.
Step to Follow on How to Make Rice Paper Lamp Shades
Step One: Measure Your Lampshade
Start by measuring your lampshade. First, decide how tall your lamp to be, then add another inch for the width. This will give you two pieces of fabric that are equal in length and width. Next, cut out plus signs on the fabric, making it easier to form and mark where you will need to sew for them to fit onto your lampshade.
If you are worried about evenly spacing your fringe, you can use a pencil and ruler to straighten your pattern. There will be four long and four short pieces, all of which should be the same length. Once they are cut, you can sew them together at their midpoints to ensure they overlap by at least half an inch.
Step Two: Cut Your Rice Paper
Now it’s time to cut your rice paper. Again, you can use any color; just be sure that you have one short piece for every four long pieces. This is very important because if you do not know when you are finished the lamp will look strange. Roll the entire paper length back and forth in both directions with your hands to cut the rice paper.
This helps un-bunch the paper and makes it easier to cut, especially when working with a large rice paper roll. First, cut the rice paper in half lengthwise, then cut one of those pieces in half again diagonally. You should now have four equal-sized pieces that are roughly four inches long.
Step Three: Attach Rice Paper to Fringe
Now comes the tricky part. At the midpoint of each piece of rice paper, fold it over one end of a long piece, then sew it into place by stitching from the top side down through both sides. The sewn spots should be as far apart as possible without hitting another spot.

The fringe pieces will be longer than the rice paper, and that’s ok. It will be even all around once you fold and sew it down to create a hem on the backside of the lampshade. To make sure you can cover any sewn spots, use clear nail polish to paint over them.
You Can Check It Out to Make a Tissue Paper Lantern
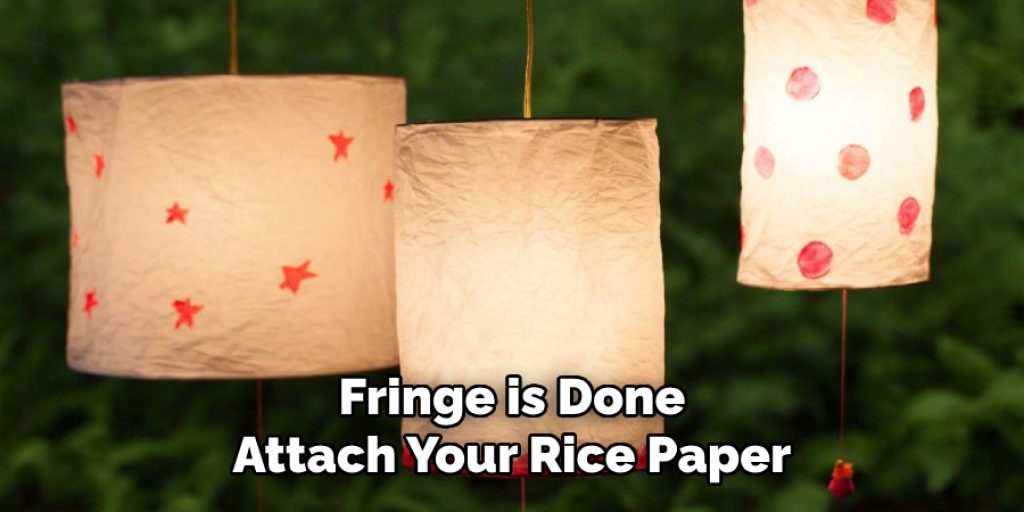
Step Four: Attach Rice Paper to Lampshade
Now that the fringe is done attach your rice paper to your lampshade. To do this, you will need a heat-resistant hand sewing needle and waxed thread. Start at the top of the shade and work down toward the bottom. Fold over one edge about an inch, so it’s even with the side of the lampshade, and sew it down by stitching back and forth.
Make sure to pull your thread very tightly to reduce any gaps in the fabric. Of course, you want to sew as far apart as possible, but be sure not to go over a spot you’ve seen before accidentally, or it’ll show through when you turn the shade over. These steps should help you in learning how to make rice paper lamp shades.
Step Five: Attach Hanging Wire
After all the rice paper is attached to the shade, it’s time to attach the hanging wire. Using needle-nose pliers, bend one end of the wire so that it forms a small loop. String this through one of the pre-drilled holes in the top of your shade and use pliers to open and close it so that it’s securely attached.
Now string one end of your wire through the loop on the other side, then pull it tight enough that when you sit the lampshade on a flat surface, it will be stable, not wobbly. Once the wire has been attached, string it through a cup hook and add a dab of hot glue to keep it in place.
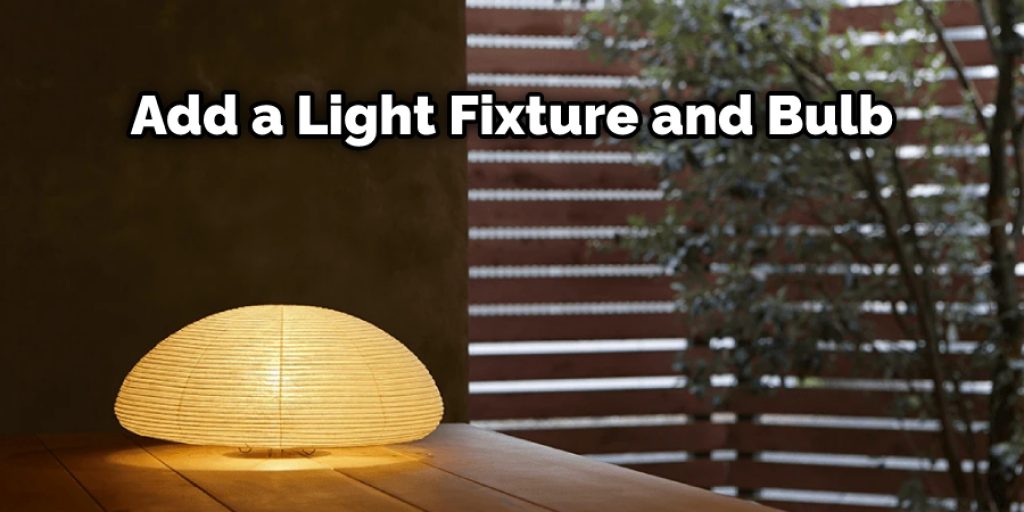
Step Six: Add Lights
To make your lamp complete, you will need to add a light fixture and bulb. You can adjust this part of the tutorial to fit whatever you have available. If your lamp already has a socket for a three-way bulb, you can skip this part entirely. To start, take one side of your lamp wire and string it through the top hole in your lampshade.
Once it’s through, use needle-nose pliers to make a small loop, then string the wire back through. The second time around, leave enough slack in the wire so that you can twist it to make a small loop. This will help in how to make rice paper lamp shades.
Step Seven: Maintain Your Rice Paper Lamp
To keep your lamp looking great, dust gently with a dry cloth or feather duster. Use mild dish soap and warm water to clean the rice paper, but be gentle when scrubbing. Do not soak in water for long periods because it will cause the paper to warp and discolor.
To store, gently lay your rice paper lampshade flat in a dry, cool place out of direct sunlight. You can also place it in a thin cotton bag and tie it loosely to avoid damaging the shade or having it roll around in your storage space. Rice paper lampshades are unique and exciting but also delicate.
If you follow these instructions, you can make your light fixture that will give off a gentle glow. Once the rice paper has been soaked in water then dried a few times, it will become more durable and can be handled without breaking easily. But until they get broken in, they are best for mood lighting or decoration.
Conclusion:
You can make your own rice paper lamp shades with the help of some simple materials. The video tutorial below will show you how to create a beautiful, chic-looking shade using only two sheets of rice paper and three strips of string!
Rice Paper Lamp Shades are an easy DIY project for those looking to spruce up their living space without spending too much money. With this quick and inexpensive craft, you can bring a little touch of the tropics into any room and create an island atmosphere. We hope you enjoyed this article on how to make rice paper lamp shades.
Elizabeth Davis
Elizabeth is a creative writer and digital editor based in the United States. She has a passion for the arts and crafts, which she developed from a young age. Elizabeth has always loved experimenting with new mediums and sharing her work with others. When she started blogging, she knew that DIYquickly would be the perfect platform to share her tutorials and tips. She's been writing for the blog from the beginning, and her readers love her helpful advice and easy-to-follow instructions. When she's not writing or editing, Elizabeth enjoys spending time with her family and friends.


