
How to Make a Greek Helmet Out of Paper
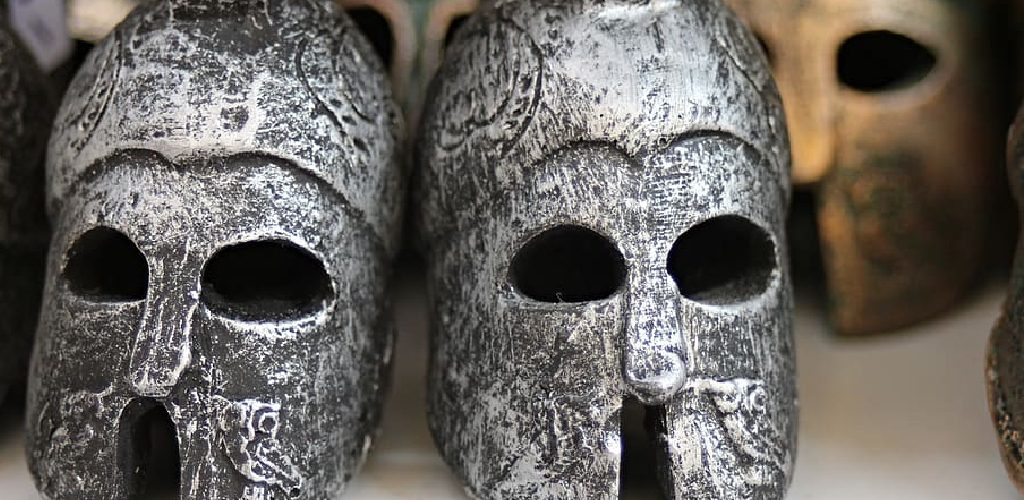
Greek helmets were a symbol of protection and power. They were used in battle by the Greeks and the Romans, who used them to signify rank. However, paper is not as sturdy as metal or leather. So, while you can use this homemade version of a Greek helmet for fun costumes or demonstrations of ancient history, it would only offer minimal protection in an actual fight.
This post will explore how to make a Greek helmet out of paper and what supplies you need. This project is perfect for kids or teachers looking for an engaging activity to teach them about ancient Greece!
Supplies You’ll Need:
1. Paper –
You can use regular printer paper, but try using brown craft paper for more of an authentic look. It’s also best to have two different colors so that when you cut, you can have a front and backside with contrasting patterns.
2. Fabric Scraps –
You’ll need a long strip of fabric for the headband and additional scraps of fabric for decoration (if you don’t already have them).
3. Ruler –
Indispensable tool! We like to use our metal ruler from Ikea (above), which is easier than plastic rulers during this DIY project because it doesn’t bend or warp.
4. Glue –
Any kind will do, but hot glue is usually best for this type of project because it’s fast-drying, and you don’t have to wait long before moving on to the next step.
5. Scissors –
You’ll need a good pair of sharp scissors for this project – dull blades might tear or rip your paper, so don’t use your best fabric scissors.
6. Paint –
Feel free to decorate the helmet with paint! Use different colors, or go together for an ancient Greek pattern with black, white, and red.
7. Dust Mask –
If you’re cutting up all that paper, it’s better to be safe than sorry! We recommend having a dust mask on hand if your paper starts to fall apart.
Instructions: How to Make a Greek Helmet Out of Paper
Step 1: Prep Your Pieces of Paper
Begin by cutting your paper. You can use regular printer paper for this, but it will look more authentic if you have brown craft paper. First, fold your two pieces of paper in half to be card size (about 4 inches tall). Then cut the long strip to be about an inch and a half wide and ten inches long.
Step 2: Punch Holes
Use your ruler to make an even space between the top of your folded card and the bottom of where you cut the paper strip (about three inches). Mark this with a pencil. Then take your paper strip and use it as a guide to mark holes on the left side, starting at the top and stopping about two inches from the bottom.

Step 3: Attach the Strip of Paper
Take your strip of paper and fold down one end about an inch. Then thread it through the first hole, over the top of your folded card, and out through the second hole. Repeat this process until you come to where you marked your holes about three inches apart. Next, use your ruler to measure out the same space between holes until you’ve reached the end of the strip.
Step 4: Tie the Headband
Now that your strip is threaded through the holes, it’s time to tie them together. First, take one end and fold it back on itself (you’ll probably need help from a friend for this part as it gets tricky). Then thread the other end of your paper strip under and up through the two loops. Finally, tie both ends in a knot.
Step 5: Trim and Glue
Trim your headband so that there is about an inch between the knots on either side of the paper strip and so that it’s not twisted or bent. Then apply glue to where you cut your headband down to size, and press it onto your folded card.
Step 6: Punch Holes on the Opposite Side
Use your ruler to make an even space at the bottom of where you cut your paper strip (about two inches). Then take your paper strip, fold it over itself, and mark out holes on the opposite side, starting at the top and stopping just before the bottom.
Step 7: Attach the Strip of Paper to Your Helmet
Thread your strip of paper through these holes, and tie it as you did for the other side (you’ll need help from a friend again). Next, trim any excess threads, and add any decorations such as paint or fabric scraps. And there you have it, a shiny new paper helmet!
Some Tips and Suggestions:
1. If your hole punches aren’t making clean holes as shown in the photos, you can put a piece of tape over where you’re punching. Then, remove the tape and stick the paperback on there (repeat as necessary).
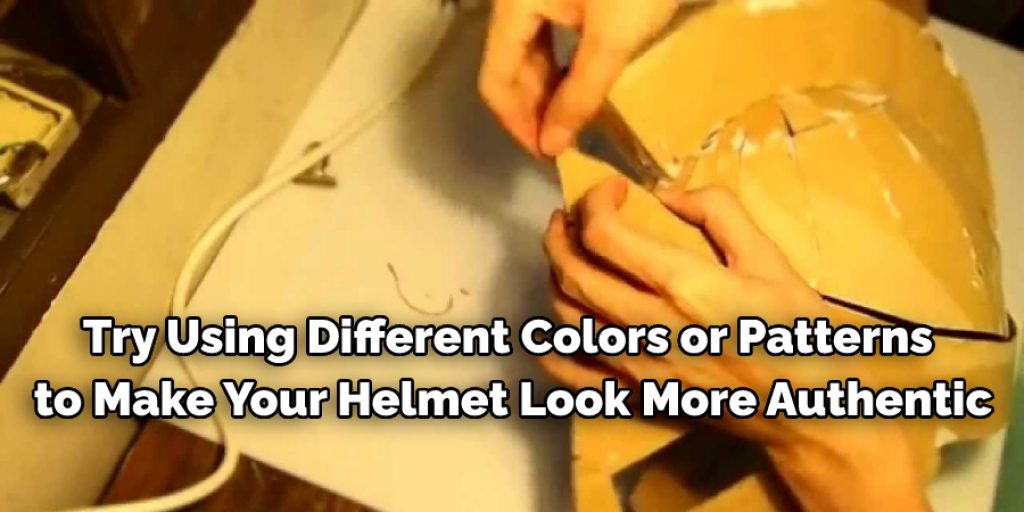
2. Try using different colors or patterns to make your helmet look more authentic!
3. If you’re using patterned or decorative paper, make sure that the side on which you put your strip of paper is pretty so it shows when your helmet is finished.
4. We recommend having a dust mask on hand if your paper starts falling apart.
5. If you’re worried about loose pieces of paper, glue them down!
6. If you don’t want to use a dust mask, try wearing a scarf or something similarly breathable, but stay vigilant that none of the fragments get in your mouth and block off your airway!
Conclusion:
We hope this blog post has helped give you some ideas for making a Greek helmet out of paper. The process is fairly simple and can be accomplished with just about any type of paper, glue, or tape that you have at home.
If you’re looking for an interesting craft project for kids, this one might be it! Of course, you could also use the finished product as a prop in a play or school production if your child needs one. Let us know what other types of crafts we should cover next time by commenting below!
So in this article, you know about how to make a Greek helmet out of paper.
Check Out our article How to Make a Paper Mache Helmet
Elizabeth Davis
Elizabeth is a creative writer and digital editor based in the United States. She has a passion for the arts and crafts, which she developed from a young age. Elizabeth has always loved experimenting with new mediums and sharing her work with others. When she started blogging, she knew that DIYquickly would be the perfect platform to share her tutorials and tips. She's been writing for the blog from the beginning, and her readers love her helpful advice and easy-to-follow instructions. When she's not writing or editing, Elizabeth enjoys spending time with her family and friends.


