
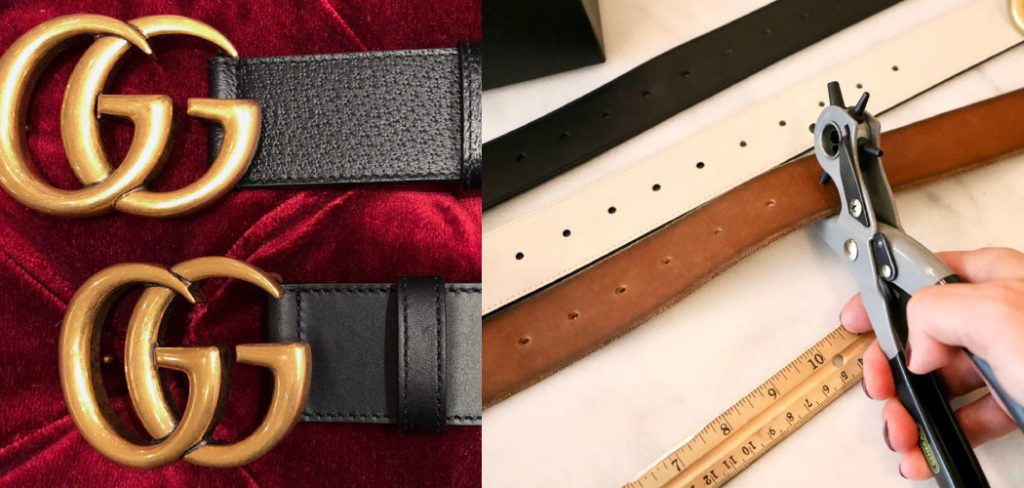
How to Make a Hole in a Gucci Belt
Making a hole in your Gucci belt is easier than you may think. With just a few simple tools and a bit of time, you’ll be able to add a new hole to your belt in no time. In just a few simple steps, you can have a new hole that will allow you to wear your belt the way you want. This guide will show you how to make a hole in a Gucci belt quickly and easily.
To make a hole in a Gucci belt, you will need a sharp object such as a knife. First, cut the desired location for the hole and then use a lighter or heat source to singe the edges of the fabric. This will help keep the hole from fraying. If needed, use a seam ripper to remove any excess fabric carefully. Finally, use an iron to press the hole flat. Keep reading for all the details!
8 Ways on How to Make a Hole in a Gucci Belt
1. Use a Sharp Object:
You can use a sharp object like a knife or a razor blade to make a hole in your Gucci belt. First, find the spot where you want to make the hole and then insert the sharp object into the belt. Next, apply pressure and push the sharp object through the belt.
2. Use a Leather Punch:
If you have a leather punch, you can use it to make a hole in your Gucci belt. First, find the size leather punch that you need. Second, mark where you want to make the hole with a pen or pencil. Third, use the leather punch to make a hole at the mark. Finally, smooth any rough edges with a file or sandpaper.
3. Use a Knife:
If you don’t have a leather punch, you can use a knife to make a hole in your belt. Make sure you are careful and use a sharp knife. Cut a small hole in the center of the belt, and then use your fingers to pry the hole open a little bit more.
4. Use a Hammer and Nail:
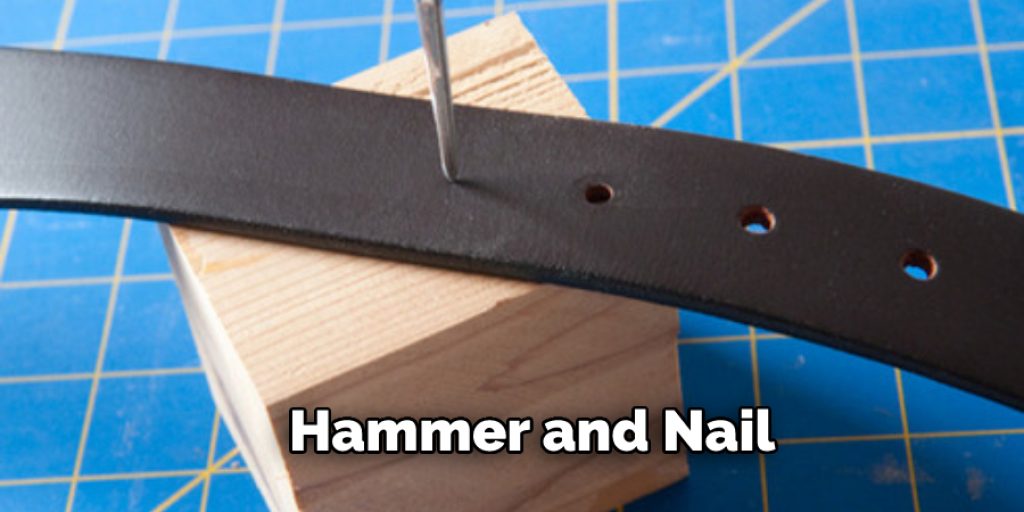
This is the most traditional way to make a hole in a belt. Place the belt around your waist and find where you want the hole to be. Use a hammer to pound a nail through the belt, ensuring it’s centered. Use pliers to remove the nail and smooth out any sharp edges with a file.
5. Use a Rotary Tool With a Cutting Disc:
If you have a rotary tool with a cutting disc, you can use that to cut a hole in your belt. First, ensure the belt is tightly secured around whatever you’re using to hold it in place. Then, slowly and carefully cut the hole by moving the rotary tool around the edge of the marked area.
Cut slowly and evenly, being careful not to go too deep or cut too close to the edge of the belt. When you’re finished cutting, remove the belt and smooth out any rough edges with a file or sandpaper. You can also use a leather punch to make a clean hole in the belt if necessary.
6. Use a Power Drill:
Choose the appropriate drill bit size to make a hole in your Gucci belt that is slightly larger than the width of your buckle. A 3/32-inch drill bit is a good choice for most belt straps. Place the drill bit tip on the strap where you want to make the hole.
Drill slowly and evenly through the strap, using just enough pressure to keep the drill bit moving steadily through the material. Do not force the drill bit or push too hard, or you may damage the belt. When you reach the other side, remove the drill bit and check if the hole is the correct size.
7. Use an X-Acto Knife:
An X-Acto knife is a very sharp knife specifically designed for cutting. It can be used to make a hole in your belt, but you need to be very careful not to cut yourself. First, find the spot where you want to make the hole and then insert the blade of the knife into the belt. Next, apply pressure and push the knife through the belt.
8. See a Professional:
If you are not comfortable making a hole in your belt, you can take it to a professional. A cobbler or a leatherworker will be able to make a hole in your belt without damaging it. They will also be able to advise you on the best way to make a hole in your belt, based on the type of belt you have.
What Things You’ll Need
- Gucci belt
- Pencil or pen
- Scissors
- Ruler or measuring tape
- Hammer
- New hole punch pliers
8. Nail file or emery board
Step by Step Process: How to Make a Hole in a Gucci Belt
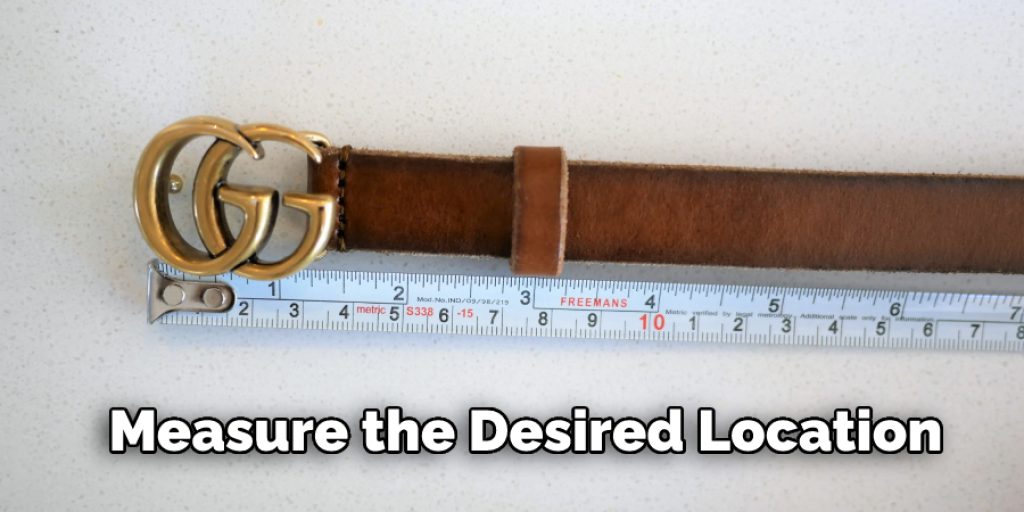
Step 1: Decide on the Placement of the New Hole.
Measure the desired location of the new hole on your belt. Make sure that it is in a spot that can easily be accessed and that it will not interfere with any of the other holes.
Step 2: Mark the Hole with a Pencil or Pen.
Draw a small dot at the spot where you want the new hole to be. This will help you keep the hole in a straight line. If the belt is made of a soft material, you can also use a sharp object to make a tiny hole at the mark.
Step 3: Use a Sharp Tool to Create the Hole.
Once you have your mark, it’s time to create the actual hole. You’ll need a sharp tool for this, such as a needle, a paperclip, or a safety pin. If the belt is made of a soft material, you can also use a sharp object to make a tiny hole at the mark.
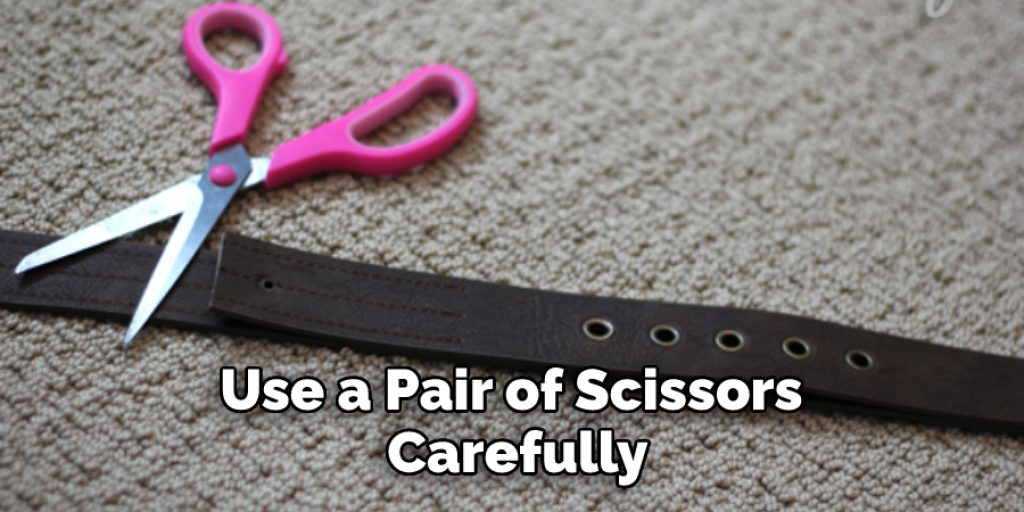
Step 4: Widen the Hole with Scissors.
After you’ve created the initial hole, you’ll need to widen it to accommodate the buckle’s metal bar. Then, use a pair of scissors to carefully cut around the hole, making sure not to cut too much material away.
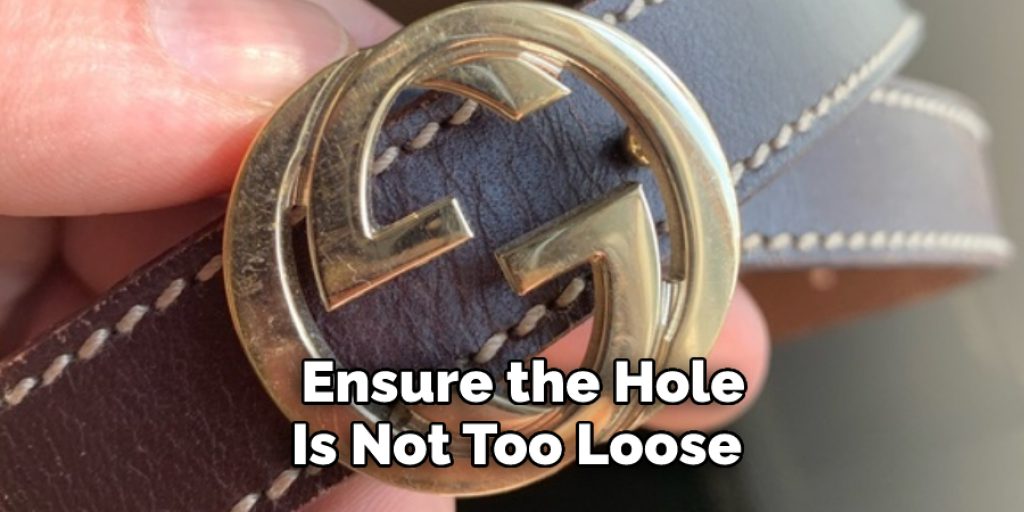
Step 5: Test the Fit of the Buckle.
Before putting the belt back together, make sure that the new hole is the right size by testing out the buckle. It should fit snugly without slipping out. If it’s too tight, you can always make the hole a bit bigger; if it’s too loose, you can tighten it up by folding over a bit of the material around it.
Step 6: Sew the Hole Closed.
Once you’re happy with the size and placement of the hole, it’s time to sew it shut. This will help keep the hole from tearing or widening over time. Use a needle and thread to hand-sew the hole closed, or use a sewing machine if you’re comfortable with that.
Step 7: Trim any Excess Thread.
Once you’ve sewn the hole shut, trim away any excess thread. You can also use a bit of clear nail polish to sealing the thread and prevent it from fraying. And there you have it! You’ve now successfully created a hole in your Gucci belt. Enjoy wearing it with your new, stylish look.
Few Things to Consider When Making a Hole in a Gucci Belt
1. Decide where you want the hole to be first. It’s best to place it in a spot that is not too visible, such as near the buckle or on the back of the belt.
2. Use a sharp object to make a small hole in the belt. A sharp knife or scissors will work well.
3. Make the hole bigger by gently pushing and pulling at the edges until it is the size you want.
4. Make sure the hole size is consistent throughout the belt.
5. Finish off the hole by using a thread and needle to sew up the edges. This will prevent it from fraying.
6. Before wearing the belt, make sure to test it out and ensure the hole is not too loose or too tight.
7. If the hole is too big, you can always make it smaller by sewing it with a needle and thread.
Safety Tips and Advice
Here we have given some tips and advice on how to make a hole in a gucci belt
- When making a hole in your Gucci belt, always use a sharp object.
- Make sure the hole is big enough to fit the buckle through.
- If you are using a knife or other sharp object, be careful not to cut yourself.
- Take your time and make sure the hole is straight and even.
- If you use a drill, make sure the bit is the correct size for the hole you need.
- Drill slowly and carefully to avoid damaging the belt.
- If you are using a punch, make sure it is the correct size for the hole you need.
You Can Check It Out to Open Belt Buckle
Conclusion
A hole in a Gucci belt can be easily fixed with a patch and some strong glue. If the hole is near the buckle, it might be easier to remove the buckle and sew on a patch. Make sure that the new material is slightly larger than the old material to cover up any fraying or loose threads.
Although this guide provides a general overview on how to make a hole in a Gucci belt, it is important to remember that each belt may be different. Always take the time to examine your belt before starting any alterations. If you have any questions or concerns, please reach out to our team for assistance. Thank you for reading, and we hope you enjoy your new DIY belt!
You can check it out to Attach Goruck Hip Belt


