
How to Make a Jeep Diaper Cake
Whenever you hear someone having a baby, it is a happy occasion. Whether it is a new family member or someone you know, you will want to gift the newborn baby and the new parents something. What is a better option than giving them useful things that they can use for the baby? To provide you with some idea of what to gift them, we will introduce you to something called a Jeep diaper cake, and we will also be going to teach you how to make a jeep diaper cake. Check it out If you are looking to make a crib diaper cake or snail diaper cake.
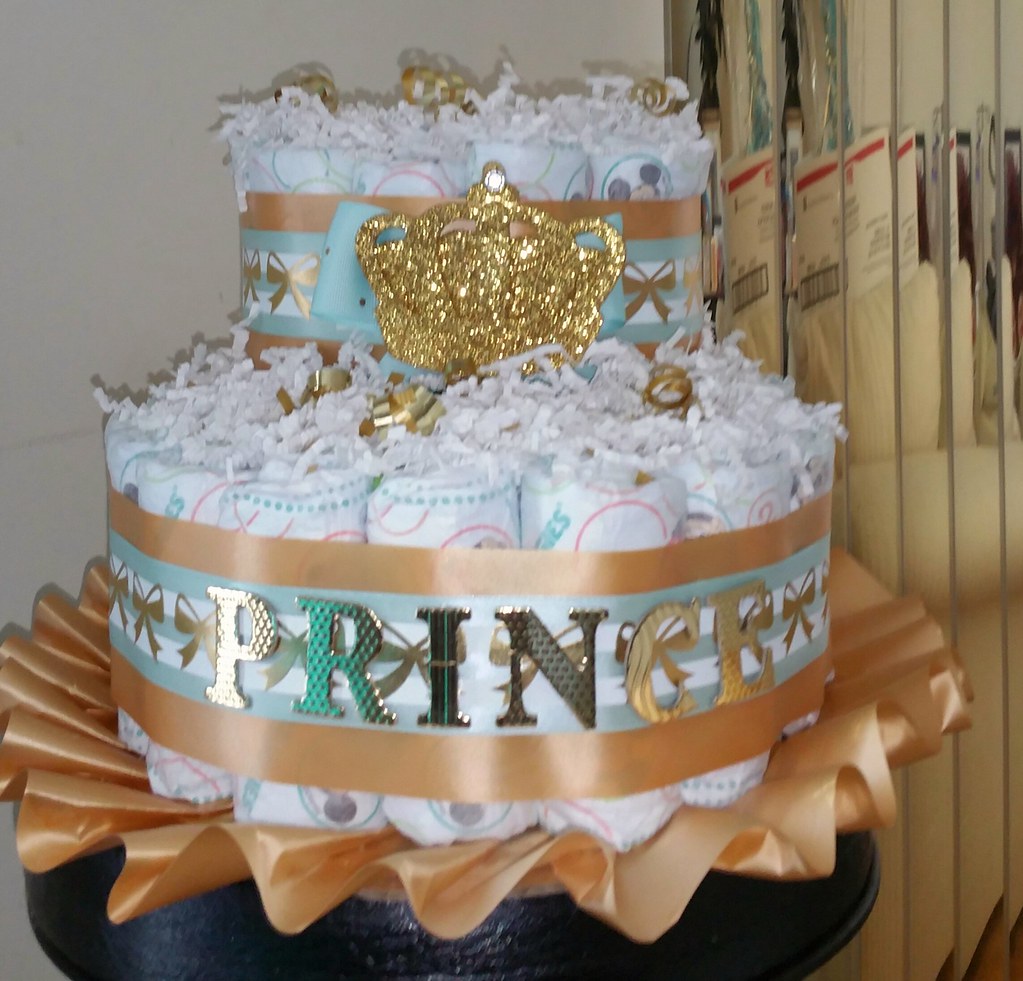
Now, if you have no idea what a jeep diaper cake is, then let us tell you it is not an edible cake. You will not have to bake anything. A jeep diaper cake is making a jeep with diapers, blankets, towels, etc., and it is not edible. The reason for calling it a cake is because you can mistake it for cake from afar. Very humorous indeed!
These diaper cakes are very famous gifts for expecting parents and new parents. Especially if there is going to be a party somewhere, and you will not want to meet the baby or the parents with an empty hand. And if you’re going to make them happy, bring them this diaper cake; they will be over the moon. Also, these cakes are the best option for benefitting and spending money on useful things. After all, they will end up using them all for their child. So, without any further ado, let’s begin by showing you how to make a jeep diaper cake.
Summary: If you’re looking for a unique, fun and festive way to celebrate a baby’s first birthday, look no further than a Jeep diaper cake! This cake is easy to make and requires just a few simple ingredients. First, you’ll need a cake mix and some eggs. Then, you’ll need disposable diapers, Martha Stewart cake decorating supplies and a hot glue gun. Follow these simple steps to create your very own Jeep diaper cake:
1. Preheat the oven to 350 degrees Fahrenheit.
2. Combine the cake mix, eggs and water in a bowl and stir until well combined.
3. Pour the batter into a 9×13 inch baking dish and bake for 30 minutes or until golden brown.
4. Allow the cake to cool before frosting. 5. To frost the cake, first make the filling.
DIY: How to Make a Jeep Diaper Cake
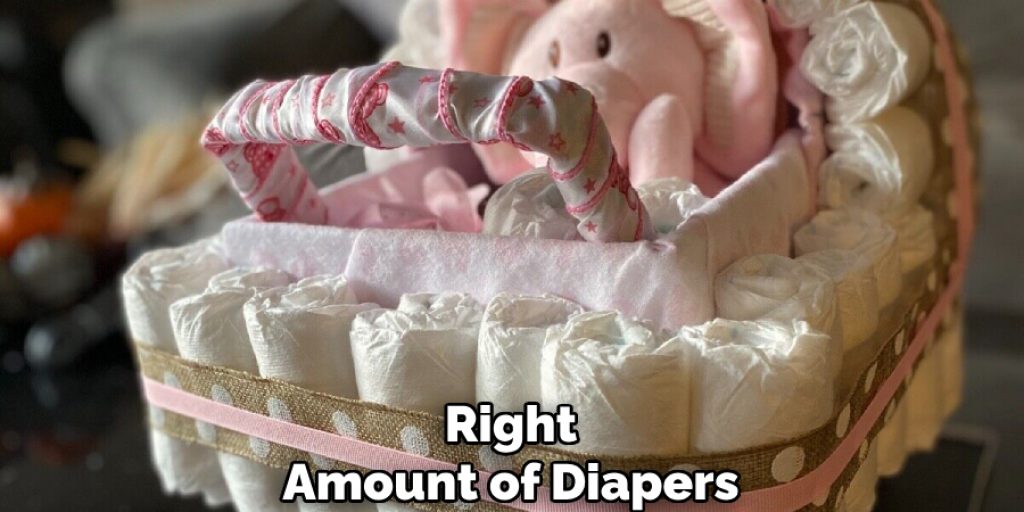
You are making the diaper cake with things that the gifted person is going to use. So, you need to make sure that everything that you are going to include is excellent and proper for a baby to use. The sizing and other things have to be appropriate, as well. Make sure that you have the right amount of diapers. You can always use other things, such as baby powder, lotion, or shampoo. But, it is essential to make sure that you are including the right amount of diapers in the cake.
In this tutorial, we’ll show you how to make a 4×4 diaper cake. We’ll use our measurements, but feel free to alter things to suit your needs.
Materials You Will Need
Before anything, as we have already hinted, you need to purchase all the goodies. The things you are going to need for creating the jeep are listed below-
Diapers Around 82 of Them:
These are the cornerstones of your creation. You will use them to make all four wheels and the body of the jeep.
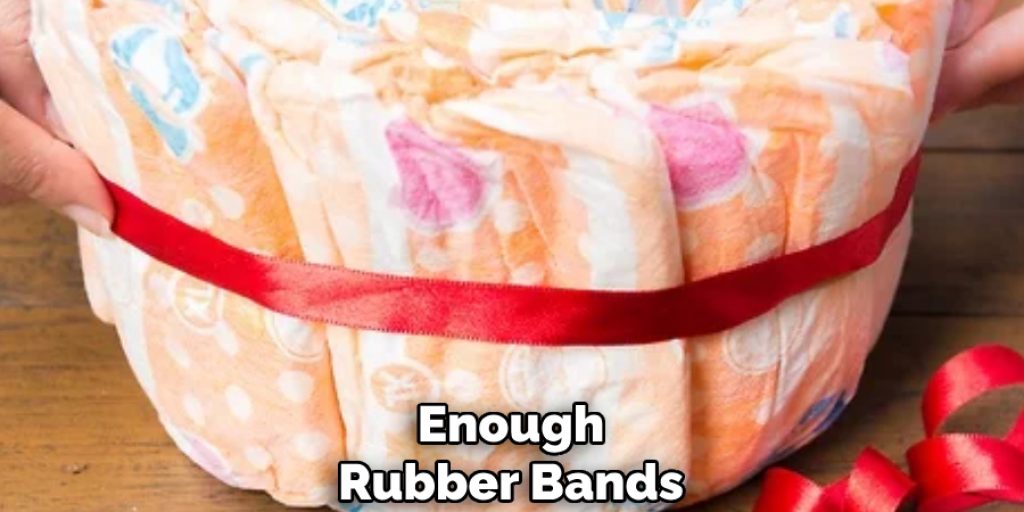
Rubber Bands:
You can never have enough rubber bands when making a diaper cake, so be sure to stock up on plenty!
Cake Base:
This is what you place everything on top of as you assemble your cake. You can purchase a pre-made cake base or make your own using a sturdy piece of cardboard.
Baby Items:
This is where you can get creative! Choose items that the parents will need for the baby, such as receiving blankets, onesies, bibs, pacifiers, etc.
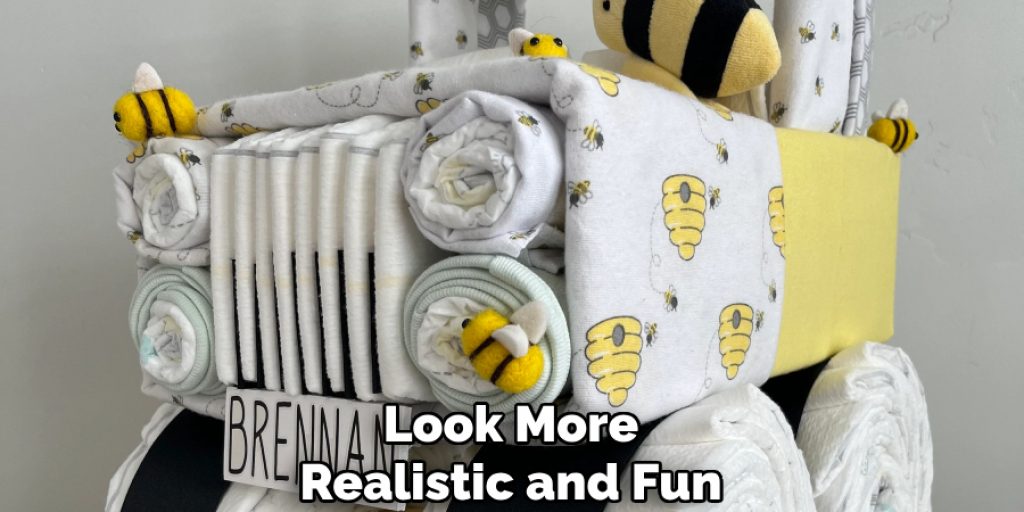
Car Accessories:
To make your jeep look more realistic and fun, you can add car accessories like toy cars, mini steering wheels, decals or stickers.
Scissors and Glue:
To cut and secure the diapers in place.
Ribbon/Bows:
For decoration.
Steps to Follow
Step One
The first step for how to make a jeep diaper cake is the obvious one: get all the materials ready right beside your hand. You cannot start the project without having one item missing. Make sure you have enough diapers to complete the project, as you will need many of them. You can purchase extra diapers if you do not need them. The good thing about this is that you can give the diapers to the parents as well.
Step Two
The next steps will include making each part one by one, and the first part you are going to make is the wheels.
To make the wheels, you will need to use diapers and rubber bands.
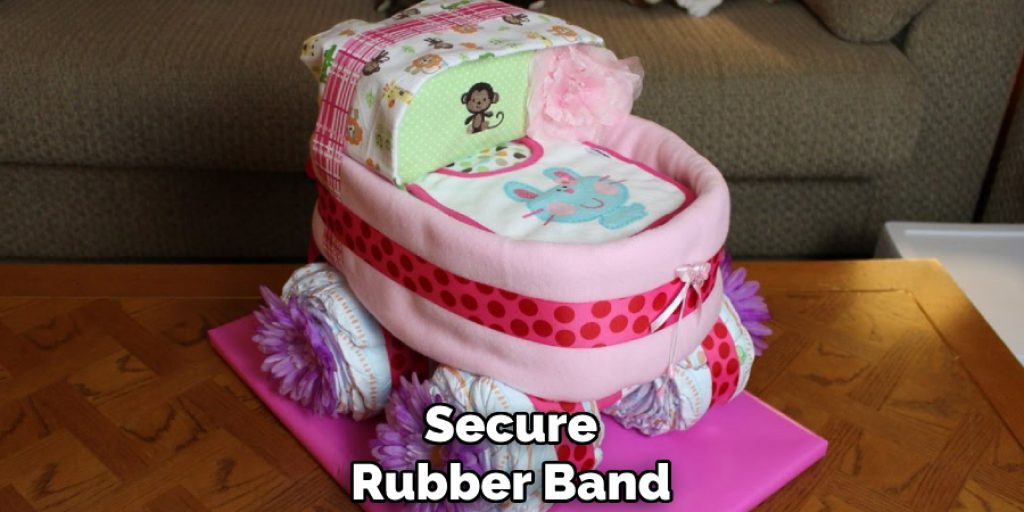
Start by rolling the diapers. You will need to roll 28 diapers and use 7 to make four wheels. After rolling them, you will use seven diapers and create a round shape using them. Secure each of the wheels with rubber bands. Next, you will need to fold the remaining diapers in half and secure them with rubber bands. Then, you will roll them and make a tube out of them.
Step Three
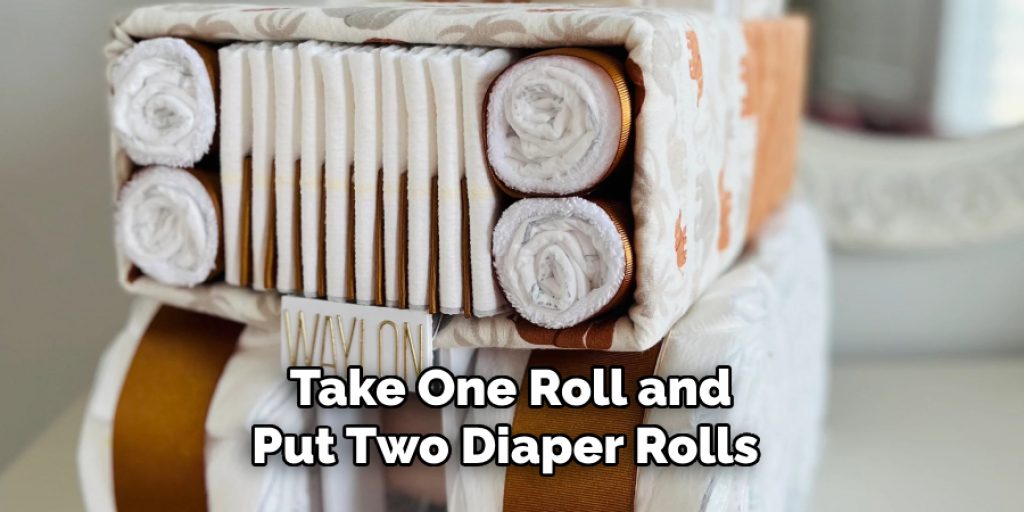
The next step is to make the axles. The axles are going to join the wheels for you.
You will need to make two axles, and to do so; you will need to use paper towel 3
rolls, diapers, washcloths, and tape.
First, take one roll and put two diaper rolls inside the roll. In the middle of the roll, put a washcloth and secure them properly with tape.
Step Four
To make a tie blanket, you first need to lay out a fleece blanket. You can fold it in half if it’s too big. Then, tie knots around the edge of the blanket, about an inch apart.
Take seven diapers and put them on each other. Take a washcloth and put them on one side of the diaper stack, and secure it with the rubber band. You need to make two of them. Now take the two diaper-and-washcloth stacks and put them on each other, making sure that the washcloths are facing each other. Take another rubber band and secure it around the middle. You should now have a big, bulky, square-shaped object.
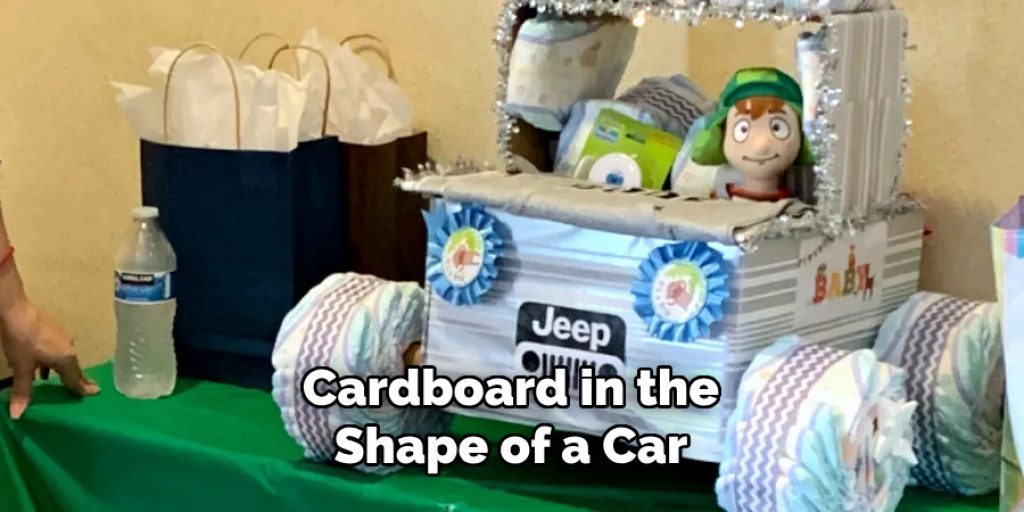
Cut two pieces of cardboard in the shape of a car. After making them, put them on each side of the blanket, and you will have the front and the back of the car.
Step Five
The next step is to make headlights. You will need to make four headlights.
Take a roll-up of the diaper and tuck it to a sock, and you will have the headlight ready. Make four of them. And put them on each side of the previously made diaper stack. Tape them to secure properly. You can also use glue to fix the headlights. It is essential to make sure that the headlights are secure properly. They will also need to be facing the right direction.
Step Six
The next step is to complete the body of the jeep. To do that, you need to fill up the central place using diaper rolls and diapers to even everything out.
Put the foam board or cardboard on top of it.
After filling them up, wrap the whole body with the fleece blanket and carefully flip the entire thing—wrap ribbons on the front and back of the jeep body.
Step Seven
Now it is time to make the cab. To do so, you need to take 12 diapers and make a stack with them. Secure the stack with a rubber band.
Take a blanket and wrap it around the stack like a gift wrapper and secure it with paperclips.
Put the stack on top of the jeep body. The placement should be more on the front than on the back.
Step Eight
Take the two bibs. Put one on top of the cab and another one underneath it to drape over the front. You will have the car, food and windshield ready. You can experiment with different colored bibs to make the jeep look more attractive. You can also add other baby items to decorate the cab, such as a pacifier for the steering wheel or onesies for windows.
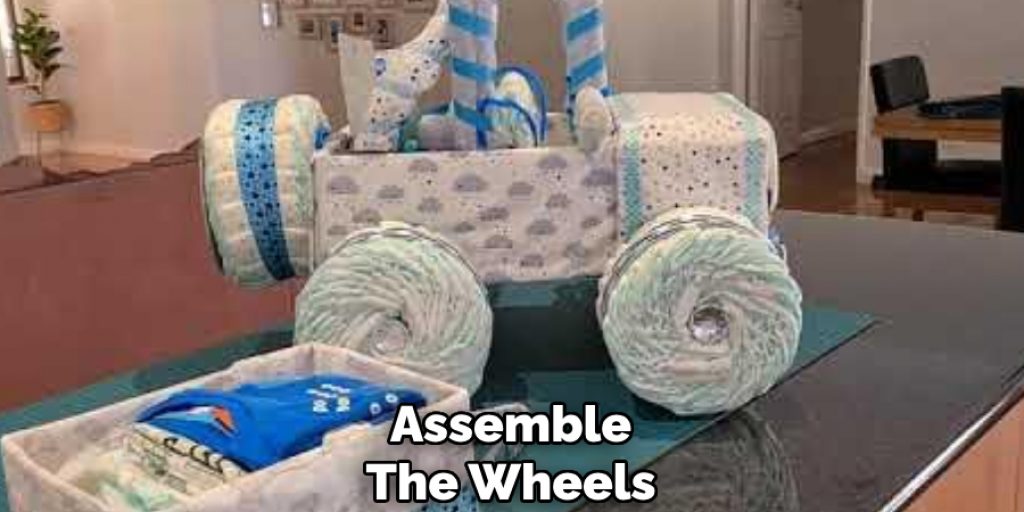
Step Nine
You are correctly done, with the body of the jeep. Now you have to assemble the wheels onto it. To do that, you take two of the rounded diaper rolls and shove them on the axles, and they will stay secure. To make everything look good, you can use ribbons and plastic flowers.
Place the jeep body on top of the two wheels, and your jeep is ready.
Step Ten
This will include the final touch of the whole project. If you need to, you can add more ribbons wherever you wish to, and you can make extra decorations with anything that you think will look good on the diaper jeep.

And there you have, your jeep diaper cake ready. Before you set off to gift it, you need to make an appropriate box to fit the diaper cake and decorate the box as you want to gift it. This will be one of the perfect gifts for the new parents. They will appreciate this gift a lot since you have made it by yourself. You can also add small notes on top of the box, mentioning how you had fun making it or how excited you are for welcoming their little bundle of joy to the world.
Ideas for Personalization
- Use themed baby items such as safari animals or cartoon characters to decorate the jeep.
- Add personalized decals or stickers with the baby’s name or initials on the doors or windows of the jeep.
- Use fabric markers to draw designs or write messages on the fleece blanket, such as “Welcome Baby” or “It’s a Boy/Girl.”
- Incorporate special items that hold meaning for the new parents, such as a toy or accessory from their favorite sports team.
- Use different colored diapers to create a pattern on the wheels or body of the jeep.
- Add small toys or rattles hanging from the rearview mirror or attached to the sides of the jeep for extra decoration.
- Include a personalized diaper cake topper with the baby’s name or birth date. Overall, have fun and be creative with the personalization to make the diaper jeep unique and special for new parents. With your personalized touches, this gift will be a cherished keepsake for years to come.
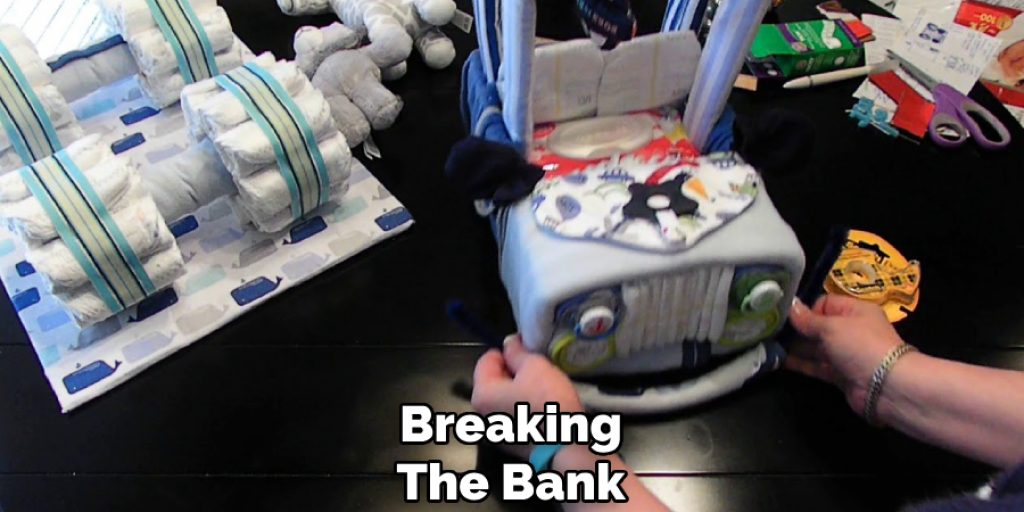
How Much Could It Cost?
The cost of making a diaper jeep cake can vary depending on the materials and decorations used. On average, the cost of supplies can range from $30 to $50. However, by using items you already have at home or finding deals on supplies, you could potentially make the diaper jeep for less.
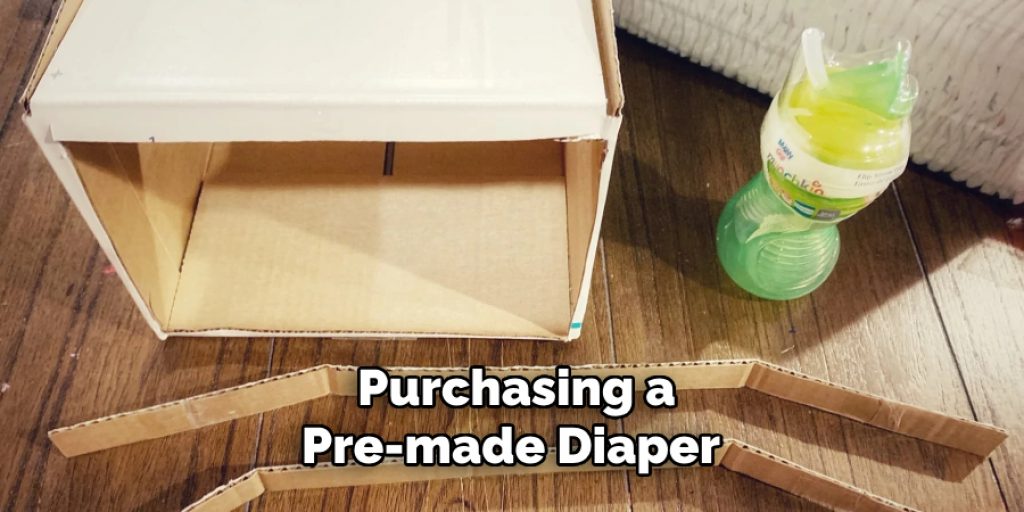
Additionally, if you are considering purchasing a pre-made diaper cake from a store or online, the cost can range from $50 to $100 or more. Making a diaper jeep yourself not only allows for personalization but can also be a more affordable option. Overall, the cost will depend on your budget and preferences, but it is possible to create a beautiful and unique diaper Jeep cake without breaking the bank.
Frequently Asked Questions:
Q: How Long Does It Take to Make a Diaper Jeep?
A: It depends on your skill level and the amount of detail you add, but on average, it can take around 1-2 hours. You can also split the steps into multiple sessions to make it more manageable. It’s important to take your time and have fun with the process instead of rushing it. The end result will be worth it!
Q: Do I Need Any Special Materials to Make a Diaper Jeep?
A: No, you do not need any special materials. All the necessary items can be found at your local craft store or online. You can also use household items like cardboard and ribbons to add a personal touch. It’s a budget-friendly and customizable project. You may also want to have scissors, tape or glue, and rubber bands on hand.
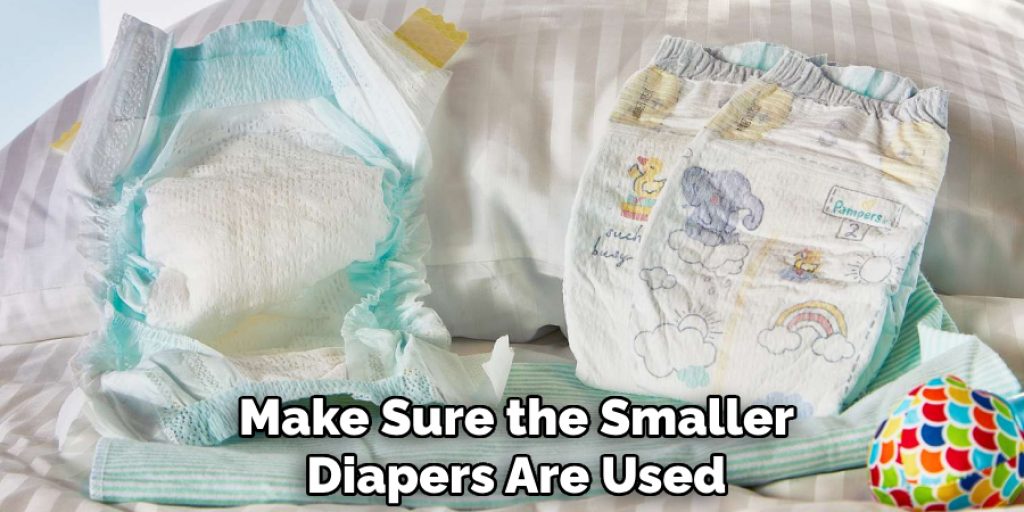
Q: Can I Use Different-Sized Diapers for the Diaper Jeep?
A: Yes, you can use diapers in different sizes depending on your preference. However, it is recommended to use diapers in size one or two as they are the most versatile and will be able to hold their shape better when assembled into the jeep. You can also mix and match different sizes to add variation to the overall design. If using different sizes, make sure the smaller diapers are used towards the top of the jeep to maintain its structure.
Q: Can I Make a Diaper Jeep for Twins or Multiples?
A: Absolutely! You can adjust the number of diapers and other materials used to accommodate multiple babies. For twins, you can make two smaller diaper jeeps or one larger one using double the amount of materials. Get creative and have fun with it! The new parents will appreciate the special effort put into making a diaper jeep for their multiples. So, it is an excellent baby shower gift idea for twins or multiples!
Q: Is it Difficult to Transport or Ship a Diaper Jeep?
A: Yes, due to its size and delicate nature, it can be challenging to transport or ship a diaper jeep. If you are attending a baby shower in person, it is best to assemble the diaper jeep at the location. For gifting from a distance, consider disassembling the parts and providing instructions for the new parents to assemble them themselves. You can also gift a diaper jeep-themed gift card or certificate with all the necessary materials included, allowing the new parents to make their own diaper jeep at their convenience.
Overall, making a diaper jeep is a fun and unique way to create a memorable baby shower gift for expecting parents. By following these simple steps and adding personalized touches, you can make a one-of-a-kind diaper jeep that will surely impress and delight new parents. Have fun crafting and gifting your special creation! Happy baby showering!
Final Thoughts
That was all you need to know on how to make a jeep diaper cake. Now, you can make them whenever you want and gift them to the expecting or new parents. You can gift them for a baby shower or, during their first birthday or whatever occasion you need. With that, you will be making the parents happy by helping them by providing the goodies that they can use for their newborns. Indeed, they will be happy by getting beneficial materials while being surprised by the amazing jeep. And as you make them, you will be happy to be creative and learn many things on the way.
Angela Ervin
Angela is the executive editor of DIY quickly. She began her career as an interior designer before applying her strategic and creative passion to lifestyle and home. She has close to 15 years of experience in creative writing and online content strategy for housekeeping, home decorations as well as other niche efforts. She loves her job and has the privilege of working with an extraordinary team. She lives with her husband, two sons, and daughter in Petersburg. When she's not busy working she spent time with her family.


