
How to Make a Kazoo With Popsicle Sticks
Kazoos are an old-fashioned toy that is still popular today. All you need to make is some Popsicle sticks, a rubber band, and a cardboard tube; these materials can be sourced at any craft store. Please make sure the popsicle sticks are sturdy by testing them out first before proceeding with the next steps of making your kazoo.
This blog will cover how to make a kazoo with popsicle sticks using different methods using glue (or hot glue), tape, or beeswax; all methods require two popsicle sticks for each kazoo. The method with glue requires more time but provides stronger results than taping or beeswaxing alone. Listed below are step-by-step instructions for the process.
What is Kazoo?
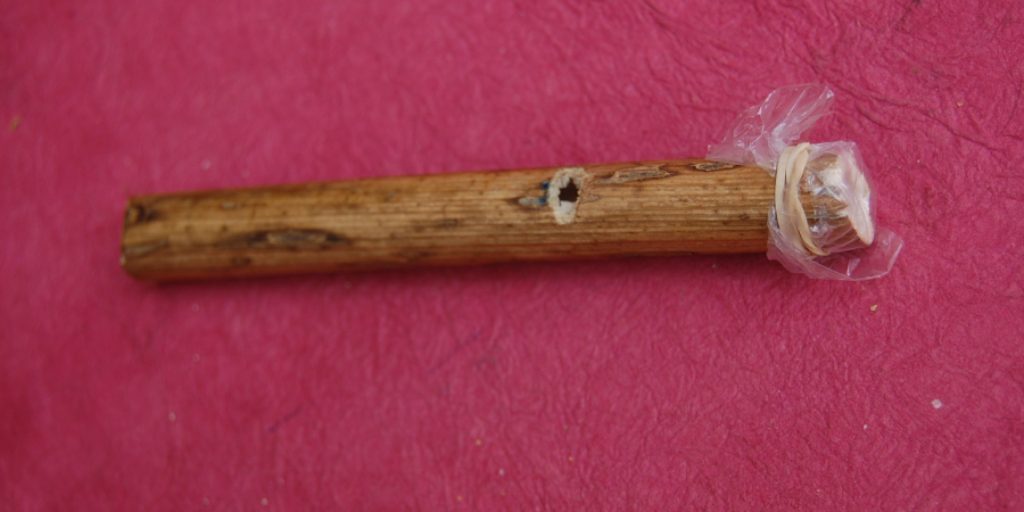
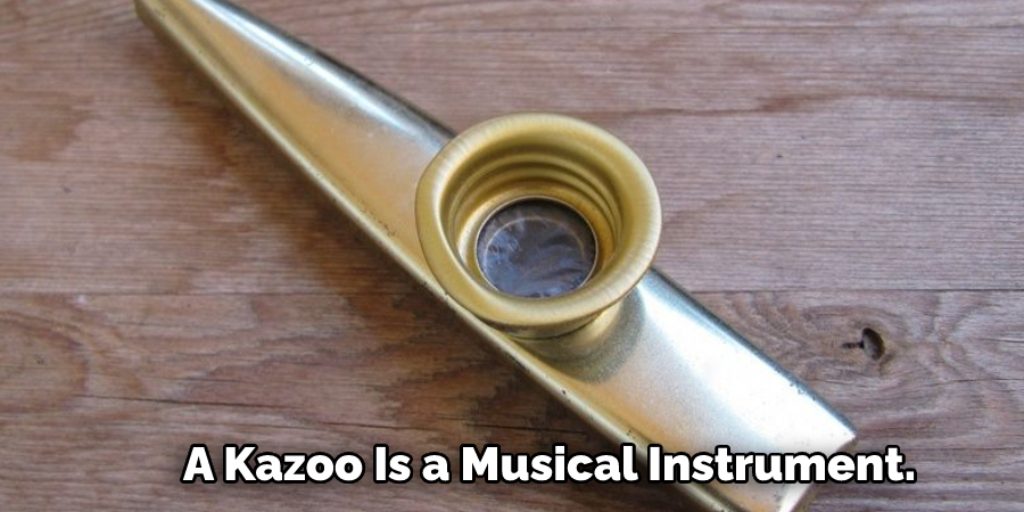
A kazoo is a musical instrument. Kazoos are very easy to make. Kazoos can be made from many everyday items, such as paper plates and toilet paper rolls. The most common type of kazoo is made from a plastic drinking straw. The straw is cut in half, and one end is tightly rolled around itself to form a small tube with one closed end. Any paper can then be slid into the open end to create the membrane or diaphragm. These are also easy to make.
The kazoo’s sound is made by pushing air through its membrane, which vibrates and produces a buzzing noise. It might remind you of the sound a bee makes. The pitch can be changed by holding the tube-like section of the kazoo tighter or looser.
Step by Step Guide: How to Make a Kazoo with Popsicle Sticks
Step 1:
Using the craft glue, attach one popsicle stick to another in an ‘X’ formation. Ensure that the side you attach them to is facing up rather than down; the side you attach the popsicle sticks to will face downwards in the end product.
Step 2:
Continue this process until you have four sets of two popsicle sticks each. Ensure that the side you attach them to is facing up rather than down.
Step 3:
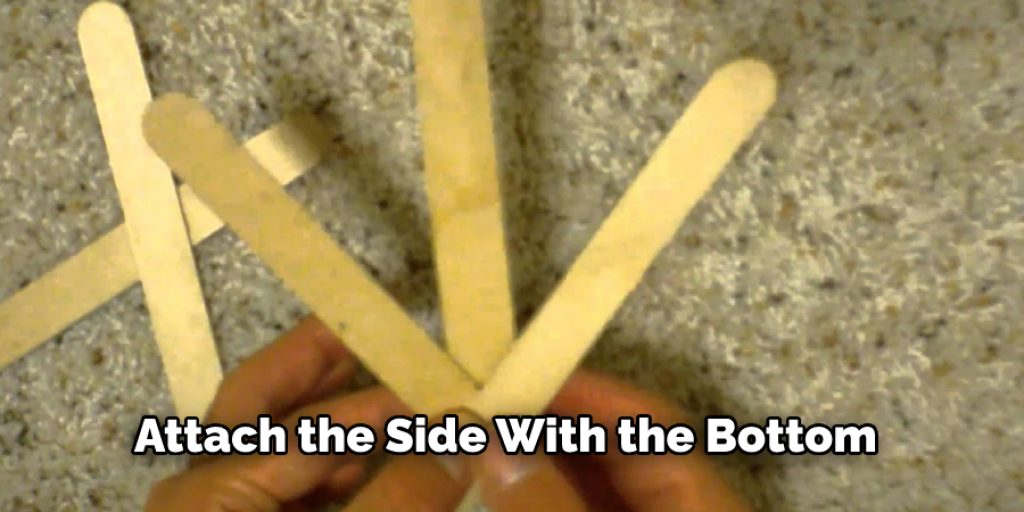
Attach these four sets, making sure to attach the side with the bottom of the popsicle stick facing down and the top of the popsicle stick facing upwards (so they will create sound when they flap under the bottom layer.)
Step 4:
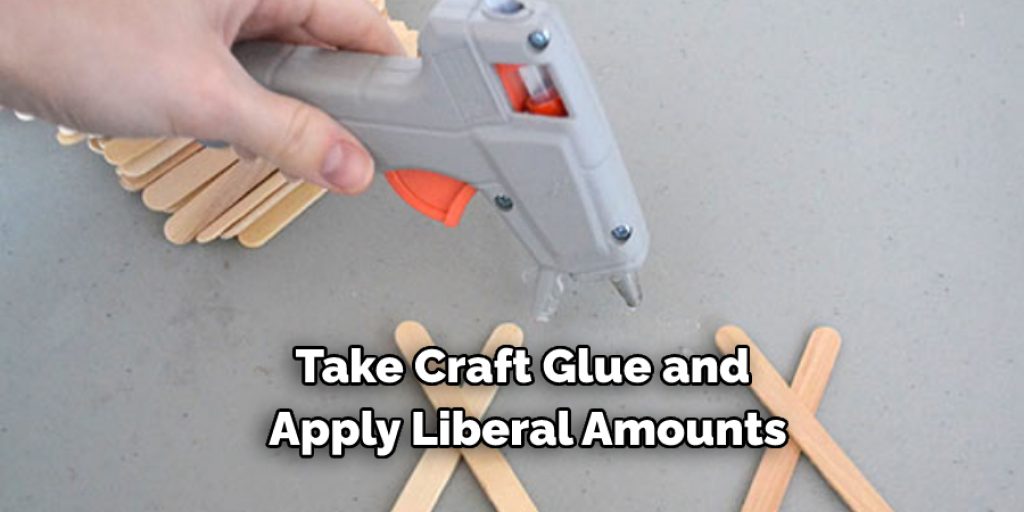
Take your craft glue and add a liberal amount to the top of each popsicle stick; these will be used as the hinges. After applying glue to the top, attach it to the bottom in an ‘X’ formation. Make sure that you attach them like this the “x” represents the popsicle stick, and the two vertical lines represent where it is glued to another popsicle stick.
Step 5:
Take your scissors and cut out another popsicle stick like you did for the base. Attach it to the top of all four sets of “hinges” so that one side is sticking up to create a roof over your kazoo while still allowing sound waves in.
Step 6:
Add your craft glue to the top of this popsicle stick as well. Make sure that you apply it from one end of the popsicle stick to the other, not just the middle. Finally, attach the second layer of popsicle sticks to create a multi-layered roof for your kazoo.
Step 7:
Take a third popsicle stick and cut out a small notch on its top, which you will attach to the base popsicle sticks. This notch represents your kazoo’s speaker. Make sure that when you attach this piece, it sticks upwards so that sound can go into it from underneath instead of falling out the backside.

Step 8:
Take your craft glue and apply it to the top of this piece. Please attach it to all four sets so that one side is sticking up and the other side is facing downwards (the perfect alignment needed for sound to flow into it.)
Step 9:

Take a marker and color any parts of the kazoo that look gray. This is a tedious step but makes your creation more aesthetically pleasing. You can also paint it or use colored construction paper to cover the tops to make them more colorful.
Step 10:
Take your scissors and cut out small notches on the top of each popsicle stick. These are where you will be attaching the rubber bands. Cut them to be about 1/4 inch deep or deep enough to make a decent sound when flapped against another popsicle stick. Make sure that all four sets get flaps on the same side.
Step 11:
Take your rubber bands and cut them in half. This is necessary because the rubber band will stretch too far and be too difficult to attach or detach from the popsicle sticks if you don’t do this. Make sure that placing the rubber band on a popsicle stick is facing away from the speaker. If you don’t, it will create an awkward sound when flapped against another popsicle stick.
Step 12:
Take your craft glue and apply liberal amounts to each notch that you made. Next, attach the rubber bands to the top of your popsicle sticks and let them dry completely before using them Congratulations! You have now created a Kazoo with Popsicle Sticks! You must attach it to a straw or special Kazoo instrument, and you will be ready to play it!
How to Make a Popsicle Stick Kazoo?
Making a kazoo out of a popsicle stick is an easy, fun craft that can bring hours of entertainment to kids and adults alike. You only need two wooden popsicle sticks, a rubber band, and some wax paper!
First, hold the two popsicle sticks together. Then, wrap the rubber band around the middle of the sticks to hold them together in an X-shape. Next, cut a piece of wax paper so that it is large enough to cover both sides of the X-shape. Finally, gently blow into one end to make your homemade kazoo!
Frequently Asked Question
What Can You Use to Make a Kazoo?
There are many things that you can use to make a kazoo. One popular option is a plastic water bottle. Cut off the top of the water bottle, and then cut a small hole in the side so that your mouth can fit inside. Next, cut a small hole in the bottom of the water bottle so that air can escape and create sound when you play the kazoo.
You can also use an empty container such as a milk carton or juice box. Cut out a small hole in one end and insert your mouth so that the sound waves will be emitted when you play the kazoo. You can also use an old phone case or bag to make a kazoo. Simply cut out a large enough hole to fit your head and mouth inside, and then start playing!
Can You Make a Kazoo With Parchment Paper?
Yes, you can make a kazoo with parchment paper. To do this, you will need to cut a circular piece of parchment paper that is about the size of your kazoo’s bell. Then, you will need to trace the outline of your kazoo’s bell onto the parchment paper. Next, you will need to cut out the bell shape from the parchment paper. Finally, you will need to fold the top and bottom of the bell up so that they meet in the middle and then glue them together using a small amount of glue.
Why Is My Kazoo Not Working?
Kazoos are a popular toy that children love. However, if you’re not using the kazoo properly, it may not work properly. Here are some tips on how to keep your kazoo working:
1. Ensure the kazoo is clean and free of dust and dirt.
2. Make sure the batteries are fresh and in good condition.
3. Keep the kazoo away from water or other liquids.
4. Don’t use the kazoo near a heat source or in direct sunlight.
Are There Professional Kazoo Players?
There are professional kazoo players, but it is not a well-known profession. Kazoos are usually played in parades and at other events such as festivals.
Conclusion:
The kazoo is a simple instrument created with two popsicle sticks taped together, but it sounds amazing. If you are looking for an easy-to-make and inexpensive musical instrument, this might do the trick! Kids will love making their own instruments, so this could be a fun project for them.
We hope you found these instructions helpful in creating your very own kazoo! Feel free to share any pictures of your creations on our Facebook or Instagram accounts if you would like us to repost some of them there! Thanks again for reading today’s blog post about how to make a Kazoo with Popsicle Sticks.


