
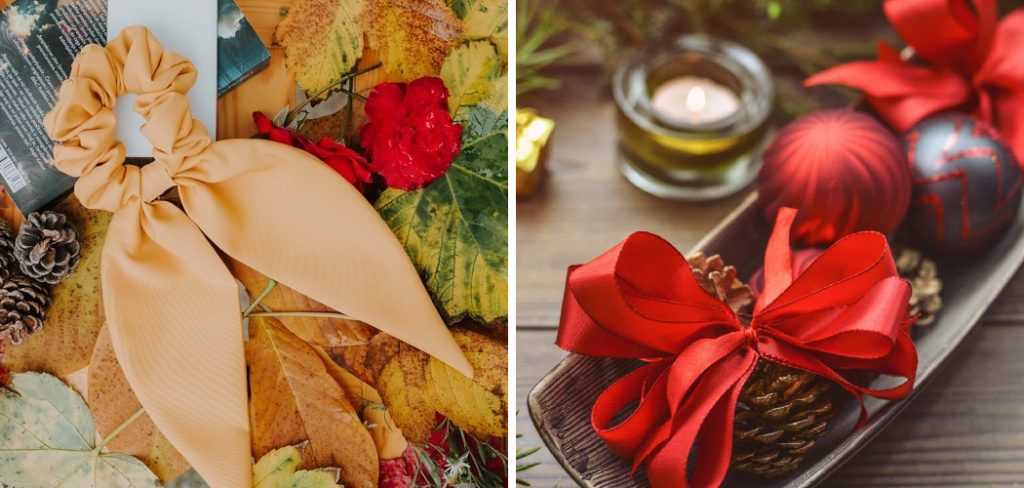
How to Make Quilted Ornament With Ribbon
Quilted ornaments crafted with ribbon are a delightful and intricate way to enhance your holiday decor. These beautiful, handmade creations bring a touch of elegance and nostalgia to any Christmas tree or home decoration. Not only are they a joy to make, but they also serve as heartfelt gifts for friends and family.
In this guide on how to make quilted ornament with ribbon, we’ll walk through the steps of creating your own quilted ornament with ribbon, breaking down the process into simple, manageable parts. Whether you’re a seasoned crafter or a novice looking to undertake a new project, this tutorial will equip you with everything you need to create your own festive masterpiece.
What is Quilting?
Before we dive into the process, let’s first understand what quilting actually is. Quilting is a traditional sewing technique that involves stitching together layers of fabric to create a padded material, typically used for blankets or other textile products. The stitching is done in a decorative pattern, adding both function and aesthetic appeal to the final product. Quilting has a long history dating back centuries, with different cultures and regions having their own unique styles and techniques.
You may be wondering how this relates to making quilted ornaments with ribbon. Well, the same principles of quilting can be applied on a smaller scale to create these delicate and beautiful decorations. Instead of using layers of fabric, we will use layers of ribbon to achieve a similar effect.
Why Make Quilted Ornaments with Ribbon?
There are many reasons why making quilted ornaments with ribbon is a great craft to undertake. Here are just a few:
It’s Budget-friendly:
You can create stunning quilted ornaments with just a few materials, making it an affordable craft.
It’s Customizable:
With endless color and design possibilities, you can make these ornaments to match any theme or decor.
It’s Easy and Relaxing:
Quilting requires repetitive stitching, which can be quite calming and therapeutic. It’s a great way to unwind after a busy day.
It Makes for Great Gifts:
As mentioned earlier, quilted ornaments with ribbon are not only beautiful but also thoughtful gifts for loved ones. You can personalize them with special colors or patterns, making each one unique.
Materials and Tools:
Before we begin, gather all the necessary materials and tools. Here’s a list of what you’ll need:
A Ball Ornament (Preferably Shatterproof for Durability):
Choose a ball ornament of your desired size and color to serve as the base for your quilted ornament. To ensure durability, opt for shatterproof ornaments instead of glass ones.
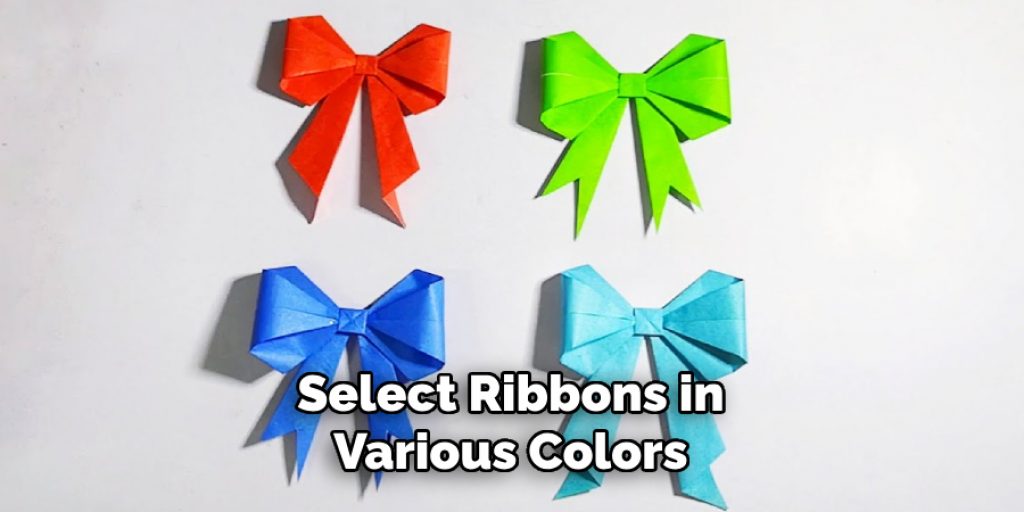
Ribbon (Multiple Colors and Widths):
Select ribbons in various colors, patterns, and widths to achieve the desired visual effect. You can choose traditional Christmas colors like red, green, and gold or go for a more modern look with pastel shades.
Fabric Scissors:
Fabric scissors are essential for cutting the ribbon into precise measurements without fraying the edges.
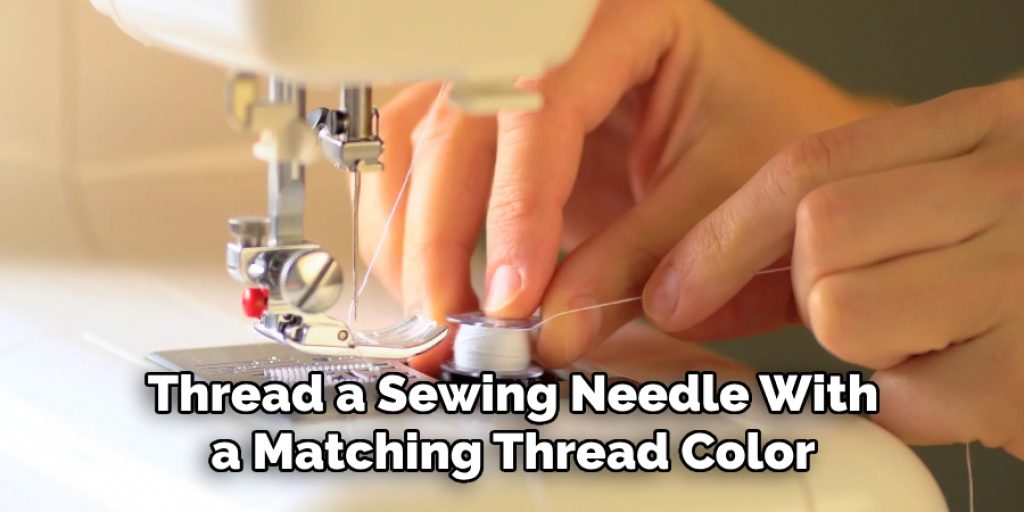
Sewing Needle and Thread (or Glue Gun):
If you’re a skilled seamstress, use a sewing needle and thread to stitch the ribbons together. Alternatively, you can use a glue gun for a quicker and easier process.
Embellishments (Optional):
You can add extra embellishments like buttons, beads, or sequins to your quilted ornament to make it more unique and personalized.
11 Step-by-step Guidelines on How to Make Quilted Ornament With Ribbon:
Step 1: Cut 2-inch Pieces of Ribbon
Using the fabric scissors, cut 2-inch pieces of ribbon in various colors and patterns. The number of pieces you’ll need will depend on the size of your ornament and how tightly you want to quilt the ribbons together. You can start with 20-30 pieces and add more as needed. It’s better to have extra pieces than not enough. But be careful not to overcrowd the ornament as it can make it look messy.
Step 2: Prepare the Needle and Thread
Thread a sewing needle with a matching thread color, or heat up your glue gun if you’re opting for that method. You can also use a tapestry needle, which has a larger eye and is easier to thread. But keep in mind that a thicker needle may leave larger holes in the ornament. The choice is yours! But if you’re using a glue gun, skip this step.
Step 3: Secure the First Ribbon Piece
Place your first ribbon piece on the top of the ornament and secure it with a drop of glue or by stitching it in place. This will serve as the starting point for your quilted design. It’s best to start at the top and work your way down to ensure a smooth and even look. If you’re using glue, be careful not to use too much as it can seep out and make a mess. The glue should only be used to hold the ribbons in place, not to secure them together.
Step 4: Add More Ribbon Pieces
Add more ribbon pieces around the first one, securing them in place with either glue or stitches. You can vary the colors and patterns to create an interesting design. Make sure to leave a small gap between each ribbon piece to give the ornament room to expand and avoid overcrowding. You can also rotate the ornament as you go to create a more symmetrical look. It’s best to work in small sections, adding a few pieces at a time and then securing them before moving on.
Step 5: Continue Adding Ribbons
Continue adding ribbons in layers, working your way down the ornament. You can overlap some pieces or leave gaps for a more intricate design. Just make sure to secure each piece before adding the next one. The number of layers will depend on the size and shape of your ornament, but aim for at least 3-4 layers to achieve the quilted effect. But again, it’s best to start with fewer layers and add more if needed. The last thing you want is to overcrowd the ornament and make it look messy.
Step 6: Vary the Ribbon Width
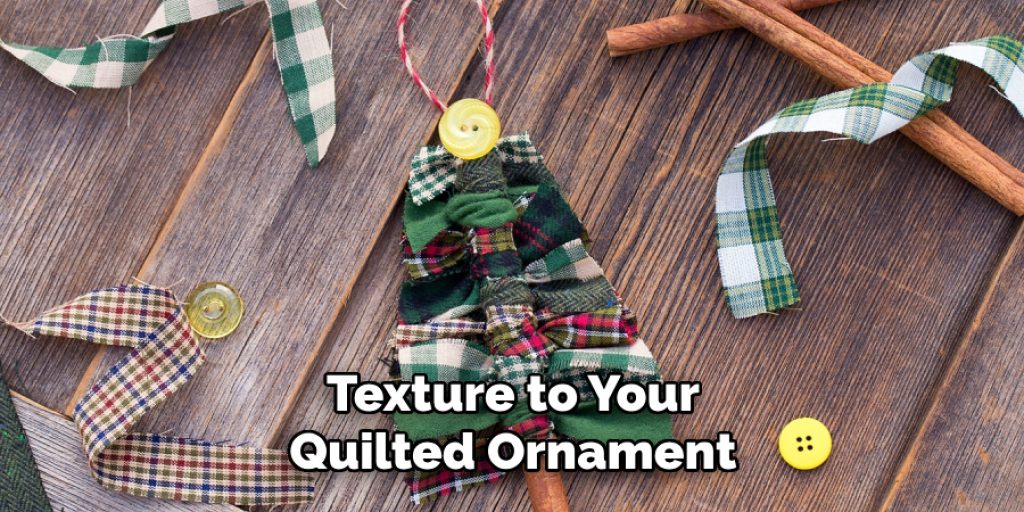
To add more visual interest and texture to your quilted ornament, vary the width of the ribbon pieces you use. Mix thin and wide ribbons together for a more dynamic look. The thinner ribbons can be used for smaller areas, while the wider ones can serve as a base layer or focal point. You can also use ribbons with different textures, like satin, grosgrain, or velvet, to add dimension to your design. You can even combine ribbons with different textures and widths for a truly unique look.
Step 7: Secure the Last Layer
Once you’ve added all your ribbon layers and achieved the desired look, secure the last layer in place with either glue or stitches. This will ensure that everything stays in place and your ornament doesn’t unravel over time. But be careful not to make the stitches too tight as it can distort the shape of your ornament. The glue should only be used to secure the ribbon pieces together, not to hold them in place on the ornament.
Step 8: Add Embellishments
If you want to add extra embellishments, now is the time. You can glue on buttons, beads, or sequins to add some sparkle and personality to your ornament. Just make sure not to overcrowd it and keep the overall design in mind. The embellishments should enhance the quilted look, not overpower it. You can also use the embellishments to cover any gaps or imperfections in your quilted design. It’s all about getting creative and making it your own.
Step 9: Let It Dry
If you used a glue gun, let your ornament dry completely before moving on to the next step. This will ensure that everything stays in place and doesn’t come apart when you handle it. If you used stitches, then move on to the next step right away. The thread will secure everything in place as you work. You can also use a clear glue or fabric stiffener on the back of your ornament to prevent it from fraying over time.
Step 10: Add a Hanging Loop
To turn your quilted ribbon ornament into a hanging decoration, cut a small piece of matching ribbon and form it into a loop. You can glue or stitch the ends together and then attach them to the top of your ornament. Make sure to secure the loop well, as it will be holding the weight of the ornament when it’s hanging. You can also add a small bow or knot at the top for an extra touch. You can use the same ribbon you used for your ornament or a different one for contrast.
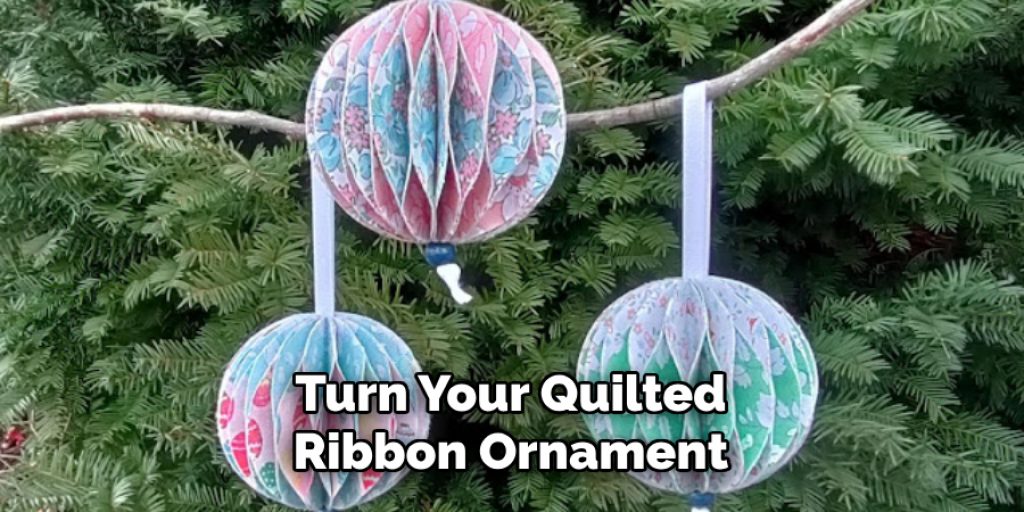
Step 11: Enjoy Your Handmade Quilted Ribbon Ornament
And there you have it! A beautiful and unique quilted ribbon ornament that you can proudly display on your Christmas tree or give as a gift to someone special. The possibilities are endless with this technique, and you can create different designs and color combinations for every occasion. Just make sure to have fun with it and let your creativity shine!
Following these steps on how to make quilted ornament with ribbon, you can create a stunning quilted ribbon ornament that will add a personal and handmade touch to your holiday decor. Feel free to experiment with different ribbons, embellishments, and designs to make it truly unique. You can even involve your family or friends in the process for a fun and festive crafting activity. And don’t stop at just one ornament – make a whole set for a cohesive and coordinated look on your tree. Happy crafting!
Variations and Creative Ideas
- Instead of using ribbon, try using fabric strips or lace for a different texture and look.
- Use metallic ribbons or glitter glue to add some extra sparkle to your ornament.
- Cut the ribbons into different shapes, such as triangles or diamonds, before attaching them to the ornament for a more intricate design.
- Use a monochromatic color scheme for a more elegant and sophisticated look.
- Make smaller versions of these ornaments to use as gift toppers or table decorations.
- Experiment with different patterns, such as chevrons or polka dots, by using patterned ribbons.
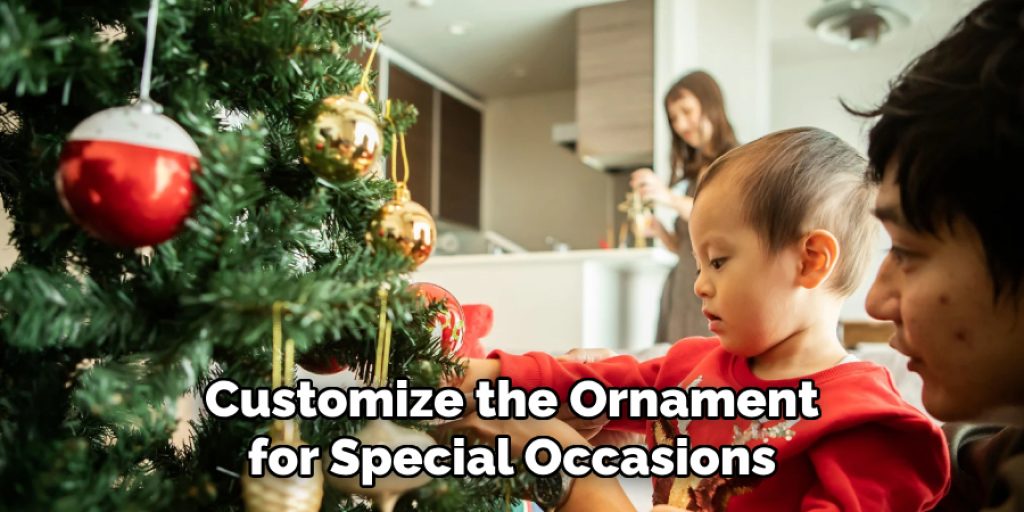
- Customize the ornament for special occasions, such as weddings, by using ribbons in coordinating colors and adding personalized embellishments.
- Use this technique to create other decorations, such as a wreath or garland, by attaching the ribbons to a foam or wire base.
- Try using different shapes of ornaments, such as stars or snowflakes, for a unique twist on this technique.
- Instead of attaching the ribbons directly onto the ornament, try wrapping them around and securing them with glue for a different look.
- Use the same technique on other objects, such as picture frames or vases, to add a quilted ribbon design.
Display and Use
- Hang your quilted ribbon ornament on your Christmas tree or on a garland for a festive display.
- Use it as a decoration for your mantel, table centerpiece, or windowsill during the holiday season.
- Give it as a gift to friends and family for a special and personalized touch.
- Use it as an accessory for your gift wrapping by attaching it to a ribbon or bow.
- Hang multiple ornaments in different sizes and designs for a stunning wall display.
- Create a themed set of ornaments, such as all red and gold for a traditional look, for a cohesive and coordinated decoration.
- Use different color combinations and patterns to match your home decor throughout the year, not just for the holidays.
- Place it in a clear glass bowl or vase as a decorative accent on your coffee table or bookshelf. The possibilities are endless – use your imagination and have fun with it!
Tips and Tricks
- Use a rotary cutter and cutting mat to easily and accurately cut your ribbon into strips.
- Play around with different ribbon widths, lengths, and textures for unique variations.
- Secure the first layer of ribbon with pins or clips before gluing or stitching it down to ensure it stays in place.
- Trim any excess glue or thread carefully so that it doesn’t show on the front of your ornament.
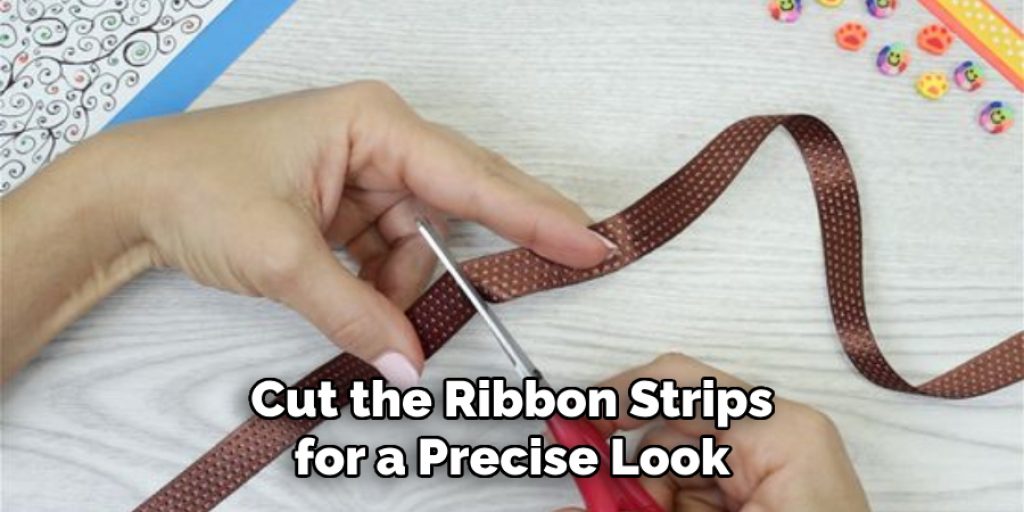
- Use a clear ruler to measure and cut the ribbon strips for a precise look.
- For a more durable ornament, use fabric glue instead of hot glue to attach the ribbons.
- Use coordinating thread when stitching to create a seamless and professional finish.
- Don’t be afraid to mix and match different colors and patterns for a bold and eclectic look.
- Be patient and take your time to ensure the precise placement of the ribbons, especially for more intricate designs.
- Most importantly, have fun and let your creativity guide you in making a truly unique quilted ribbon ornament!
Maintenance and Storage
- Store your quilted ribbon ornament carefully in a box or container to avoid any damage or tangling of the ribbons.
- Avoid exposing it to direct sunlight or extreme temperatures, as this could cause fading or disintegration of the materials.
- If needed, gently spot clean with a damp cloth and let air dry completely before storing.
- With proper care and storage, your quilted ribbon ornament can last for many holiday seasons to come.
Frequently Asked Questions
Q: Can I Use Any Type of Ribbon for This Technique?
A: Yes, you can use any type of ribbon as long as it is not too stiff or thick to fold and stitch. Experiment with different textures and widths for unique variations. You can also mix and match different types of ribbons for a more interesting look. It is best to avoid using wired ribbons, as they can be difficult to manipulate and stitch.
Q: Is This Technique Difficult to Master?
A: Not at all! It may take a little practice to get the hang of it, but once you understand the basic steps, it is a simple and enjoyable craft. It is also a great project for beginners to practice their stitching and quilting skills. But remember, don’t be too hard on yourself if your first attempt isn’t perfect – embrace the imperfections and have fun with it!
Q: Can I Use Other Materials Besides Ribbons?
A: Absolutely! You can use fabric strips, lace, or even paper strips for a different and unique look. Just make sure the material is flexible enough to fold and stitch and keep in mind that thicker materials may be more difficult to work with. So go ahead and let your creativity run wild!
Q: How Long Does It Take to Make One Ornament?
A: The time it takes to make one ornament will depend on the complexity of your design and your skill level. On average, it may take about 30 minutes to an hour to complete one ornament, but this can vary. Remember, don’t rush and enjoy the process – it’s all about having fun and being creative!
Conclusion
Creating a quilted ribbon ornament is a fun and easy way to add a personal and handmade touch to your holiday decor. With just a few materials and some basic crafting skills, you can create a unique and beautiful ornament that will be sure to impress. Whether you follow our step-by-step guide on how to make quilted ornament with ribbon or use your own creative ideas, the end result will be a stunning and one-of-a-kind decoration that you can proudly display or give as a gift. So go ahead and start crafting – your Christmas tree will thank you!
Angela Ervin
Angela is the executive editor of DIY quickly. She began her career as an interior designer before applying her strategic and creative passion to lifestyle and home. She has close to 15 years of experience in creative writing and online content strategy for housekeeping, home decorations as well as other niche efforts. She loves her job and has the privilege of working with an extraordinary team. She lives with her husband, two sons, and daughter in Petersburg. When she's not busy working she spent time with her family.


