
How to Make a Mirror With Aluminum Foil
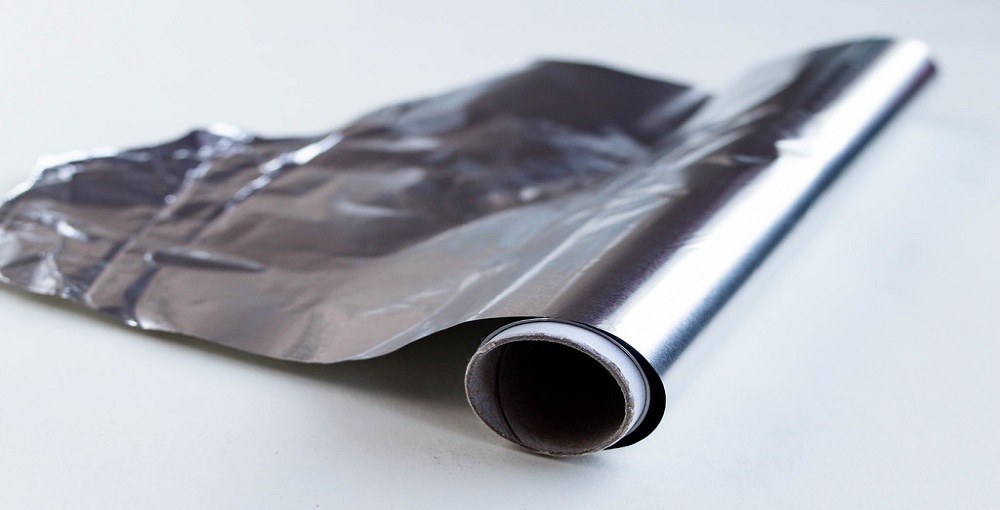
You may have heard different usability of aluminum foils, and maybe you have used them in several ways. But do you know how to make a mirror with aluminum foil? Yes, you have heard that right. Aluminum foil can also be used for making a mirror. The good thing is that you won’t have to be a magician for that; you can do that with a little DIY technique and a little effort. It is not as complicated as it sounds. You can make your own mirror at home with a little bit of creativity and aluminum foil. There are several ways to create mirrors with aluminum foils, but we will show you the easiest way.
In fact, you won’t have to go any further because, in this article, I will show the simplest technique of making a mirror with aluminum foil.
Summary: This is a simple and fun project that can be done in just a few minutes. First, cut a piece of aluminum foil large enough to cover the surface of your mirror. Next, place the mirror face down on the foil and trace around it with a pencil. Finally, cut out the outline of the mirror with scissors. Now, turn the mirror over and carefully peel off the foil. Your mirror is ready to use!
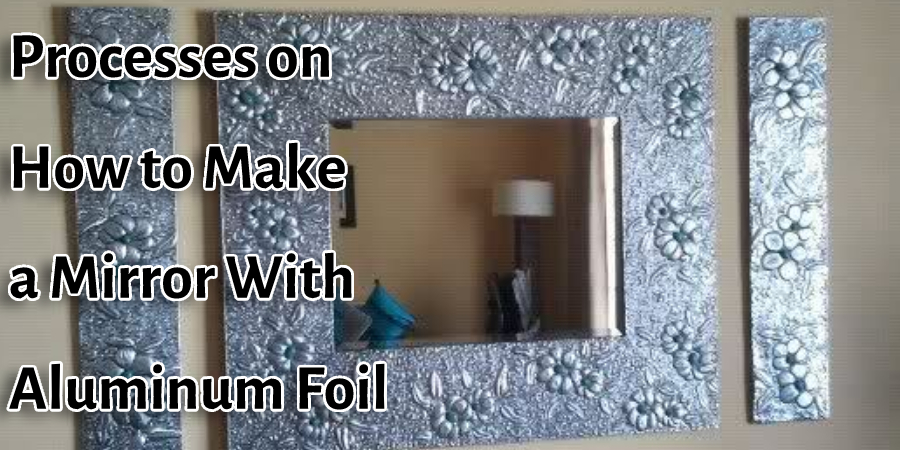
Processes on How to Make a Mirror With Aluminum Foil
Process One:
Tape the aluminum foil around one side of your mirror. Cut off any excess on either end. Next, place some heavy books or other weight at an angle over the top of the foil and let sit overnight. The next day, remove the books or other weight and check your mirror. If it’s still foggy, repeat the process until the fog is gone.
This should cause enough pressure for it to curl into a tube shape that fits snugly against your mirror’s surface, helping hold its shape while ensuring no light can shine through from behind (which would distort what you see in front). Cut a small hole in the center of the tube with your knife. This is where you’ll look through when using your periscope. Adjust the length of the tube to fit your need.
If you’re only covering part of your mirror, wrap shorter lengths all along until it reaches halfway up both sides – then tape those pieces together with clear packing tape, so they overlap slightly on their ends.
The next day, peel back the aluminum foil from one end of the tube and slowly pull it off–it should then come away easily. Tape up any remaining gaps with more strips of aluminum foil leftover from your original roll (or another) to make sure there’s no light spilling in through the sides or on top where you’ve peeled it away. You’ll be surprised by how much cooler it is in your tube.
Rinse off all residual gluey bits now that most are gone, give a quick rubdown with glass cleaner for an extra nice finish if desired, set it upright behind whatever surface you’re looking at so as not to distort what you see when viewing straight-on. That’s it!
Process Two:
You have first to take the foil paper and make a ball shape of it. Once you complete making the roll, squeeze it as much as you can. Once you do that, you have to take a hammer now and start hammering the ball. In this case, you have to use your hammer gently so that the round shape is preserved perfectly.
Don’t hurry to squeeze the rounded ball. Now you have to sand its surface and polish it. I am going to use two different tools for this project. Before you start the process, I advise you to place it over a napkin. Then take a broken nail file and sandpaper.
Polishing with the nail file is a good idea, but sandpaper is better. It also polishes the area faster. There will be a lot of aluminum dust, and the napkin will help you a lot. While polishing the ball, you can also add some water. It will boost your process. Soon, you will get your aluminum foil mirror ball. Hopefully, you have understood the process.
Precautions
- Do not use a power drill to make the holes. The friction created by drilling will cause your hands to heat up, which can lead to burns.
- Be sure that you are using sharp scissors, so they do not tear the foil and potentially cut you while cutting it.
- Never double or triple layer aluminum foil on top of each other as there is nothing between them, creating an electrical short circuit (this could result in fire).
- Stop making holes if any paper product starts peeling off with the scissor blades caused from tearing metal away aggressively over and over again without letting the layers cool down first – this could also cause serious injury such as cuts from razors when working with recycled materials like newspaper or magazines where the content is paper-based.
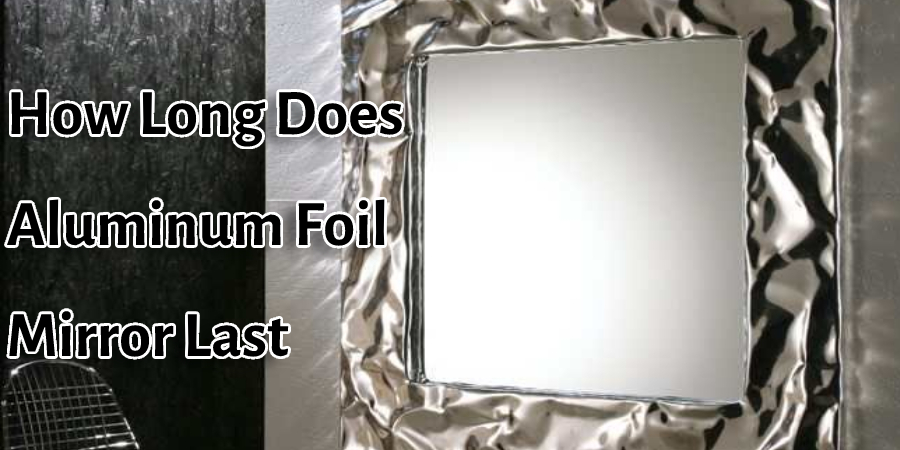
How Long Does Aluminum Foil Mirror Last?
Several factors contribute. For example, the size and thickness of the aluminum foil, how close it’s held to the heat source, and what type of material is being used as an insulator all play important roles in this process.
Factors That Affect Melting Time
Whether you’re using wood or coal for your heating source has also been shown to affect melting time; larger pieces take longer than smaller ones. In addition, if there’s any wind present around the fire pit, then it will blow away some heat from the flame – which will naturally lengthen the amount of time needed for items like aluminum foil to melt into liquid form.
Conclusion
This post has given you some basics on how to make a mirror from aluminum foil. You just need an old piece of cardboard, two pieces of tinfoil and a candle. The next time the lights go out or when you’re camping, you now know what to do! Have any other ways that people have made mirrors with aluminum? Let us know in the comments below!
You may read also –
1. How to Foil Vellum with a Heat Press
2. How to Wrap Stuffed Animals
Elizabeth Davis
Elizabeth is a creative writer and digital editor based in the United States. She has a passion for the arts and crafts, which she developed from a young age. Elizabeth has always loved experimenting with new mediums and sharing her work with others. When she started blogging, she knew that DIYquickly would be the perfect platform to share her tutorials and tips. She's been writing for the blog from the beginning, and her readers love her helpful advice and easy-to-follow instructions. When she's not writing or editing, Elizabeth enjoys spending time with her family and friends.


