How to Make a Neck Rope for Horses
Rope halters are a popular choice for horse owners because they allow more horse control than traditional horse halters. A neck rope is a rope halter that can be made at home with some basic supplies.
To keep a horse safe while grazing or working in an open area, it is essential to have a neck rope. This rope can help you keep track of your horse and guide them if they get too close to hazards. This blog post will show you how to make a neck rope for horses.
10 Easy Ways on How to Make a Neck Rope for Horses
1. Make a Noose Knot:
Make a loop in the rope by crossing one end of the rope over itself, leaving enough room for your horse’s head to pass through it. Next, take both ends and pass them between the strands of the loops that are closest to you, then thread each end under its half of the outer loop.
The two ends should now be facing opposite directions, crossing over the center of the loop between them. Next, thread a bight from both ends of the rope through each side of the single loop at the base of the knot you have just created.
2. Fold Half and Secure With a Trucker’s Hitch:
Grab the loop on one side of the knot and fold it across itself, so that the two sides of the rope on either side of the loop touch. Pass an end from this new bight under both strands around to its original place on the other side of the neck knot, then thread it under where you started for a second time. Tighten the knot down by pulling on the loose end of the rope.
3. Make Another Trucker’s Knot:
Crossover the ends of your tied-off neck rope and make a second-half hitch around both strands, close to where you finished off. Using a different end from either end wrapped around for this tie makes it easier to pull the knot tight.
4. Trucker’s Hitch with Two Threaded Ends:
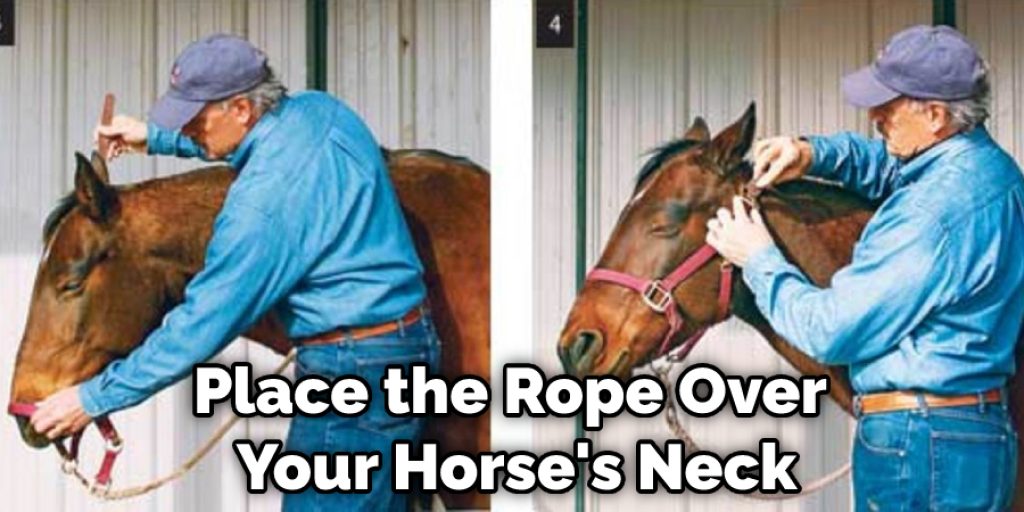
Place the rope over your horse’s neck and bring one end around to meet its partner on the other side, crossing left over right if you’re right-handed or vice versa. Pass each end along either side of the center strand of rope, then back up between the two strands of the loop. Again, bring each loose end under its strand on either side of the loop a third time.
5. Ascot Hitch:
Place the rope around your horse’s neck with both ends in front of you, one on top of the other. Take them from above and thread them from left to right around both strands at their base, as if making a lark’s head knot, but instead threading them under themselves as they come out from between those identical strands.
Pull tight against itself to cinch down this noose-like arrangement into a secure knot you can tighten further by grabbing all three loops with your hand and pulling on it toward you.
6. Trucker’s Hitch with Three Threaded Ends:
Begin as you do for a regular two-threaded trucker’s, but bring one end of the rope across itself and the other up from below, still leaving their final cross to be made on the other side. Pass each loose end along either side of the center strand, then back up between them again.
Make sure they both go under themselves this time at that same point where you began your first tie here. The third time around again brings both ends over themselves once more before finishing it off by threading their last bit through underneath itself, behind all three loops now made.
7. Half Knot With Two Threaded Ends:
Place the rope over your horse’s neck and pass one end around on top of itself and the other underneath, crossing over each other as they come out from behind the standing rope. Next, thread both ends back through between those strands of rope where you first crossed them together, and bring each loose end over its strand on either side of the loop a second time to finish off this knot.
8. Trucker’s Knot with Looped End:
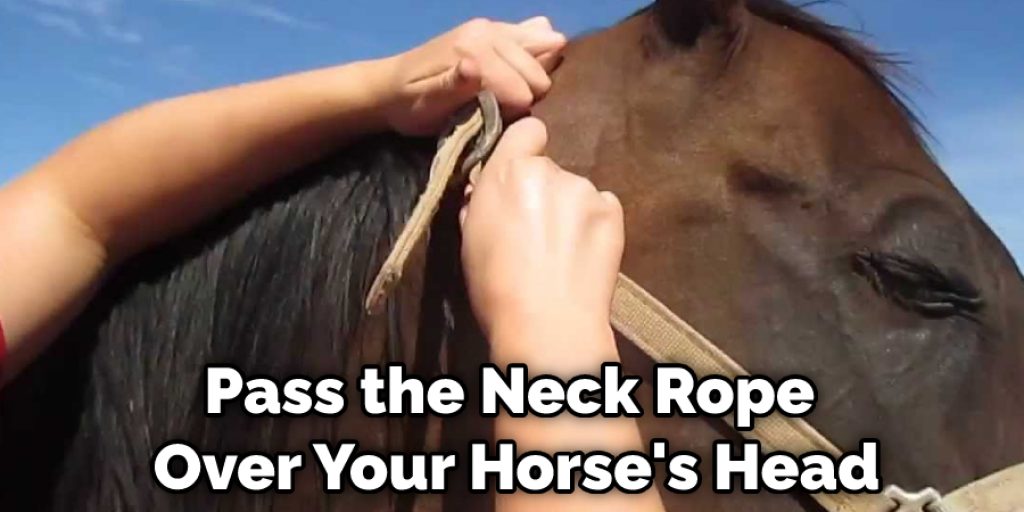
Pass the neck rope over your horse’s head with an opening at its base that is just big enough for you to fit two fingers inside it. Pass an end under itself and thread it through those strands closest to you three times before bringing it back up and outside again. Pull tight against the bottom half made here by grabbing all four loops in your hand and pulling toward you.
9. Slip Knot With Two Looped Ends:
Place the rope over your horse’s neck with both ends in front of you, one on top of the other. Take them from above and thread them from right to left around both strands at their base, making a lark’s head knot that becomes a slip knot finished off by passing each loose end under itself before pulling tight against its standing part on the bottom.
10. Half Knot by Hand:
Holding one end in each hand, pass each end around itself and the rope’s standing part between them, pulling tight against both sides to make a half knot at the base. Pull tighter still by grabbing all four loops with your hand and pulling toward you.
Some Tips and Suggestions
1. The rope should be long enough so your horse can graze.
2. The rope should be slightly longer than the horse’s neck, you don’t want to have extra hanging down, or it will get caught on things and become a hazard to your horse.
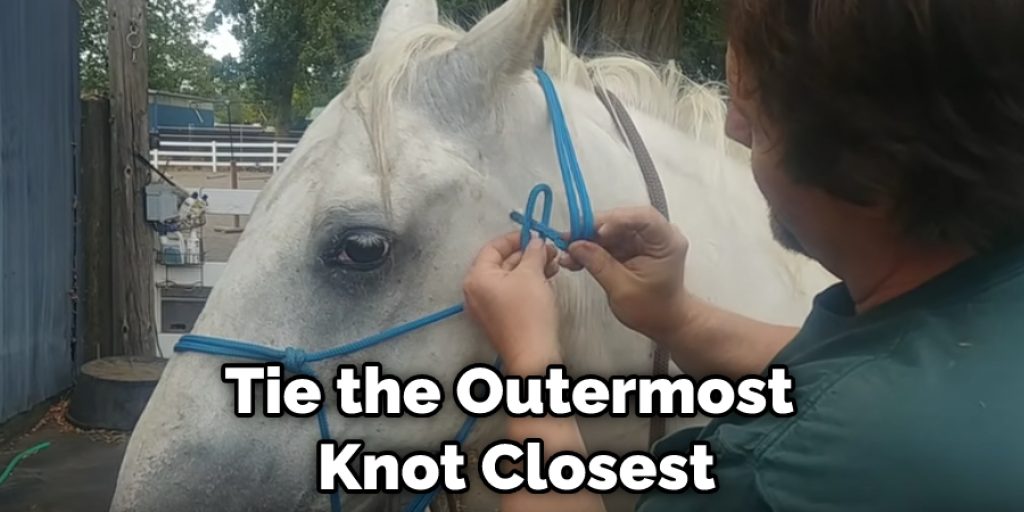
3. Tie the outermost knot closest to the horse’s head before you take them out to graze.
4. The more your horse moves around, the looser the neck rope gets, so you might have to re-tighten it when you bring them in from grazing.
5. Make a loop at one end, which you can put around your hand for better grip and control while adjusting or untying knots.
Conclusion
In conclusion, making a neck rope for horses is not as difficult as it may seem. With suitable materials and careful steps, you can create a safe and effective neck rope that your horse will appreciate.
Thank you for reading our guide on how to make a neck rope for horses. We hope that you have found this information helpful and that you can now create a safe and effective neck rope for your horse. Please let us know if you have any questions in the comment section below.
You Can Check It Out to Tie a Bull Rope Knot