How to Make a Origami Chicken
Are you looking for a fun and creative way to spruce up your living room, bedroom, or desk? Origami is an age-old craft that liven up any space and has a calming effect when folding. Plus, it encourages creativity and problem solving! Whether you’re 8 or 80, anyone can enjoy origami – even if you don’t consider yourself particularly “crafty.”
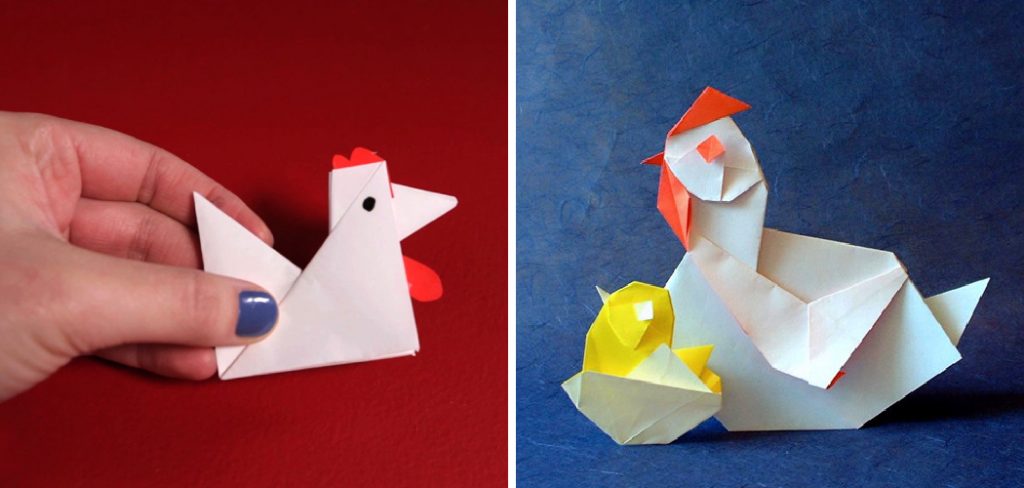
In this blog post, we’ll show you how to make a origami chicken. It’s the perfect beginner project – and it will surely put a smile on everyone’s face!
Ready to get started? We’ll walk through making an origami chicken to bring life (and color!) into any area.
What Will You Need?
Before you begin, make sure you have the following items:
- Two pieces of origami paper (6″x6″) in different colors
- A pair of scissors
- Glue
Once you have everything, you’re ready to get started!
10 Easy Steps on How to Make a Origami Chicken
Step 1: Fold the Paper
Start by folding one piece of paper in half. Make sure that both corners meet exactly in the middle of your paper. You should end up with a nice “V” shape.
Next, fold each side inwards so they form an “X” shape.
Step 2: Make the Head
Flip the paper over and fold the top corners inwards to create the origami chicken’s head. The head should be small and triangular.
Then, unfold your last two folds from step one and use them as guides to help form a triangle with both sides meeting in the middle.
Step 3: Make the Wings
Fold down each side of the paper to create the origami chicken’s wings. The wings should be slightly bigger than the head.
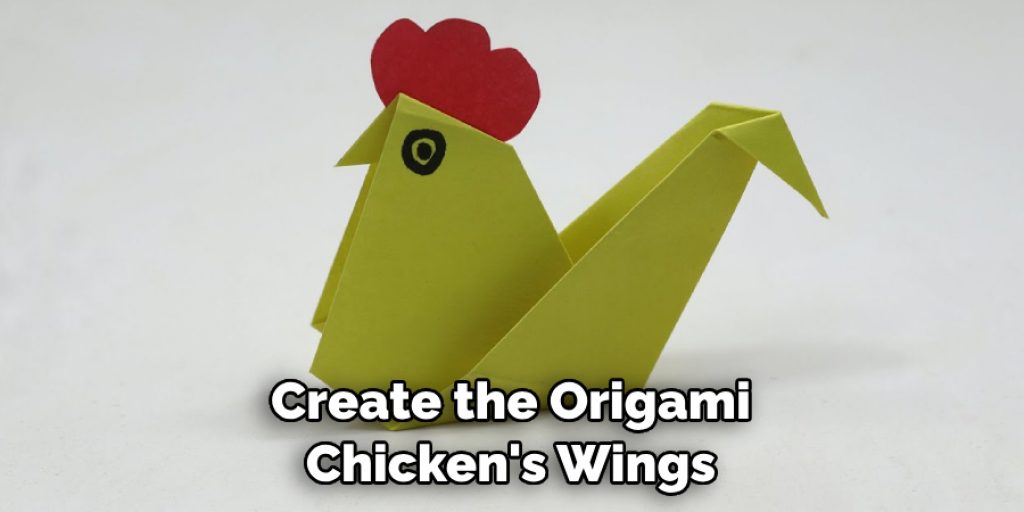
Next, fold each corner inward and pinch them together to form a triangle with curved edges. This will give your chicken some nice detailing!
Step 4: Make the Tail
Fold the top of your paper inwards to create the origami chicken’s tail. The tail should be a long, thin triangle.
Once you have a nice triangular shape, fold down each side and pinch them together so they form a triangle with curved edges – just like you did for the wings.
Step 5: Make the Feet
Fold the bottom corners of your paper inwards to create the origami chicken’s feet. The feet should look like tiny triangles.
Then, fold each corner further inward and pinch them together so they form a triangle with curved edges – just like you did for the head, wings, and tail.
Step 6: Assemble the Parts
Now that you have all the pieces, it’s time to assemble them. Put your second piece of paper flat on top of your origami chicken. Make sure all the parts are aligned properly so they’ll look nice when glued together!
Step 7: Glue the Parts
With your parts in place, it’s time to glue. Apply a small amount of glue to each part and press down lightly to secure them together. Make sure all the pieces are firmly attached!
Step 8: Add Details
Now that your origami chicken is all glued together, it’s time to add some details. With your scissors, you can cut out some small circles from your second piece of origami paper and glue them on the head of your chicken to form the eyes.
For the beak, cut a small diamond shape, fold it in half, and glue it below the eyes. Now, your origami chicken starts to come to life!
Remember, origami is about patience and precision but also creativity. Feel free to add any other details you’d like to make your chicken uniquely yours!
Step 9: Final Touches
To finish off your origami chicken, add some color or patterns. Use colored markers, pencils, or even glitter glue to give your chicken some character. You could add some spots, stripes, or patterns you like. If you want to keep it simple, that’s okay too! Your origami chicken is now complete!
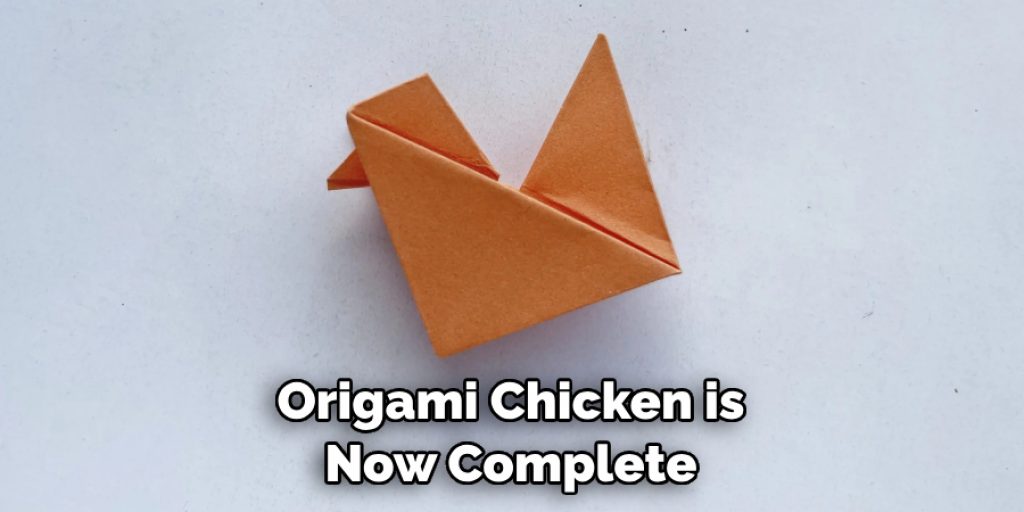
Step 10: Enjoy Your Origami Chicken
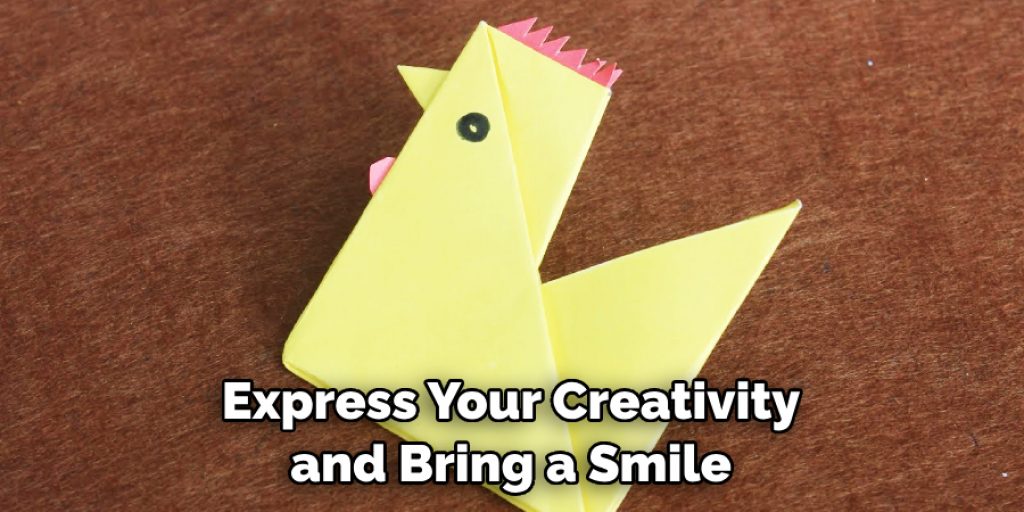
Congratulations, your origami chicken is now complete! Place it on your desk, bookshelf, or any other location where it can stand out and bring a pop of joy to your day. Remember, the beauty of origami lies not only in the final product but also in the creation process.
Each fold, and each decision you made added a touch of your personality to your origami chicken, making it truly one-of-a-kind! Now, you can enjoy your accomplishment and inspire others to start their own origami journey.
By following these simple steps, you can easily make an origami chicken that will bring everyone a smile. Now that you know how to make an origami chicken, why not try it and show off your creative side? Who knows – you could even start an origami crafting business on the side!
5 Additional Tips and Tricks
- Remember to use sharp creases when folding an origami chicken for the best result.
- If you find that your origami creation is not staying together properly, try using glue dots or tape at the corners and edges of your project.
- To make the most realistic-looking origami chicken, use colored paper in shades of yellow, orange, and red.
- If you want to make a more intricate origami chicken, use an accompanying diagram for guidance.
- To ensure that your origami chicken looks perfect, take the time to iron it carefully with a cool iron and low heat setting. This will help to keep all of the creases in place.
With these tips and tricks, you will surely create the perfect origami chicken! Have fun and get creative with your design. There’s no limit to what you can do regarding paper folding.
5 Things You Should Avoid
- Only use paper that is thick enough, or you may find it difficult to fold and manipulate.
- Avoid using too much glue on your project, as it can make the surface of the origami chicken look messy.
- Don’t be tempted to rush through your origami chicken project – take the time to get each fold right for a neat end result.
- Make sure to avoid making the same mistake twice – if you make a fold with the wrong side facing out, start again and try to get it right this time!
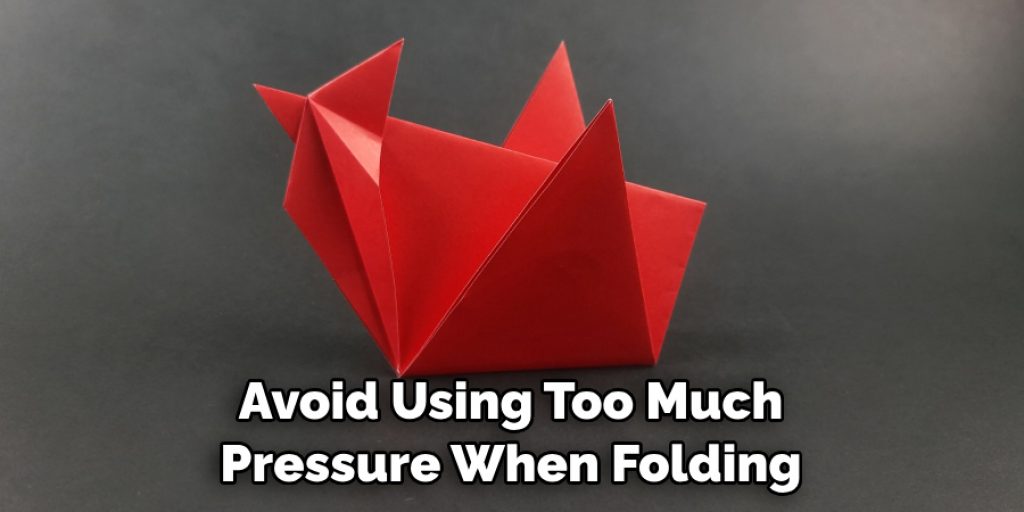
- Avoid using too much pressure when folding, as this can cause your origami chicken to tear.
By following these tips and avoiding these mistakes, you can create a lovely origami chicken that everyone will be impressed by!
How to Make a 3d Origami Piece of Chicken?
For those looking to take their origami chicken project to the next level, you can create a 3D version of your creation! All you need is some extra paper and lots of patience. Here are the steps:
- Start with two squares of paper that are both the same size.
- Cut each square into many small diamond-shaped pieces.
- Fold one of the diamonds in half, then unfold to make a crease.
- Take the diamond and fold each corner to the middle point you made.
- Take another diamond and repeat steps three and four until you have 8 diamonds attached in a circular fashion (like the spokes of a wheel).
- Take the eight diamond pieces and fold each one in half while pressing them together to form a star.
- Repeat steps 1-6 until you have enough stars to make your 3D origami chicken!
- Finally, glue the stars together to create your finished piece of 3D origami chicken!
With these steps, you will have a beautiful 3D origami chicken that everyone can admire. Have fun and get creative with your project to make something truly unique!
What are the Use Cases of Origami Chicken?
Origami chickens have many use cases – from decorations for the home and office to children’s toys and party favors. You can also keep an origami chicken in your pocket or on your desk as a reminder to practice mindfulness.
Additionally, origami chickens make great gifts for family and friends. They are a unique way to express your creativity and bring a smile to the face of someone special.
No matter what you choose to do with it, origami chickens are sure to bring a sense of joy and creativity to any space. So why not give it a try and see what you can make?
Conclusion
It’s amazing what you can make from a simple piece of paper. Now that you have followed these steps and successfully created your origami chicken, show it to your friends and family! Get creative and challenge yourself to reinvent the origami chicken into something more artistic or immersive. Your imagination is the limit! You may be surprised at how much creativity flows from combining simple parts to make something epic.
Drawing on your sense of unique expression will make your origami chicken stand out and give it a personal touch that speaks volumes about who you are as an artist. So let your creative juices flow, and enjoy the artful possibilities of making origami chickens!
Hopefully, the article “How to Make a Origami Chicken” has inspired you to create something beautiful and special. Now that you have the basics down let your creativity guide you toward making unique origami chickens! Enjoy!
Angela Ervin
Angela is the executive editor of DIY quickly. She began her career as an interior designer before applying her strategic and creative passion to lifestyle and home. She has close to 15 years of experience in creative writing and online content strategy for housekeeping, home decorations as well as other niche efforts. She loves her job and has the privilege of working with an extraordinary team. She lives with her husband, two sons, and daughter in Petersburg. When she's not busy working she spent time with her family.