How to Make a Origami Lantern
Making origami lanterns is a great way to get creative and show off your craftsmanship. It can be a fun activity to do with family, friends, or just for yourself. Plus, the beauty of a completed origami lantern makes it a great decorative piece for any room in your home. The best part is that origami lanterns are easy to make, even for beginners.

The advantages of learning to make an origami lantern are numerous. Origami is an ancient Japanese art form used for centuries to create decorative and useful objects. With the help of some simple folding techniques, you can easily transform paper into beautiful and intricate lanterns. In this blog post, You will learn in detail how to make a origami lantern.
Materials You Will Need
- Four squares of paper of the same size
- Tape
- Beads or sequins
- Thread
- Scissors
- Cutting mat (optional)
- Pen or pencil
- Ruler
- Glue gun and glue sticks (optional)
- Paper clips (optional)
- Battery-operated tea light candle (if you want to light your lantern)
- String or ribbon (if you want to hang your lantern)
Step-by-Step Processes for How to Make a Origami Lantern
Step 1: Inspect the Paper
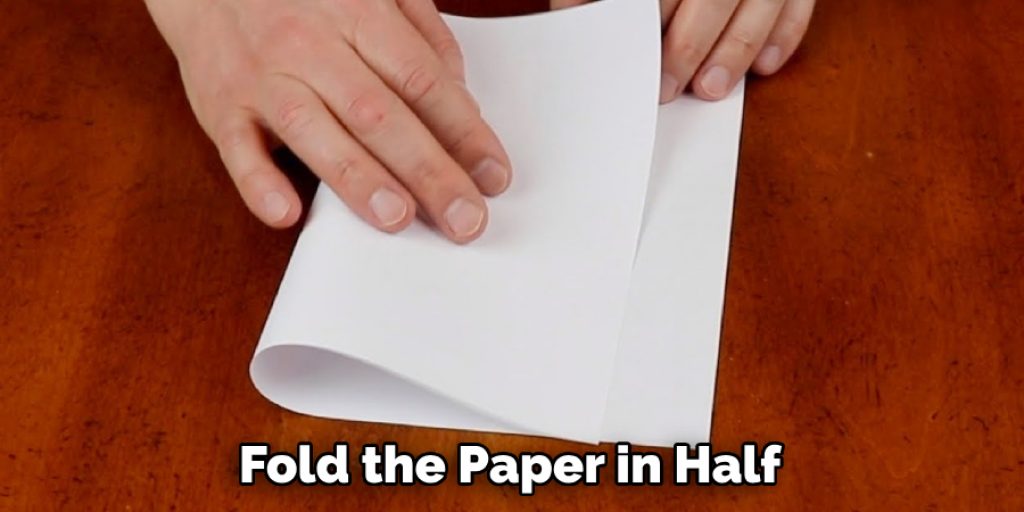
The paper used to make an origami lantern should be an A4-sized, thin square sheet. Check that the paper does not have any creases or folds. Take one corner of the square and fold it over so that its edge touches the opposite side. This will create a triangle shape. Repeat this step for the other three corners.
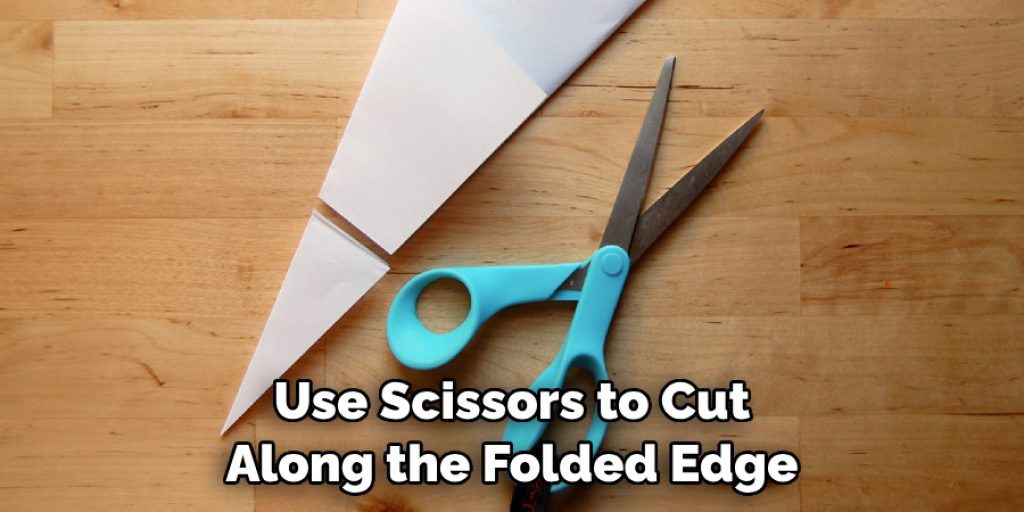
Step 2: Cut Along the Folded Edge
Use scissors to cut along the folded edge of each triangle. Ensure you are cutting through both layers of paper, not just one. Unfold the paper, leaving you with four triangular pieces connected by a central square piece in the middle.
Step 3: Make a Crease Along the Sides of Each Triangle
Take each triangle in turn and fold it in half. Make a crease along the sides of each triangle to create eight V-shaped folds. Take each triangle and fold the sides inwards to meet in the middle. This will create eight kite-shaped pieces of paper.
Step 4: Fold the Kite Shapes Into Squares
Take each of the kite shapes and fold them into squares. Make sure that all four sides are equal in length and width. Connect two squares by their sides so that the shapes form an octagon. Repeat this step for each of the remaining squares until all eight are connected. This will create a lantern shape.
Step 5: Make Holes Along the Sides
Take scissors and make small holes along each square’s sides, ensuring they line up. Take a length of string or ribbon and cut it to the appropriate size for your lantern. Thread the string or ribbon through each hole, starting at one end and continuing until you reach the beginning again. Tie off the ends so that you have a secure knot in place.
Safety Tips for How to Make a Origami Lantern
- Make sure you have a flat, sturdy surface to work on and the necessary tools, including sharp scissors or craft knife, ruler, pencil, and origami paper.
- When handling sharp objects like scissors or a craft knife, take extra caution and keep them out of reach of children.
- If working with younger children for this project, precut the pieces of paper so they can focus more on folding.
- Regularly fold and unfold your lantern to ensure it has a good structure and all folds are secure before adding any decorations or details.
- Use caution when handling an open flame with the origami lamp, as it is made of combustible materials.
- Make sure to safely discard the lantern away from combustible materials after it has cooled down completely if you use an open flame.
By following these safety tips, you can be sure to make a beautiful origami lamp without any risk of injury or danger.
What is the Best Way to Fold the Paper for the Lantern?
The most important step when making an origami lantern is to ensure the paper is folded correctly. Start by taking a rectangular piece of paper and folding it in half along the long side. Then, fold the paper in half once more but do not crease fully; leave a small bit of space at one end. Unfold these two folds to have a rectangle with two diagonal creases.
Next, fold the paper in half along one of the short sides to be a long, narrow rectangle. Now bring the left and right edges together to meet in the middle as if you were folding it into a triangle shape. Make sure to align the top corners and then make a sharp crease. Unfold the rectangle and turn it over.
Now, fold each corner at the ends in to meet the middle crease and form a diamond shape. Then, take the bottom two corners of your diamond and fold them up to create a triangle shape.
How Long Does It Take to Make One Origami Lantern?
On average, completing an origami lantern takes about 15-20 minutes. The time frame may vary depending on the type of lantern you are making, the complexity of the model, and your experience level. If you are a beginner, start with a simple design to familiarize yourself with the steps in creating an origami lantern.
Once you have gotten the hang of it, you can move on to more complicated designs. Making origami lanterns is a great way to practice your skills and challenge yourself.
How Should You Store the Origami Lantern When Not in Use?
When you’re not using your origami lantern, it’s important to store it properly to enjoy its beauty for years to come. To ensure that your paper lantern is well taken care of, here are some tips:
- Fold the paper origami into its original form and place it in a flat box or drawer. This will help keep the paper from getting crumpled and creased.
- Add a drop of wax to each corner of the paper so that it stays folded when you open the box or drawer where it is stored.
- If possible, store your origami lantern in an area with low humidity to avoid any damage caused by moisture.
- Place a cloth over the lantern to protect it from dust and dirt.

By following these steps, you can be sure your origami lantern will stay in good condition for many years.
What Are Some Creative Ways to Use Origami Lanterns?
Origami lanterns are a beautiful and creative way to decorate any event or room. They make great decorations for weddings, birthday parties, and more. In addition to being a decorative piece, origami lanterns can be used in practical ways such as task lighting, paper art installations, or even to make a statement with a pop of color. Here are some creative ways to use origami lanterns:
- Illuminate a Room: You can create an interesting lighting effect for your space by hanging several origami lanterns in a row. Place them side-by-side along the ceiling or suspend them from different heights to create a unique, eye-catching look.
- Line an Entryway: Origami lanterns can create a stunning entryway for your home or event. Place them in a line along the wall and light them with LED lights to make it look like an enchanted forest.
- Create Art Installations: Artsy types who want to add a fun flair to their walls should consider using origami lanterns for their paper art installation. Hang them randomly from your walls or suspend them from the ceiling to create a unique and interesting 3D art piece.
- Make a Statement with Color: One of the most popular ways to use origami lanterns is to make a statement with color. Create an ombre effect by hanging several different colored lanterns from the ceiling. Or, use one color to create a bold and dramatic look in your space.

No matter how you choose to use origami lanterns, the possibilities are endless. Whether you want to illuminate a room or make a statement with your decor, these creative applications will help you get the most out of this beautiful paper craft.
Conclusion
One of the biggest disadvantages of making an origami lantern is that it can be time-consuming and difficult to master. Creating beautiful designs requires patience and practice, and mistakes can easily be made while folding the paper. Additionally, since this craft uses paper, it must be purchased or recycled from existing sources.
In conclusion, making an origami lantern is a great way to add light and beauty to your home or other space. It’s a craft that requires patience and practice, but with the right instructions and materials, you should be able to make one yourself. Reading this post has helped you learn how to make a origami lantern. Make sure the safety precautions are carried out in the order listed.
Angela Ervin
Angela is the executive editor of DIY quickly. She began her career as an interior designer before applying her strategic and creative passion to lifestyle and home. She has close to 15 years of experience in creative writing and online content strategy for housekeeping, home decorations as well as other niche efforts. She loves her job and has the privilege of working with an extraordinary team. She lives with her husband, two sons, and daughter in Petersburg. When she's not busy working she spent time with her family.