
How to Make a Cone Out of Rectangular Paper
Have you ever wanted to make a paper cone but didn’t know how? You’re not alone! This blog post will guide you through how to make a cone out of rectangular paper. The first step is to fold the paper in half from the left edge to the right edge and unfold it. Next, fold each side inward to meet at the center crease where they were originally folded together.
Flatten this piece by pressing down on both ends with your fingers, and then start rolling up one end until it meets the other end at the top of your final product. But if you want something wrapped or bagged, it’s often done in a cone shape because it makes everything easier and more presentable than just throwing it into some kind of box. That’s why this guide is so important even if you never plan on making one yourself; knowing about them will help out when someone else needs one!
Summary:
Step one: Cut a rectangular piece of paper to the desired size.
Step two: Fold in one end of the paper so that the crease is located in the middle of the paper.
Step three: Make a cone out of the folded paper by pressing down firmly on the crease.
Step four: Make sure that the cone is symmetrical and that the top and bottom are even.
Step five: Open up the cone so that it’s back to its original rectangular shape.
Why Should You Make a Cone Out of Rectangular Paper?
1. It’s Fun:
Making a cone out of rectangular paper is fun because you get to turn the sheet of paper the long way and watch it curl!
2. It’s Good For The Environment:
Making a cone out of rectangular paper means that people don’t have to use as much water or electricity for manufacturing rolls of tissue, toilet paper, etc.
3. It’s Great For Parties:
Cone hats make great party hats! Better than paper plates and cups.
4. It’s Good For The Kids:
Making a cone out of rectangular paper is an easy way for children to learn about geometry, science, art, and personal hygiene (most people use the cones as “tissue” containers).
5. Rectangle Paper is Affordable:
Rectangular paper is easy to come by because it’s used for all kinds of things. I hear that some people even use them as bandages!
6. It’s Educational:
Making a cone out of rectangular paper teaches kids life skills like origami, kirigami, and pachinko-fu.
7. It Makes For An Interesting Wall Decoration:
Like fruit, it is possible to hang cone hats on a wall because they are lightweight and durable.
8. It’s A Great Accessory:
Cone hats can be worn in many ways; they could even make great lampshades if you don’t like the color.
8 Easy and Simple Methods To Make a Cone
1. Cone Hat Forming Method:
Cut a circle out of construction paper/cardstock about 6 inches in diameter. Fold the circle into half, then half again. Next, cut slits that are 1/2 an inch apart from one another all around the circumference of your circle. Pull each section at a time to make form your cone shape. If you want it to be tighter and more secure, you can tape it on the inside of your cone.
2. Cone Hat with Tabs:
Same as for cone hat forming method, but instead of cutting slits all around the circumference, round off one end and leave a tab 2-3 inches long on it about 3 inches from the rounded end. Fold the tab down over the rounded edge and secure it with staples or glue so that it does not flap in the wind when you wear it.
3. Creasing Method:
Cut a strip of paper that is about 20 inches in length. Fold the bottom edge up to the top so that it forms a triangle. Crease this fold in half with your fingernail or pen/pencil, then unfold. If done correctly, you should be left with an upside-down “V” shape. Fold the right tip over to the left once you have your right side up “V” shape. Once that is done, do the same thing with the left and right tips.
4. Tube Method:
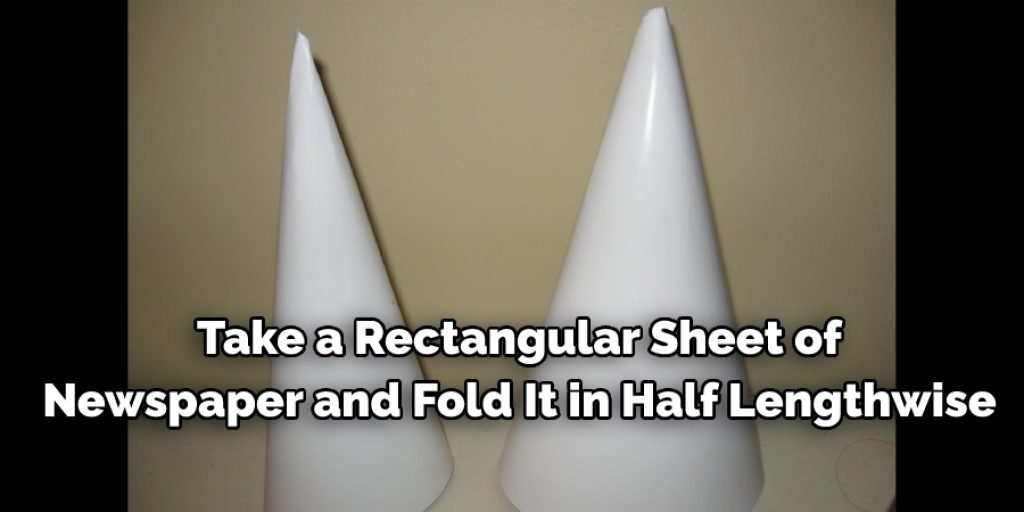
This method is often used when making a cone out of newspaper so that it can be water-proof. Take a rectangular sheet of newspaper and fold it in half lengthwise, then in half again both ways width-wise so you have a square with 4 equally large flaps. Unfold the paper, then from the creases you just made, fold inward in a zig-zag motion.
Keep folding until you have a tube that is the size of your finger in width and length. Flatten out your piece of paper again. Repeat with the other flap to form a second tube that will fit inside the first one when assembling it later.
5. Tissue Paper Cone:
Cut a sheet of tissue paper (or any other thin paper) in half along the diagonal. Bring together the two halves and roll it up length-wise like you would with a sleeping bag. Tape around your cone to hold it together, then finish with ribbon or embellishments that go with your costume.
6. Lampshade/Yarn Method:
Cut a circle out of your paper, heat a glue gun/stick glue, and lightly coat the circumference. Next, put a long piece of yarn/string at the halfway point between the top and bottom circles. Let it dangle until dry, then hot glue each end to opposite sides of your cone to make suspending strings hanging from the ceiling.
7. Tissue Paper Cone Method:
Cut out a long strip of tissue paper (or any other thin paper) three times as long as it is wide like a ribbon. Fold the side edges towards the center so that they meet, glue them down to each other, and then let dry. Fold the
8. Crimp-and-Cut Method:
This method uses the same idea as the creasing method, but instead of cutting slits all around your circle’s circumference, you simply need to crimp it along an already existing fold line. Cut along a crease, then make another cut next to it on the other side.
Keep doing this until you have about an inch from where you started, then cut along the crease that you have just made. Repeat this process until you are done. This method creates a softer-looking cone than the others do.
Steps To Follow: How to Make a Cone Out of Rectangular Paper
Step 1:
First, decide the size of the cone you want to make. A good rule for determining the length of paper required is that it should be about 10 times as long as the desired height of your cone. For example, if you are using standard letter-sized (8 ½ by 11 inches) paper with 1/4 inch margins on all sides, then each side of the paper should be about 2 ¼ inches.
That means your strip of paper should be long enough so that, if it is doubled over on itself, you will have a rectangle whose length plus width equals 11 inches (the length of the paper).
Step 2:
Then decide what color or pattern of rectangular paper you would like to use. This should be based on how you will use the cone. For instance, if you are making a gift basket for someone, you might want to buy some patterned gift wrap instead of plain white paper. Choose something bright and colorful if you are making an ice cream cone out of it at your child’s birthday party.
However, keep in mind that it may be hard to cut if the paper is too detailed. You should also consider whether you would like one color of paper to show through on the inside of the cone or not. If you want a different color inside, choose a pattern that makes all four sides have regular patterns.
Step 3:
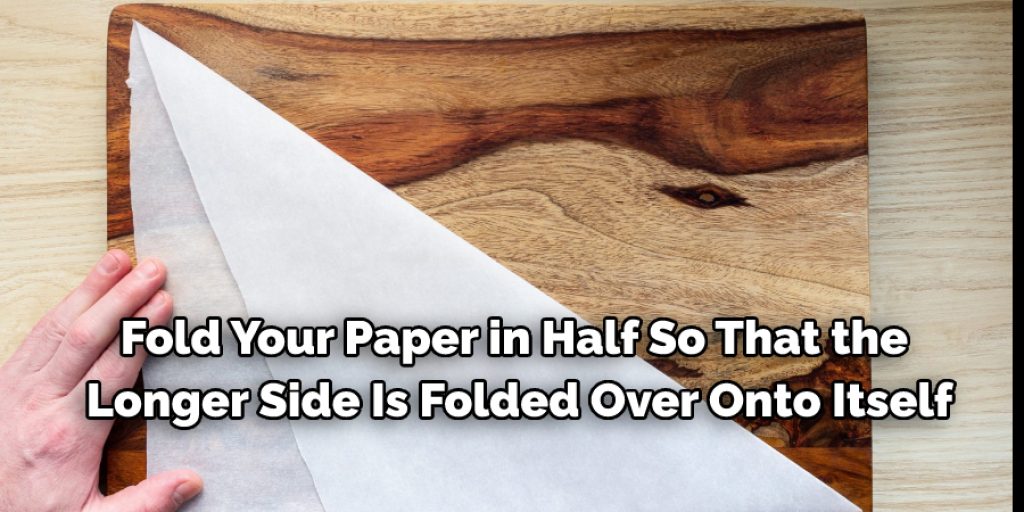
Fold your paper in half so that the longer side is folded over onto itself and find the middle on this new edge (for example, if you fold it over so that the shorter side is on the outside, count over one inch from the left side along the bottom and put a mark there. Likewise, if you fold it so that the shorter side is on the inside, count over one inch from the right side along the bottom and put a mark there).
Step 4:
With your ruler, measure out 1/2 inch from each edge of this new folded edge and mark-out points on this line with your pencil.
Step 5:
Unfold the paper so that it is in its original rectangular shape again. Make sure your pencil markings are still visible, and draw a diagonal line between each pair of marks you made in the previous step. Each triangle should be about ¼ inch along its longest side (the base).
Step 6:
Make a second set of diagonal lines that intersect the first set at each corner. In other words, if you lined up one of your straight edges with one of the corners in the original rectangular shape, these new lines should cross through it at 90 degrees to create a right angle. If necessary, use a ruler and a pencil to draw a line perpendicular to your original line and intersect it.
Step 7:
Cut along the lines you have drawn so that the rectangular paper has been divided into triangles whose bases are about 1/4 inch long. Fold each triangle in half so that its base meets its hypotenuse (the longest side). Then unfold each triangle.
Step 8:
Make cuts through the edge of each triangle so that you have a strip of paper approximately 1/4 inch wide, but do not cut all the way to the folded edge. Make sure there is enough un-cut paper on either side of your new strip for it to be connected to its adjacent triangles without any white space showing. Repeat this step for each triangle, and all of your strips should be connected to form a long roll.
Conclusion:
The cone is an interesting shape that not only looks great but also performs well. By following this tutorial on how to make a cone out of rectangular paper, you will be able to make a paper cone in just eight simple steps! The final product is a cone-shaped paper that has an opening at the top.
This can be used, for example, as a hand warmer or to hold items like flower petals inside of it. Next time you need to make something out of rectangular sheets of paper, try this method! Have fun and enjoy the process of crafting with your hands.
Check Out our article How to Draw Cool Things on Graph Paper
Elizabeth Davis
Elizabeth is a creative writer and digital editor based in the United States. She has a passion for the arts and crafts, which she developed from a young age. Elizabeth has always loved experimenting with new mediums and sharing her work with others. When she started blogging, she knew that DIYquickly would be the perfect platform to share her tutorials and tips. She's been writing for the blog from the beginning, and her readers love her helpful advice and easy-to-follow instructions. When she's not writing or editing, Elizabeth enjoys spending time with her family and friends.


