
How to Make a Paper Nose Cone
A paper nose cone is a type of kite that is easy to make and flies well. Unlike most other kites, a paper nose cone does not use sticks for support but rather the air currents from the wind. It has no tail or stabilizing strings on it, either.
This makes it very simple to fly and enjoy as fewer things can go wrong with it. There are many other variations you can use as well, such as adding fins or including the tongue depressor in the design for an even sturdier rocket. This blog post will teach you how to make a paper nose cone of your own!
What is a Paper Nose Cone?
A paper nose cone is a paper airplane that has added weight in the front of it, in the shape of a cone. This adds momentum to the plane and helps it fly faster. A standard paper airplane doesn’t have enough power to break Earth’s gravitational pull, but with a paper nose cone, it might.
Why Make a Paper Nose Cone?

There are several reasons why you might want to make paper nose cones. If you’re trying to build the fastest paper airplane ever, or just want something new and exciting to try, this is for you! Here are some reasons to make a paper nose cone.
1. A paper nose cone will give your paper airplane more aerodynamic ability.
2. A paper nose cone is a fun and easy way to attempt an aviation record.
3. You can use a paper nose cone as the basis for creating any number of cool and exciting paper airplanes!
Instructions: How to Make a Paper Nose Cone
Making your own paper plane is not as hard as some might think. All you need is a piece of paper, a pair of scissors, and the motivation to make something great! So here’s a step-by-step guide on how to make your very own paper nose cone.
Step 1:
Fold a regular sheet of printer paper in half. Then open it back up and fold it at the crease to have four rectangles.
Step 2:
Unfold the paper and then cut off all four corners at an angle, only cutting up to where the lines match. Then unfold it again. This will give you a square with two triangle flaps on each side square. The flaps should now have a total of six straight edges.
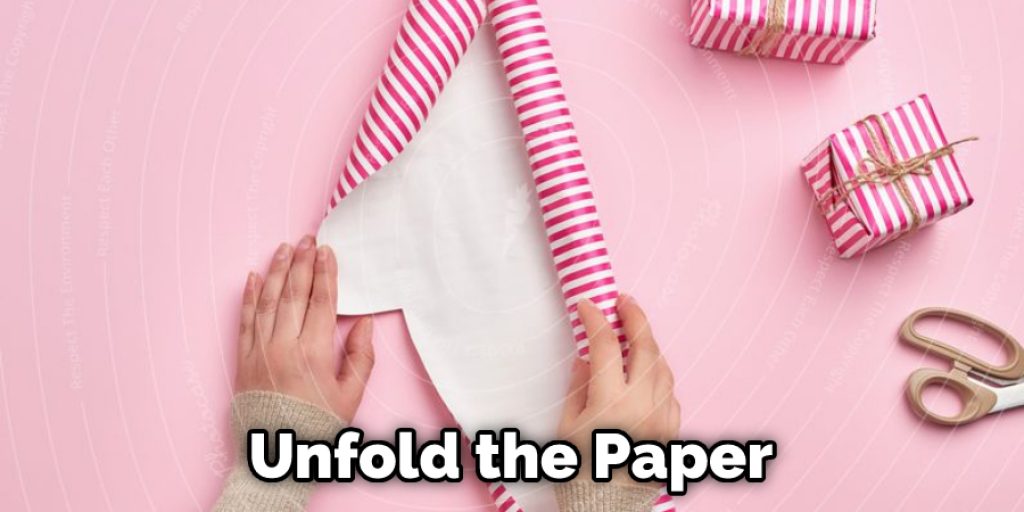
Step 3:
Unfold the paper so that it is a square again. Make two small folds on each flap, about half an inch from where the other lines match up. Then unfold it slightly and make one cut along this line to form your cone shape. This will be just in front of your pointy end.
Step 4:
Take a sheet of construction paper and cut it in half. Fold each one into the same triangle shape that you made to start your cone, but this time make them about twice as big.
Step 5:
Put one triangle on either side of your cone, matching up points on the flaps. Tape them over the top at their points.
Step 6:
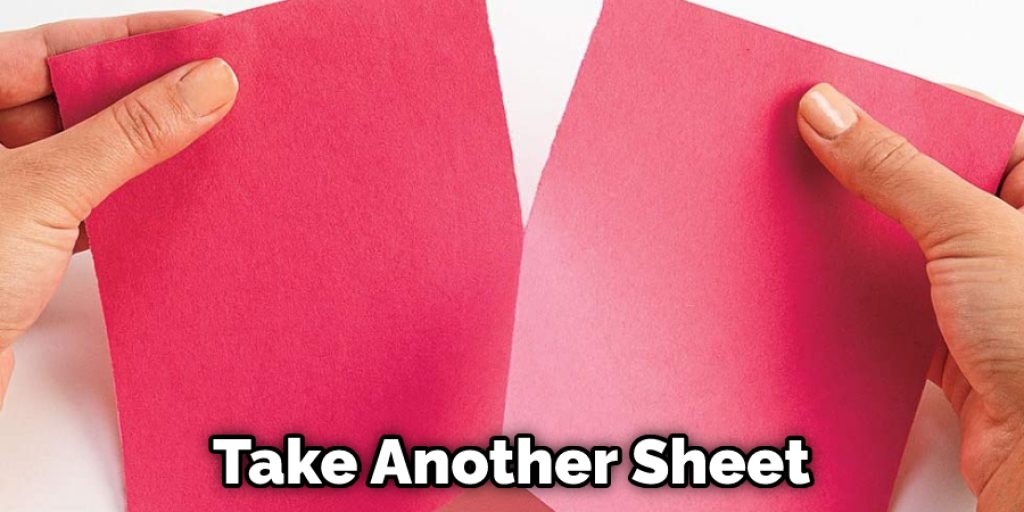
Take another sheet of construction paper and cut it in half as you did for the last triangle. Fold it into a second cone shape but make this one smaller than the first two were. This will be your wings.
Step 7:
Take your “wings” and tape them to either side of your cone, one on the top and one overlapping it on the bottom.
Step 8:
Now take your remaining sheet of construction paper and cut it into two equal parts. Fold each half into a third cone shape but make them smaller than both of the others were. This will be your fins. Tape them to either side of your nose cone, one on the top and one overlapping it on the bottom.
Step 9:
Take your cone off of the paper airplane model you will be using as a base and fold up the fins and wings to make flying stabilizers; this is optional.
Step 10:
Now that you have your paper plane done, it’s time for some finishing touches! Tape a loop of string to the bottom point of your cone. Ensure you leave enough room for the circle so that your nose cone doesn’t spin around when you’re throwing it. And there you are! Congratulations on your new paper plane!
Some Tips and Suggestions:
1. If you’re planning on just using this model for a few singular rounds, it’s easier to cut the cone instead of folding it. However, folding is better if you want a more permanent solution or plan to make several round flights and need to store your rocket between sessions.
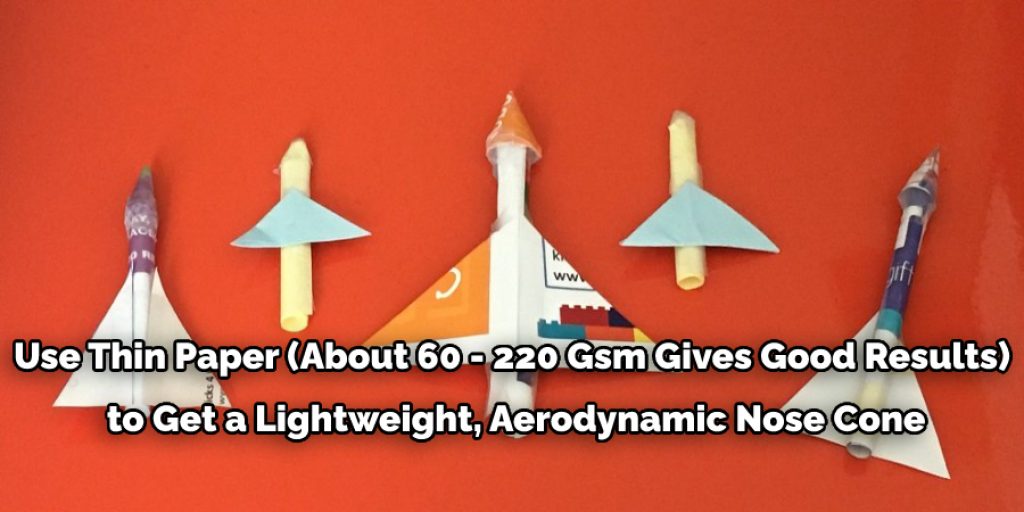
2. Use thin paper (about 60 – 220 GSM gives good results) to get a lightweight, aerodynamic nose cone.
3. To ensure that the nose cone will fit well into the rocket tube and snugly press against the plastic closure at the end of the tube, make sure you know the inside diameter of your launch rod and keep your folded paper’s thickness in mind (about 1/8″ – 3/16″).
4. If you’re going to fold the cone, make sure you use thin paper. Unfortunately, this means more folds are involved, leading to a more lengthy process. However, thinner paper is lighter and sturdier, so there’s less of a chance it will rip at the folds.
5. If you need to make several cone models, use a template folded out in the form of an 8 or 9 with extra paper underneath for stability, and trace your rounded inner half on first before cutting it out.
6. Thicker paper is harder to cut cleanly but isn’t as much of a pain to fold.
The Best Nose Cone for a Paper Rocket
When it comes to building the perfect paper rocket, the nose cone is one of the most important elements. The right nose cone will give your rocket optimal stability and aerodynamics during flight. There are several different types of nose cones available, but here are some of the best options:
-Cone Type Nose Cone: The cone-type nose cone is one of the most popular choices for paper rockets due to its simplicity and effectiveness. It provides stable flight and good performance.
–Parabolic Nose Cone: This nose cone is shaped like a parabola and can provide better aerodynamics than other nose cones. However, it does require more effort to build and may not be suitable for beginner builders.
-Ogive Nose Cone: An ogive nose cone is curved in shape and has been found to provide superior aerodynamic performance compared to other types of nose cones. They are also relatively easy to build, but they may not be suitable for beginners as they require more precise construction techniques.
No matter which type you choose, make sure that your chosen nose cone is strong enough to withstand the stresses of launch without breaking or deforming during flight.
With the right materials and careful construction, you should have no problem creating a safe and reliable paper rocket with a great-looking nose cone!
Frequently Asked Questions
What is the perfect nose?
There is no one perfect nose, but there are some common features that are usually found in noses that are considered attractive. These features include:
• A wide nasal bridge.
• A straight nose.
• Soft and round nostrils.
• No prominent angles or curves on the nose.
What is a button nose?
A button nose is a type of nose that is characterized by its prominent nostrils. It is usually considered to be attractive because it gives the face a softer look. Button noses are typically born with but can also be surgically altered.
Would Pinocchio’s nose grow if he said it would?
No, Pinocchio’s nose would not grow if he said it would. Saying something like “My nose will grow if I say it will” is common trick magicians and charlatans use to make people believe in their magical powers.
Conclusion:
Paper cone masks are a fun and easy project for kids. They can be used as part of a Halloween costume or party or serve as an educational activity to teach children about the respiratory system. Now that you know how to make a paper nose cone, it’s time for some fun! You can use these cones in various ways.

Try using them as party favors, create an obstacle course with them at the local park or set up your own virtual reality game where players have to navigate through obstacles and reach their goal without getting caught by zombies or aliens. The possibilities are endless so let your imagination soar when incorporating this simple craft into your next activity!
You May Also Read – How to Make a Paper Tower Without Tape
Elizabeth Davis
Elizabeth is a creative writer and digital editor based in the United States. She has a passion for the arts and crafts, which she developed from a young age. Elizabeth has always loved experimenting with new mediums and sharing her work with others. When she started blogging, she knew that DIYquickly would be the perfect platform to share her tutorials and tips. She's been writing for the blog from the beginning, and her readers love her helpful advice and easy-to-follow instructions. When she's not writing or editing, Elizabeth enjoys spending time with her family and friends.


