
How to Make a Paracord Bracelet With Three Colors?
A paracord bracelet is actually woven out of paracord. Paracord bracelets are often classified as safety bracelets, and 550 chord bracelets are considered a resource for protection. Survivors, runners, alpinists, campers, or anyone enjoying the open air of outdoor are fond of these bracelets. The greatest thing about these bracelets is their unique design. Don’t why; they attract any me very much. Maybe you are also fond of its attractive design. Well, then welcome abroad.
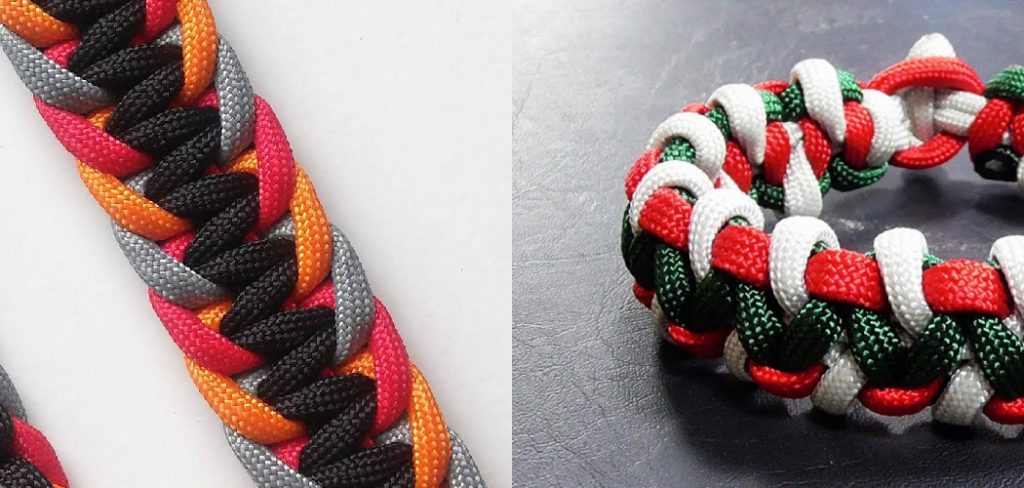
A paracord bracelet is a bracelet made out of a type of rope called paracord. You can buy them at some stores, or online, but sometimes they are not exactly the style you want. Today, we are going to learn how to make our own paracord bracelet with three colors.
Paracord bracelets are bracelets made out of a type of rope called paracord. They come in different sizes and designs, and the most popular ones are geometric bracelets, heart armbands, and infinity bracelets. You may have your own style and be struggling to find the right one. I have faced the same problem and have tried to make my own bracelets.
If you want to make your own paracord bracelet, here are some simple steps to follow. First, you need to get some paracord. You can find this at a craft store or online. Then, measure out how much paracord you need for your bracelet. Next, cut the paracord to the correct size and tie it around your wrist. Finally, add any embellishments you want to personalize your bracelet.
How to Make a Paracord Bracelet With Three Colors?
Obviously, you have to first arrange some materials. Don’t worry; these aren’t going to cost you thousands of dollars. These are some household items and can be easily found near you.
Materials
You need three colors of Paracord to make a bracelet. You can choose any colors you want, but pink, white, and blue are common choices.
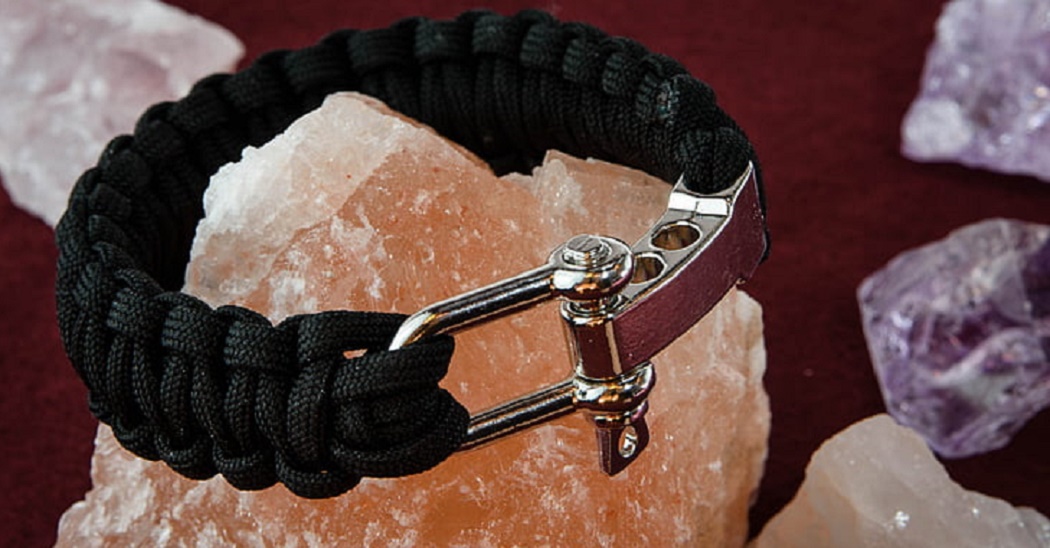
- Paracord Buckle
- Lighter
- Wrist Measurement
Step 1 – Measure Your Wrist
It is always recommended to acquire the proper measurement of your wrist. Do you want to know why I have recommended it so badly? Well, once I had prepared the whole thing, but when I was about to put on my wrist, it was way too big. For a simple mistake, I had to rebuild a completed bracelet, and that’s obviously the most annoying thing.
Honestly, I don’t want you guys to face this type of issue. That’s why it will be better if you start with the proper measurement of your wrist. Anyway, you can use a tape, rope, or anything for taking the measurement. I had used a simple piece of paracord and held it around my wrist for the measurement. Then drew it down in a paper. The other way is to take the measurement with a string. Just measure it, and then put it on a ruler. After that, you will get the correct size of your wrist.
Step 2 – Getting Started
Now, take the blue and pink paracord. You have to know, put them through the buckle. In this case, you have to take hold of the paracord and pass them through one part of the buckle. After that, you need to pass the paracord through the other part of the buckle. Make sure the paracord is passed completely through the buckle.
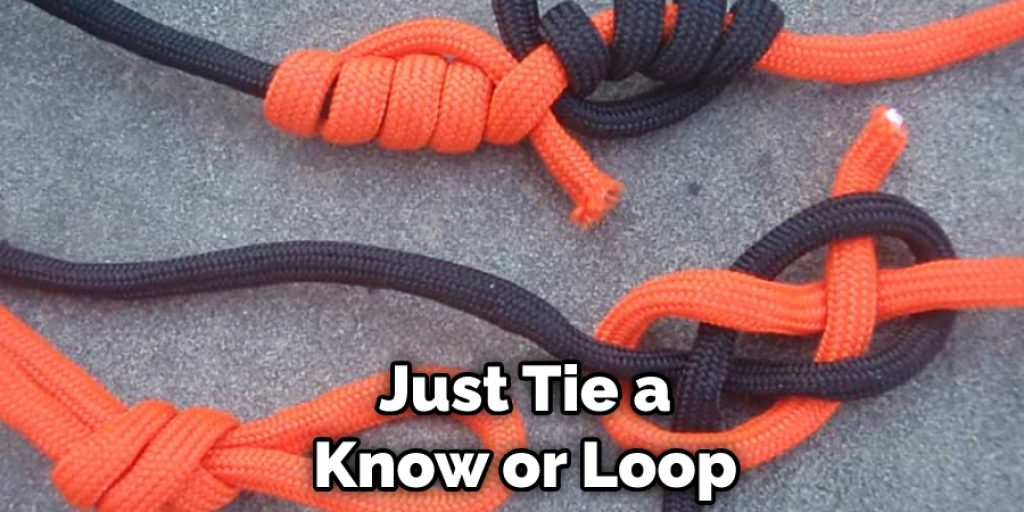
Step 3 – Knots
I am going to continue the process, but in the meanwhile, you can try an easy way. For that, you have to just tie a know or loop through the second part of the buckle. Make sure to do this with the blue paracord. Do you want to know why I did this? It is because when it is completed, the knot will give a neater and prettier look. I figured it out after several times of trying, but as you are here, I have told this secret to you.
Step 4 – Tying the Knots
This is the most confusing part of the entire process. So, you have to pay proper attention to this step.
- First of all, you have to insert the blue paracord through the buckle hole. Take the first hole for inserting this paracord into it.
- Then insert it through the opposite hole or the second hole.
- Next, mark the beginning part and wrap it around it. In this case, you have to make sure to take the end from behind to front. Otherwise, you won’t be able to reach your desired design.
- After that, take the end and push up into the second hole or another hole.
- And then pull the end down through the first hole. Make sure to take the loop under the end, as you have done before.
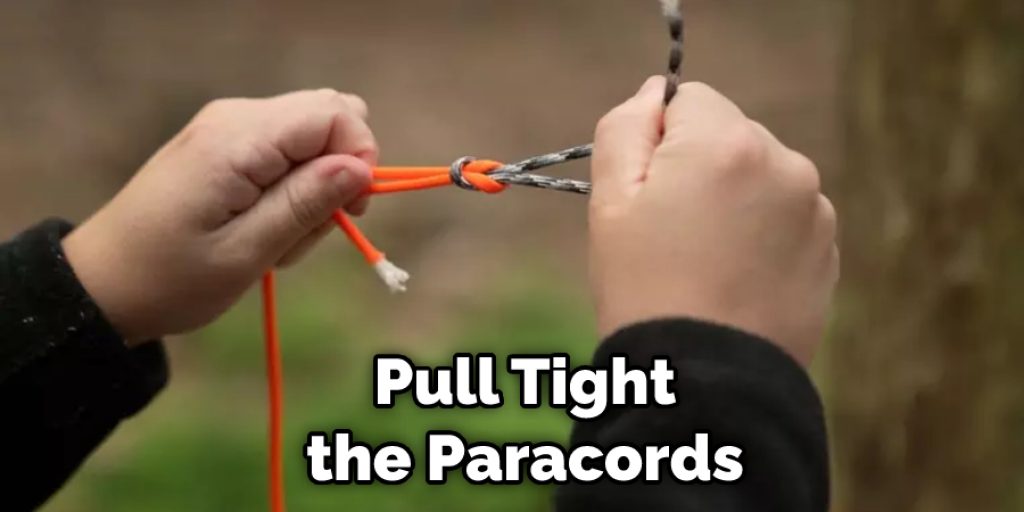
- Now, check if everything is alright. If there isn’t any problem, pull the ends tight.
Step 5 – Binding the Paracords
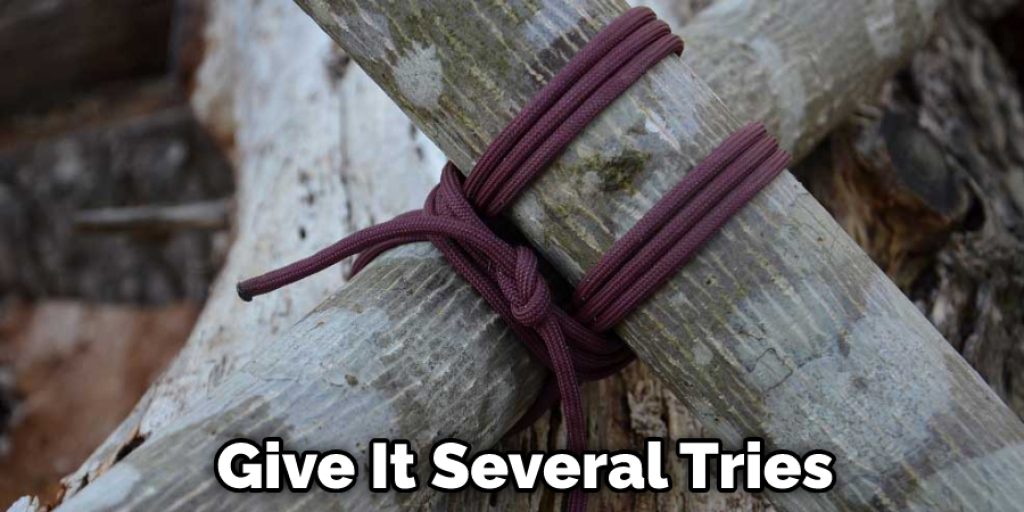
The previous step is a bit complicated, but if you follow the steps accordingly, it will be ready soon. I also had complications while making the knots. If you are completely new to this platform, you may have to give several tries. But hopefully, you will complete the process within a simple try. However, if you have managed to complete the above step, it is time to attach the pink paracord with it. In this case, we are going to use the lighter and heat both ends together for the attachment.
First, you’ll need to singe both ends of the cord to avoid fraying. Use a lighter or matches to carefully hold the flame to the end of the cord until it turns black. Next, use a metal object to press the two ends of the cord together until they’re fully attached. If done correctly, there shouldn’t be any messy fraying. Finally, check to make sure both ends are properly secured. If not, repeat the process. Remember, too much heat can damage the cord, so be careful when applying heat.
Step 6 – Adding the Stripes
Now it’s time to add the stripes. The stripes will help secure the entire attachment along with the knots. So it’s important to get the right measurement of the strip. We’re going to use white paracord for this purpose. Take the white paracord and measure it according to the length of the bracelet.
Step 7 – Gut It
We are going to use the white paracord for as the stripes; I have already stated that above. So, we have to pull the guts out from it. You won’t have to do that manually. Simply, take a knife and pull the guts out. I had gutted my white paracord like a fish.
Step 8 – Fun Time
Well, obviously, it is a fun time because we are going to woven all three paracords together. This will be interesting. But you have to pay proper attention to the process; otherwise, you won’t be able to accomplish this step properly.
- First of all, you have to make a loop by using the blue paracord and then take it behind the bracelet.
- After that, take the pink one and put it under the blue paracord. Make sure that the blue paracord has gone crossover. Now, tuck the pink paracord over the bracelet and put it through the blue loop.
- Now, check if you have followed the instruction properly, and everything is fine or not. If you everything seems to be good, pull both of the paracords tightly. At this stage, you should neither add nor lose the length. Be careful about the length of the bracelet.
Step 9 – Time to Insert the Stripe
If you have completed the previous step properly, repeat the process for both the second and third knots. Complete this stage in the same way you have done previously. You shouldn’t feel any complications if you have understood the previous step.
Okay, once you have completed that, you have to pull tight all three paracords. But before you move to that process, tuck the gutted paracord from the top. Remember, we have gutted the white paracord. Yes, put it through the top and pull tightly. By the way, leave a little step under the knot.
Step 10 – Make a Pattern
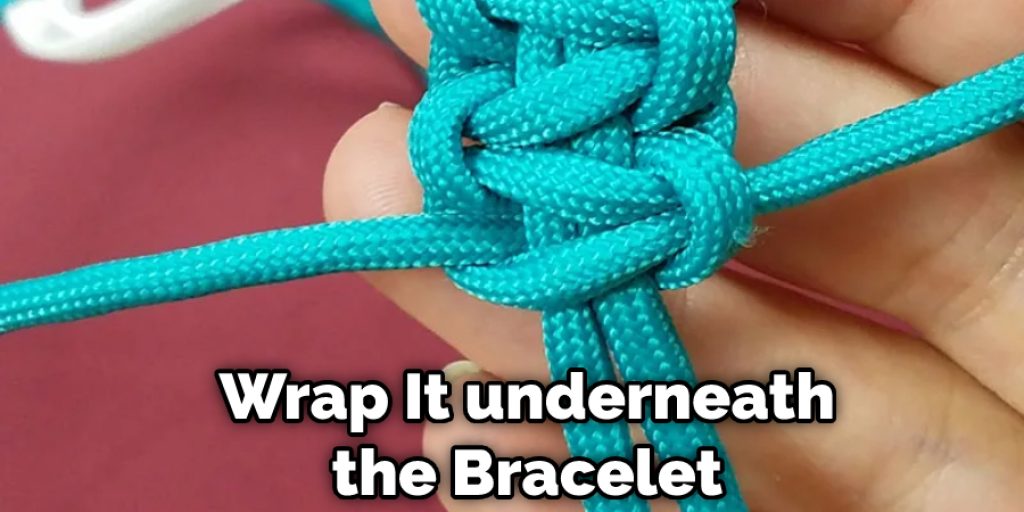
At this stage, you have to wrap the blue paracord onto pink and under the bracelet. Then take the pink one through the blue loop and wrap it on the top of the bracelet. The alignment of the white stripe should be in an appropriate way with the bracelet and make sure to keep it under the pink one. If you have to ensure everything properly, pull it tight. Perform a final check and ensure that every knot is tight enough to withstand all sorts of usage. Keep in mind this bracelet will remain on your hand all the time in the rough times too. So, make it as sturdy as it can be. If any of the knots remain loosens within a short usage, all your efforts will go in vain. If needed, double-check each and every knot so that everything remains flawlessly. Whatever, let’s get to the next step.
Step 11 – Continue Making the Knots
Usually, paracord bracelets are made of knots, so continue the knot making process by following the above instruction. The next knot should be made in a tricky way. In this case, take the blue paracord and wrap it underneath the bracelet. Then take it on the top of the pink. After that, take the pink paracord through the blue loop and over the bracelet. Pull the white strip up this time, doing this will help the knot to shape.
Step 12 – Repeat!
If you have understood these two patterns, you have to continue it until the entire bracelet is completed. No more tricks we have came for finalizing the steps. The blue paracord will go through under the rest paracords, and the rest knots should tuck the white one. The same process according to the above two steps. If you stuck for any reason, check above. However, make sure to make every knot by putting the white on the top.
Step 13 – Time for the End
When you will reach the end, where no rooms will be left, keep the last knot a bit loosen. Are you wondering what are we going to do with this knot? Well, we are going to attach another buckle with it. However, the last stage is a bit tricky. You have to tuck the pink paracord for the ending process. After that, tuck the blue one in the back and into the loop. Continue this and tight the blue and pink paracords at the end.
Step 14 – Finish It Up!
Once you have completed the process, it is time to get rid of the residual strings. The bracelet will surely look great if you have completed it, but the residual strings are hampering its overlook. So, you have to cut all of those strings that are close to the knots. You can also melt them down. In this case, use the lighter to melt the pink and blue tips. Make sure to use metal to press the hot strings and attach them properly. Otherwise, it will hurt you a lot by sticking on your skin.
Conclusion
Your handmade paracord bracelet is ready now. So, how to make a paracord bracelet with three colors? Is it clear to you know? I have covered all the essential information and shared the easiest way to make a paracord bracelet. Hopefully, you have understood all the facts, and now you have become an expert to make a lot more bracelets for you.


