
How to Make a Pitching Target
A perfect launch target is an essential thing for performing your baseball practices properly. In order to acquire the trophy, you need to practice hard and make yourself ready for aiming at the target on different types of pitches. In this case, the pitching net helps a lot. It allows the player to learn more about how to control the ball, and in the real game, it helps them with more hitters. That’s why a pitching target is important for a baseball player. These targets can be easily found at your nearest shops, or you can buy them from different online platforms. But with a little effort, you can also make them at your home. Wanna learn how to make a pitching target? Let’s show you the exact ways.

Summary: In order to make a good pitching target, you will need some supplies. You will need a sheet of paper, a pencil, and a cutting board. First, draw a rectangle on the paper. Next, draw an X inside the rectangle. Finally, cut out the rectangle. You now have your pitching target!
Things You Will Need
- Two 4 ft. long PVC pipes
- Six PVC pipe fittings of 90-degree
- Five long PVC pipes of 3-foot
- 4×5 ft of 1/2-inch mesh
- 12 tube clamps
- PVC connectors (two three-way)
How to Make a Pitching Target
Step 1 – Build the Launch Target
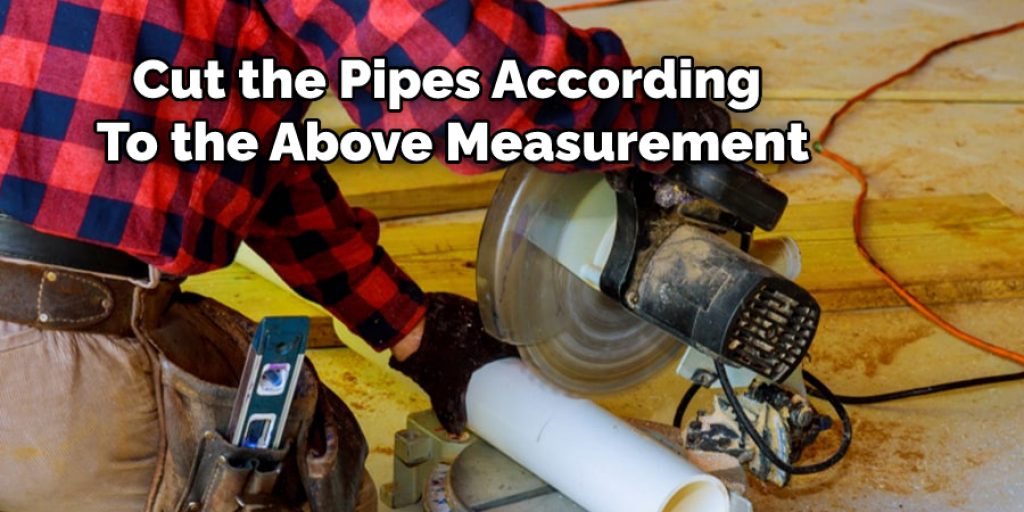
To start, cut the pipes to the corresponding measurements. Next, take the 3 and 4 foot pipes and lay them out in a rectangular shape (3×4). Once that is done, apply plumber’s glue to the ends and connect them properly. Next, take the 90-degree fitting and attach one 3-foot piece to two 4-foot pieces. Repeat this process until the rectangular shape is complete. Finally, secure every attachment with plumber’s glue. And that’s it – your launch target frame is ready!
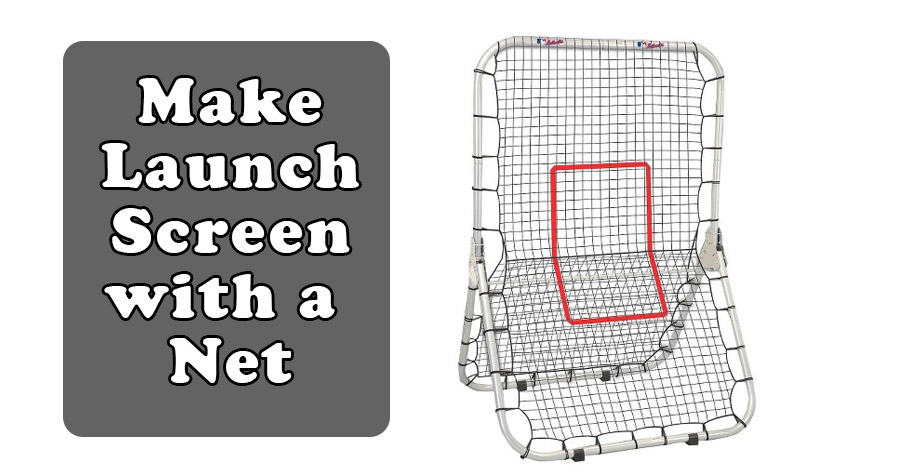
Step 2 – Cut the Launch Target Network
Now, you have to make your launch screen with a net. In this step, you should keep 3 inches excess from the side while cutting the net. So, cut the net carefully and attach it with clamps. Next, mark the center and cut a hole according to your desired size. On the other hand, you can also make the job done simply by marking the strike zone. If you are marking the net, make sure to use a bright and shiny marker.
Step 3 – Secure Casting Coach
Your pitching target is almost ready. But before you start practicing with it, ensure a secure attachment to this thing. In this case, you have to consider the age of the pitcher. If this is for adults, make sure to use an adult stand. In fact, the throwing net you have attached will be extremely hard, making it fall. You will definitely not like to run to the frame and pick it up from the ground. So, put provide the frame with some additional supports. In this case, you can use some heavy sandbags at the bottom or for the back support, or you can use anything that will hold your pitching target securely.


