
How to Make a Projector With a Flashlight
People have been using projectors for decades to share their messages with groups of people. Some are even used in classrooms, but the cost can be prohibitive for many schools. If you’re looking to save money on a projector and don’t mind making it yourself, this blog post will show you how to make a projector with a flashlight!
It is easier than you may think to make a projector with a flashlight. Making the projector with a flashlight is straightforward and does not require any special tools or materials. All that is needed are an empty cardboard box, scissors, tape, and your favorite movie or show on DVD! This is a great DIY project that not only saves money but also teaches kids about technology! Read on to know more!
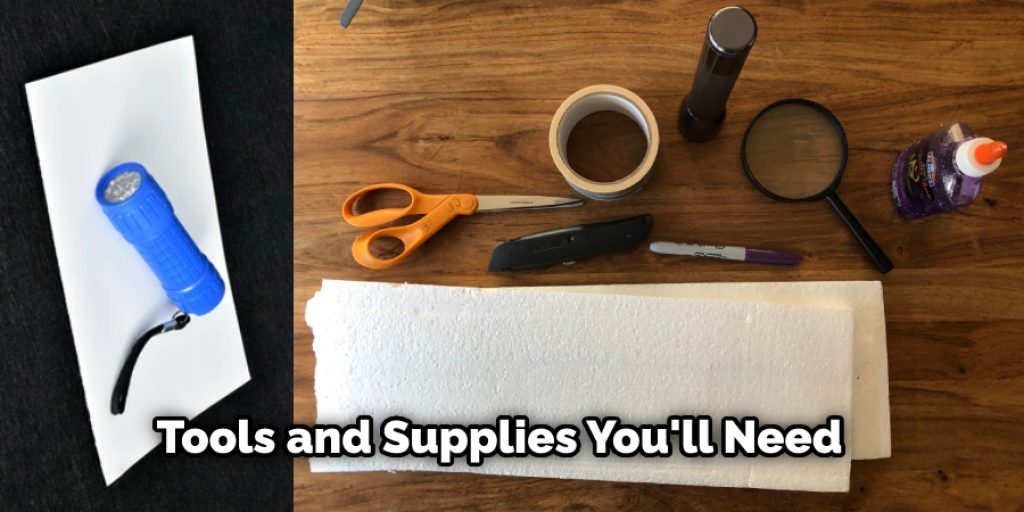
Tools and Supplies You’ll Need:
- A flashlight (duh)
- Some paper
- Black electrical tape
- A ruler, a marker, and some scissors
- A hole puncher (optional)
Step by Step Guide: How to Make a Projector With a Flashlight
Step 1: Get a Flashlight.
A normal-size flashlight will work fine. However, if you want to go all out, you can get a Mag Flashlight, known for being bright.
Step 2: Take Apart Your Flashlight.
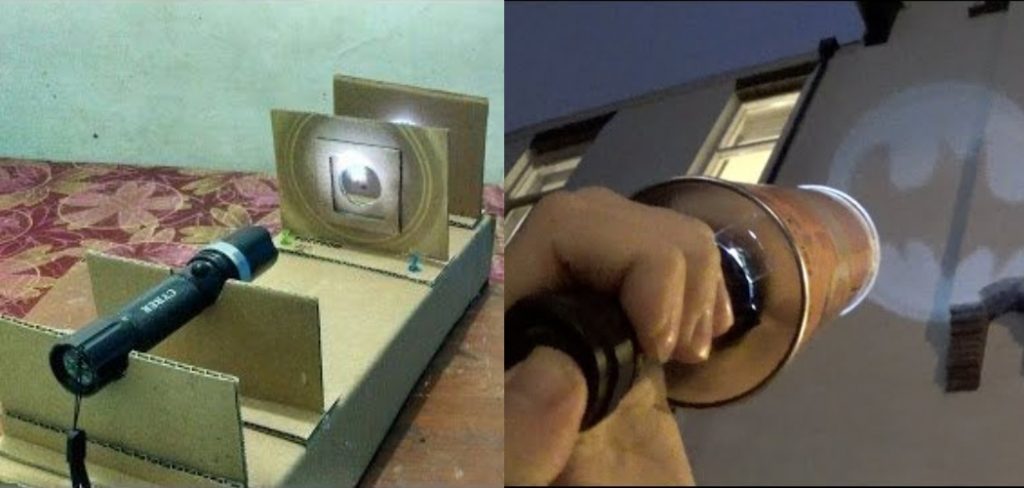
Remove the batteries and unscrew the top of the flashlight, exposing its LED light bulb and magnifying glass lens. If you want your image to be bigger, you can also remove the bottom part of the flashlight that keeps it all together. Keep in mind, though, that different flashlights have different types of flashlights, so you may need to do further steps.
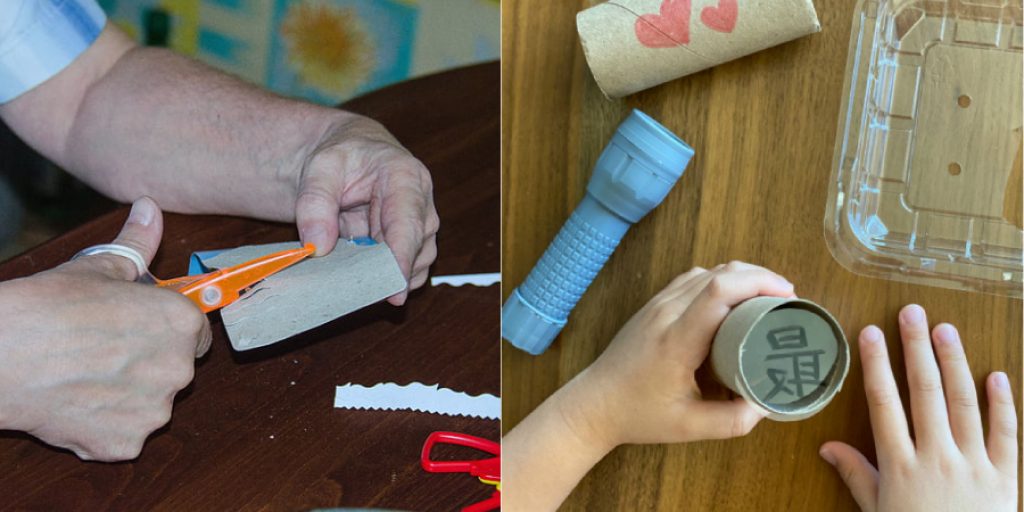
Step 3: Cut and Shrink the Paper.
Take a sheet of printer paper and cut it down to 8″x10″ (or any size you want). Then, using your ruler and marker, make two marks on both sides of the paper. Fold both sides in over each other to finish the process. Then cover the folds with black electrical tape. Make sure it’s completely covered. At this point, you can also punch a hole on one end of the paper if you want to hang your projector up later.
Step 4: Tape Your Paper to the Flashlight Lens.
Tape one side of the paper to the flashlight lens. Make sure the image is facing the right direction. Then, tape down that edge with a strip of black electrical tape along both sides of the paper. Fold over any excess parts of the paper and secure them with more tape. Repeat this for all four edges until it’s completely covered in black tape.
Step 5: Turn on Your Flashlight.
This is where the fun begins. Please turn on your flashlight and hold it so that the light is facing a wall or white piece of paper, etc. Look through the lens and adjust the image until you like what you see! And there you go, you’ve just made a projector with a flashlight!
Step 6: Test Out Your New Projector!
Now that your projector is ready to use try projecting some images or videos onto a surface. You can use your phone or any other device with light or an app to project onto a surface. You can even make shadow puppets with your hands when you shine the flashlight on them!
Some Tips and Suggestions
- Make sure the room is dark and that there are no stray lights.
- Move shadows around to make different shapes and things!
- When making a person’s shadow on the wall, make sure to stand at least 2 feet away from the wall.
- Try moving back and forth as well as side to side for fun effects!
- A flashlight is not required; you can use a candle if you’d like! Just be safe with lit candles!
- Also, if necessary, put the batteries in backward to turn off the flashlight after you are done playing with your shadows!
- Try catching the shadow of another person on the wall for two-player fun!
You Can Check It Out to Make a Taser Out of a Flashlight
What Can You Do With Your New Projector?
1. Watch Videos on the Wall
Watch videos, play games, or view any other type of media through your new projector! It’s perfect for boredom when you have nothing else to do.
2. Make a Bedtime Story Box:
A perfect idea for when you’re too old for a night light and can’t handle turning off all your lights and going to bed in the dark. Place this on your bedside table, put it on top of any surface, and shine it upwards so that the light will project on your ceiling. You can also project it on the wall across from your bed to make a bigger light.
3. Give Yourself Some Ambience:
This will help set the mood for studying, relaxing, having romantic dinners with your significant other, or even watching movies! This works exceptionally well in theaters without assigned seating.
4. Make Shadow Puppets:
If you’re a child at heart, this is the perfect use for your new projector! Please turn off all the lights and shine them on a wall or ceiling to project an image on it. You can make shadow puppets with anything that’s casting shadow animals, hands, dolls, etc.
5. Make a Light for Under Your Bed:
Hang your flashlight from the top of your bed with some string or yarn and drape a blanket over it. This will give you tons of light to see under your bed without having to turn on all of your lights for the night.
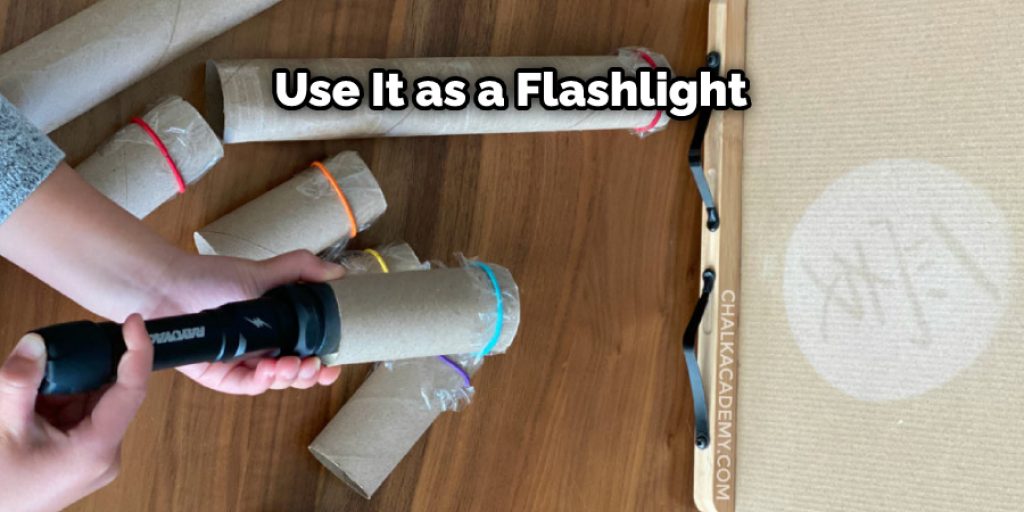
6. Use It as a Flashlight:
Place a flashlight in front of your device and plug it into your computer. It will project the light from the flashlight onto any surface you choose. This is perfect for camping trips, power outages, or just when you’re too lazy to get out of bed to turn on a light.
7. Make Your Cloud at Night:
Turn off all of your lights and shine the light upwards towards the ceiling. It will project into the sky, giving you your private cloud. The bigger the flashlight, the larger your shadow will be!
Can I Use a Mobile Phone Flash As a Projector?
A mobile phone flash can serve as an emergency projector in case of a power outage or if the bulb blows. It is currently not designed for this purpose, but it might work when placed inside a box with some reflective material. The higher the lumens on your LED flashlight, the more effective it will be as a projector.
What are Lumens?
Lumens are the measurement of luminous flux, or how much light is given off by an object or device. For example, a mobile phone flashlight only emits ten lumens, which means that most likely, you will not have enough light to fill up a room with a projection. Of course, you can project on a large wall, but it will appear dim and blurry. If you want a high-quality shoot, consider buying a projector instead of using a mobile phone flashlight.
How Do I Project My Phone With Flashlight?
If you have a phone with an LED flashlight, follow these steps to project the light on any surface. First, turn on your flashlight by pressing the power button quickly two times in a row. Then, open your phone’s camera app and press the small sun-shaped button next to the shutter release. Keep holding this button until you get the desired effect.
That should do it! For best results, be sure your light source is close to the wall and that there aren’t any shadows between you and the projection surface. Also, try tilting your phone or using a different angle for projecting. You can even use this method to project other images onto surfaces besides walls: open your camera app and hold the sun button as if you were projecting light, but with a photo of your choice on your phone’s screen.
Things to Consider When Making a Projector With a Flashlight
- The flashlight should be small enough to hold but big enough that its end is level with your eyes when it is in front of them.
- It’s best if the flashlight has a focus feature, or adjustable lens width this way, you can adjust it for different projection sizes.
- If you use a slide, make sure the image is big enough to be seen on the wall. If it isn’t, you may need to adjust your projector accordingly.
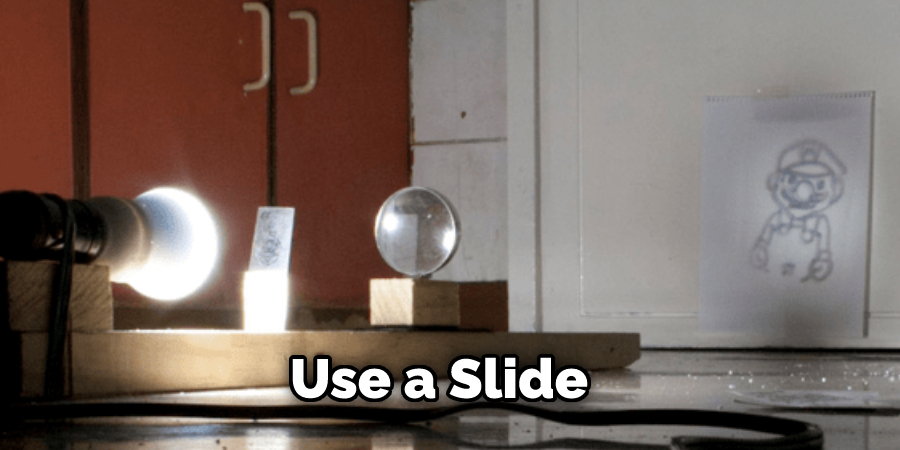
- Depending on where you place your flashlight while projecting the image, try positioning it in different places around the slide or object for optimal projection.
- You can also experiment by adding more flashlights to achieve a clearer, projected image.
Conclusion
To summarize, you can use a flashlight to create an inexpensive projector. As long as the light is bright enough and in focus on the wall or screen, you will be able to project images onto any surface. This may not work for all types of videos, but it’s worth trying if your budget doesn’t allow for more expensive options!
This article has shown you step-by-step instructions on how to make a projector with a flashlight using just an ordinary household object that most people have laying around the house a typical flashlight.
The materials needed are fundamental, so this project should work well if you’re looking for something easy but still fun to do on a rainy day or during one of those long winter months when it’s too cold outside. So what are you waiting for? Read through the steps before getting started today!


