
How to Fix LED Lights That Are Different Colors
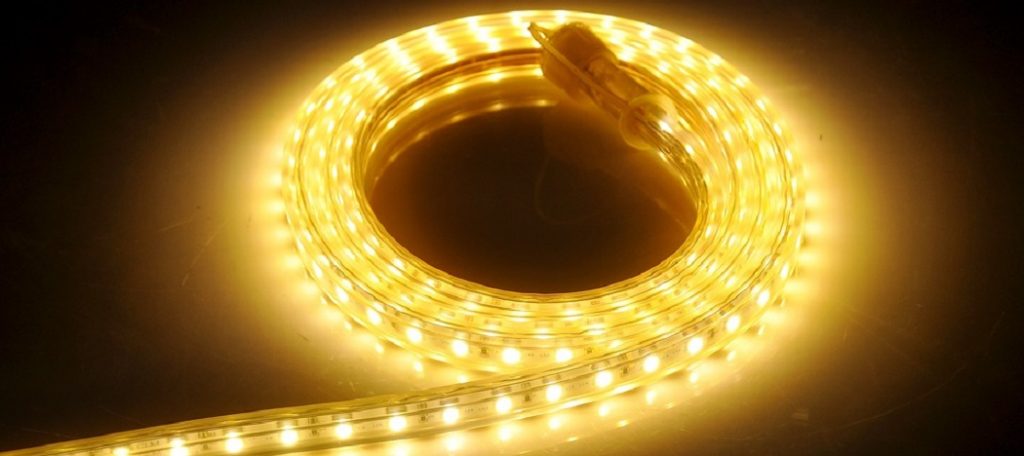
LED lights are the most modern form of the lightbulb. They use less power than a standard incandescent bulb, and they last much longer, with an average lifespan of about 20 years. LED bulbs come in many different colors, including red, green, blue, white, or multicolor combinations that can be mixed to create any color desired. LED lights are made up of a series of small, bright light-emitting diodes that produce light when activated. When electricity is applied to the semiconductor material inside the diode, it produces photons, which create light.
The primary problem with this type of lighting is that when you buy them from stores where all the LEDs have been mass-manufactured on a single production line (e.g., IKEA), you may end up with ones whose colored hue does not match your room decor because there are no standards for each manufacturer’s product lines as there were in times past when individual manufacturers would produce standardized in ents and colors. Today I will discuss some of the techniques on how to fix LED lights that are different colors.
Possible Issues with LED Lights
Different colors:
When the lights are different colors, it’s usually because of a manufacturing issue. Either the wires are not connected to the same circuit board, or the color wheel is defective.
Wiring Color Codes:
If you want your LED lights to work properly, then make sure that each light set has a black wire and white wire in common. There should also be red wires going from one side of the fixture to another, but those can vary depending on if there are more than six bulbs in a row or column (in this case, skip every other bulb for wiring purposes).
Power Issues:
Check any power issues like loose connections or tripped breakers before trying anything else. You may never know what could be wrong with your lights if you don’t check for power first. Most of us have probably had to call a professional electrician for help with our lights at one time or another.
Color Wheel:
A defective color wheel is the most common explanation for why LED Lights are different colors, and it can be easily fixed by replacing the color wheel. The only time this isn’t true is when there’s a wiring error (see above). If that doesn’t solve the issue after multiple tries, contact an electrician to inspect your electrical system. If the lights are not flashing, then the problem lies with the system’s connection to the electrical grid. This is because any voltage drop in the system can cause a change in color output.
A Process on How to Fix LED Lights That Are Different Colors
Step One:
Check the LED lights with a color-correcting tool. The most popular are SpyderCheckr, Datacolor Spectro iMatch, and X-Rite Colormunki Photo; there’s also an online option called Kuler, which is available for free to download.
Step Two:
If one or more of your LEDs have colors that differ from others, make sure you check if it has any underlying issues such as being scratched or dirty by using these tools below. These can be found at many hardware stores like Home Depot or Lowe’s, in addition to Amazon and various retail sites specializing in lighting products. A common issue might be dust, dirt on the lens, scratches on surface coating, and /or water spots.
Step Three:
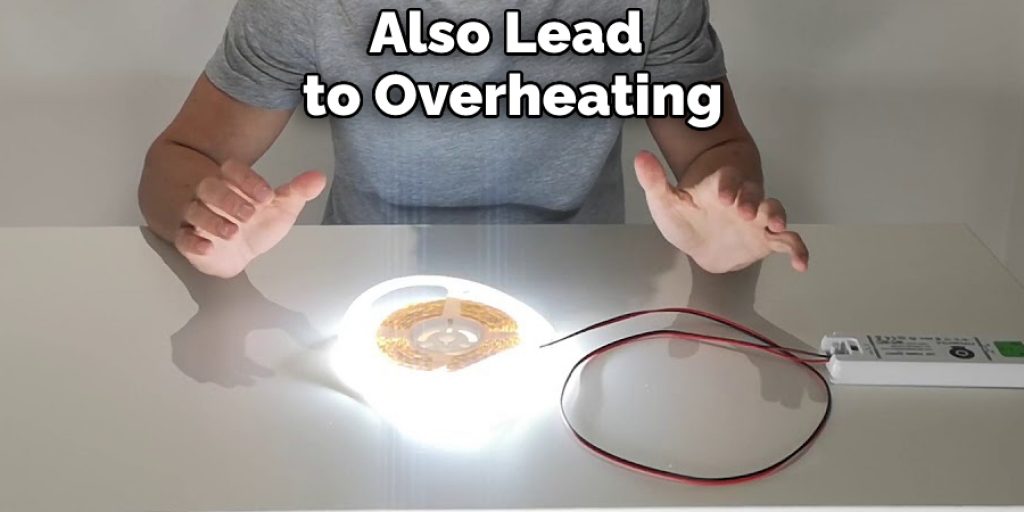
If you find that one or more LEDs have these issues, clean the surface with a soft cloth and remove any visible dirt from the lens. Make sure to dry it off before use because wet surfaces can cause electrical shorting, which might result in overheating and discoloration of LED lights.
Step Four:
When your LED is shinier after washing its exterior, turn on the light source to verify if the colors are now consistent across all LEDs again. It’s not advisable to leave your LEDs turned on for long periods of time, though, so try turning them off once they pass inspection while making a note of what color each should be listed under according to their labels when doing this process.
Step Five:
When all of your LED lights were consistent after washing them with a soft cloth, turn them back onto their original settings for usage again. Keep in mind that there might still be some dirt leftover from earlier, but don’t worry about this as long as not much was picked up during the process since these things can cause electrical shorting too, and wet surfaces can also lead to overheating of LEDs when turned on for too long.
Is the Power Supply Providing Enough Voltage?
You will need at least 12v to power LEDs. If you’re getting less than that, your LED lights are not going to work properly. Another thing to check is whether or not there are short circuits in the wiring of your bulbs. Check for loose connections and tarnish on wires where they connect with a plug-in connector – if either has occurred, then it could be causing intermittent lighting issues. Finally, make sure that the polarity matches up between what you have plugged into an outlet and what wire colors run from each other inside of a light string; this means red should go with positive/black goes with negative (but can swap those two if needed).
You Can Check It Out To Make Dark Purple on Led Lights
How to Check Wiring for LED Lights?
Check for wiring errors with LED lights by checking the connections. Connections should have a clip that holds two wires together, and they are usually different colors on each side of the connection to indicate which wire goes where. Make sure these clips are not loose or crossed, as this indicates a faulty connection. If there is no clip at all, then it’s time for new wiring!
If you’re changing out your old fluorescent fixture with an LED one, be sure to turn off the power before working on it (unless using 220-volt electrical). This will help prevent accidents and injuries from occurring during installation work. Also, when installing fixtures, make sure the connectors match up – positive connects to negative to keep electricity flow stable within your home.
If you’re getting a new installation, the electrician will usually install it for you. However, if they are not installing it – start by turning off the power at your breaker box and then disconnecting any wires that might be connected to the old fixture before taking down the fluorescent one. Hanging fixtures should have two screws on each side, with hooks in between where you can hang a wire form for electricity flow. If this is missing or damaged, use an appropriate hanging kit and make sure it’s installed correctly, so there isn’t interference with other lights nearby (unless using 220-volt electrical). Make sure all connections are tight when finished!
You Can Check It Out To Connect Led Lights to Alexa
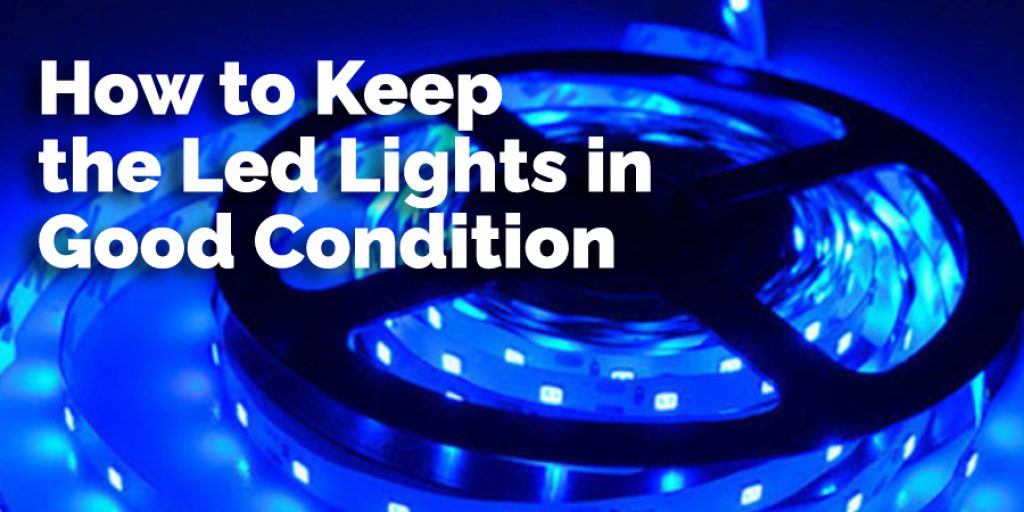
How to Keep the LED Lights in Good Condition?
The best way to keep the LED lights in good condition is to follow these three steps:
- Cleaning your house before you start decorating for Christmas. That will minimize dust and dirt build-up on all surfaces, including any outdoor lighting;
- When hanging large wreaths or other decorative items outside, make sure there’s enough clearance between them so that they don’t touch anything else like trees or electric wires. If it does have contact with another object, then some of the light may be blocked from reaching others;
You Can Check It Out To Control Led Lights Without Remote
Precautions While Fixing LED Lights
- Turn off the power supply to avoid an electrical shock.
- Unplug the LED lights and turn them on one at a time, examining for faults in each light as you go. You may need someone’s help when it comes to lifting a heavy light fixture that is hard to get under without assistance. If you have more than one of these fixtures, do this step with all of them before replacing any parts or wires.
- Inspect your bulbs if they are different colors – would they be pink? Some people prefer over others the color temperature ranges from 4000K (has gold/yellow tones) to 5000K (slightly whiter). Some LEDs offered by companies like LIFX offer both options, so keep that in mind when purchasing them.
- Inspect the wires for any exposed copper or frayed, worn insulation as these are common signs of a wire that is about to fail and stop working without warning. It’s always best to replace suspect wiring before it fails.
- Use a multimeter to check the resistance values of your bulbs. If they are close to these numbers (value in Ohms), they’re within a range that should work with most LED drivers.
You Can Check It Out To Use Led Light Remote
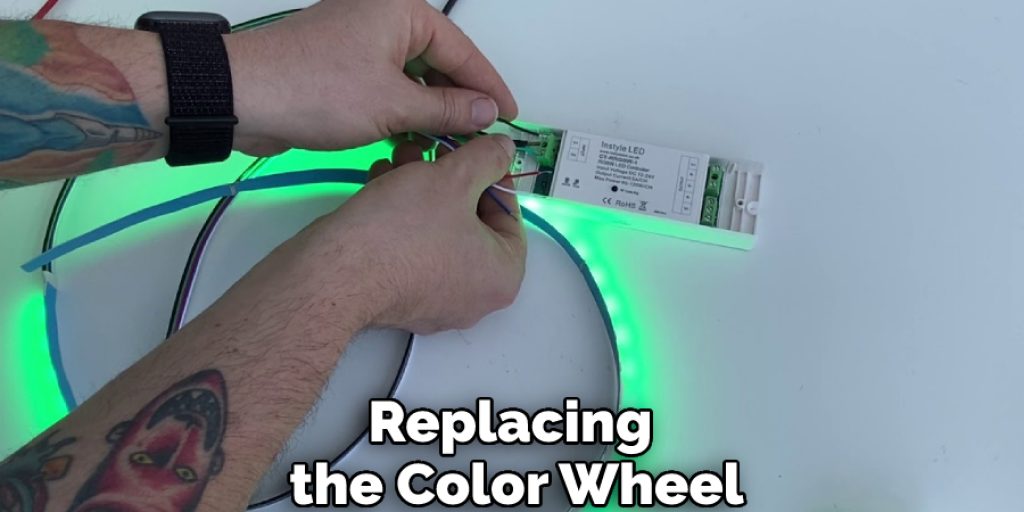
How to Replace the Controller of The LED Strip?
All you need is a wire stripper and some basic soldering skills. You will also need to find the controller in your led strip kit. This will be labeled either “Driver” or “Controller.”
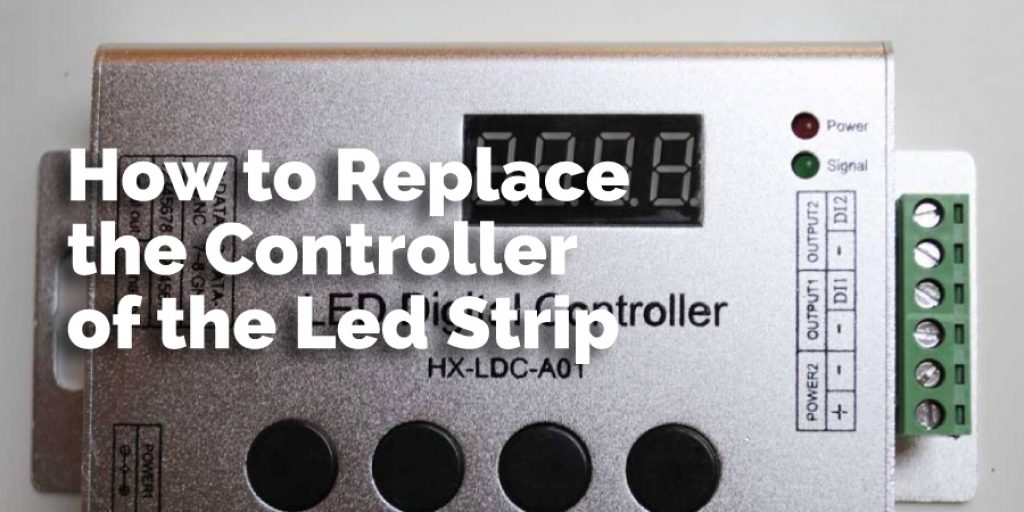
Here’s how it works: The controller controls all of the LED lights on an individual circuit, including many different colors and modes. To change any color, mode, etc., we change settings on this controller by cutting it out from the circuit board with wire cutters (don’t worry about damaging anything else) then shorting its contacts together with solder-wick or metal strips that are coated with flux paste – then place them back onto their desired circuits, so they work again.
Final Thoughts
If you’re looking for a cost-effective way to illuminate your home, we recommend led lights. They are environmentally friendly and will save energy in the long run. On the other hand, if you want clean lighting that doesn’t emit any heat, then they’re perfect for you! We hope this blog post helped shed some light on fixing led lights that are different colors! so I think this article has helped you figure out how to fix different colored LED lights.
You may read also: How to Fix Copper Wire String Lights


