
How to Make a Projector Without Magnifying Glass
Introduction:
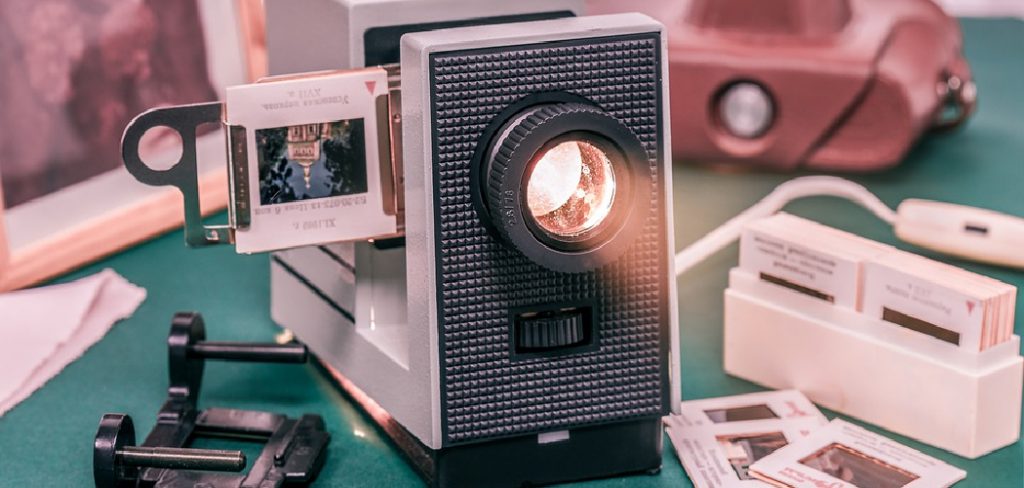
A projector is an optical device that projects images on a screen. It was initially designed to use light to show slides or film, but now many people are using them for digital displays of various kinds. The best way to make a projector without magnifying glass is by taking the front part of a camera lens and attaching it with some plastic from the back of a CD case around the outside edge.
The lens should be pointing outwards from the center of your frame. You can then put up any image you want in the frame area and project it onto another surface like paper, cardboard, or even just on your hand! In this article, I will discuss in detail how to make a projector without magnifying glass. So let us get started.
A Detailed Stepwsie Guide on How to Make a Projector Without Magnifying Glass:
Step 1: Making the Reflector
First, cut out a shape that looks like this. Please make sure all the corners are sharp because otherwise, they won’t reflect very well. It has to have a wide enough angle so that you can see the projected image. Also, try to keep it as symmetrical as possible. Once you’re satisfied with your shape, cut out another one the same way and glue them together, so they form a cross.
You don’t have to use glue for this part if you know how to hold things together correctly. Suppose you manage to do it without using any adhesive at all. More power to you! Then punch some holes in each of their four corner holes on opposite sides, of course. It’s best to use a drill, but don’t put too much effort into this step. The holes need to be big enough for the string to fit through.
Now get some thread and tie it tight between the two pieces of paper so that the ends are sticking out on opposite sides. Please make sure they’re equal lengths, or else one side of your image will be distorted. Once you have them even, place a pencil over each side so that it is being held tightly in place by both strings from above and below.
Then flip it over and repeat the process from the other side with another pencil. Make sure the threads do not slip while you’re doing this, or else everything will come undone very quickly! Another thing: make sure there’s enough space between the pencils so that they don’t touch when you put them together later.
Now, make two marks on each side of the cross about three inches from where the strings are tied. Then get a sheet of plain white paper and put it underneath your project to align with the top two pencils. With a ruler, trace light lines connecting these points on either side of your shape since this will be useful for lining up everything correctly later on.
Take your project over to a window and line it up with one side facing directly towards you while leaving about six or seven inches in between. See if any of the projected lines fall outside the border of the paper’s edge by moving things around a little until you’re satisfied. If it does, don’t worry about it; we’ll take care of that later on.
Now carefully remove your top pencils and slide them up inside the shape at one of the marks you made earlier. The paper should still be stuck underneath them because of all the static cling developed throughout this process!
Lay the project back down flat again, get another sheet of plain white paper, and lay it on top of your project so that they are aligned with your strings. Trace around the outer edge of the reflector onto this second sheet of paper, which will serve as our stencil for later.
Step 2: Making Your Box & Attaching Reflectors
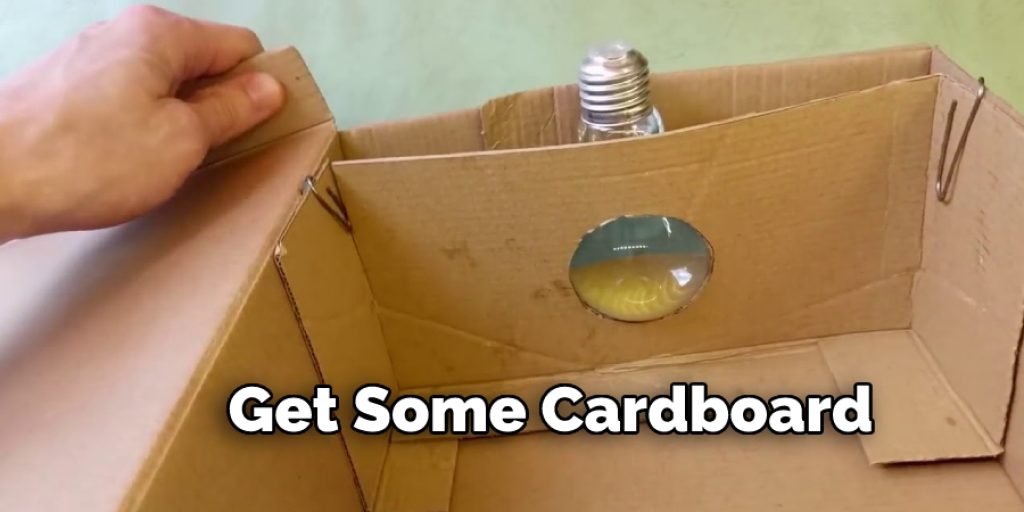
Get some cardboard (preferably something rigid like card stock, which I’ve got here) and cut out a rectangle that’s at least eight inches high by about six inches wide. This will be your box.
Fold it in half, so you have two layers, then roll the bottom edge towards the open side of your rectangle (the longest side, not the folded one). Use scotch tape to secure it in place, but make sure you leave some length on each end for an opening!
Next, slide the top pencils back into their slots and carefully fold them down until they touch the inner layer of cardboard (do NOT skip this part, or else everything gets ruined). Finally, flip over your project and trace around its outer edges with a pen to mark where these openings need to be made.
Do the same to this side since one will be used for feeding in new sheets of paper while the other is where your finished prints pop out!
Now poke approximately five or six holes on opposite sides between these two openings. These ventilation holes will come in handy later when you want to prevent things from catching fire, although it doesn’t hurt to have too many either. After this, go ahead and cut out the holes along with a rectangular space at the bottom which you’ll use for putting everything together.
Now put everything back into its original position (i.e., all four pencils pointing upwards) and press down until they make contact with their respective layers of cardboard again. Then duct tape around them so that nothing wiggles or falls off.
Look at the top pencils and notice how they each have a higher point than everything else; this is where the paper needs to be inserted so that it sticks up between them for printing.
Next, take another sheet of plain white paper, align it with this opening depending on which side you want your finished prints to come out on (I recommend having them pop out on the same side as the ventilation holes), then tape it in place along both edges. This will prevent things from shifting around too much when you begin putting everything together.
Step 3: Glue & Staple Reflectors Onto Box
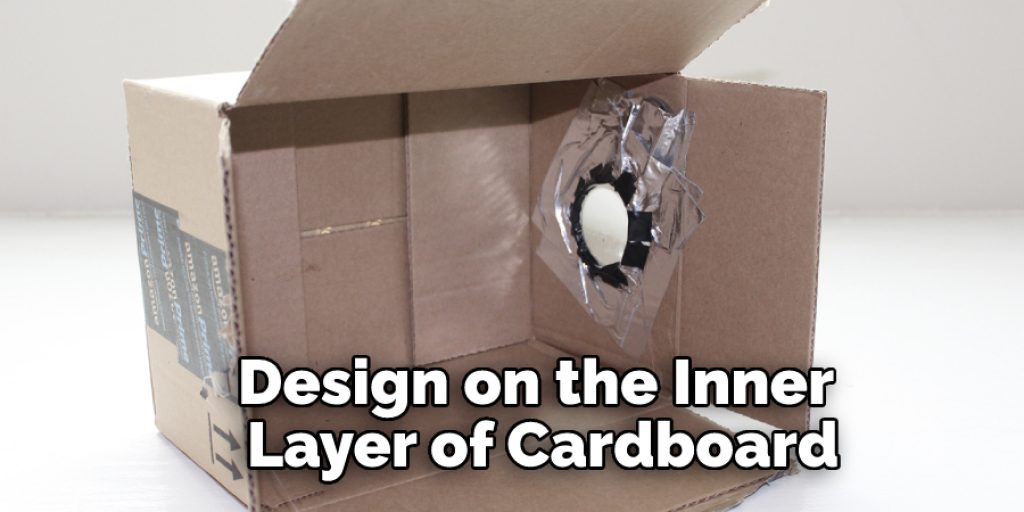
Refer back to the stenciled outline of your design on the inner layer of cardboard. You did make one earlier. Get a ruler, and a pen, then score along the inside of it. I usually draw a diagonal line on one corner, rotate the stencil 90 degrees, and draw another one in the opposite direction within its borders. This should give you four evenly distributed segments to cut out with your scissors.
Cut out the first segment so that about an inch or two remain, as seen above. You can remove any excess bits of cardboard sticking out from underneath if you want. This will do get in the way later on when we have more pieces to work with!
After you’ve finished up all four segments, make sure everything fits together smoothly before adding glue; take note of how everything’s supposed to go together before applying any adhesive because it’s a lot harder to fix things once it’s already dry and permanent.
You don’t need much here; just make sure both layers are securely stuck together before continuing to the next step! Afterward, inspect your work for any gaps or openings where light can leak in. Unless you have leftover bits of cardboard underneath that are poking up through your cuts, there should be none.
If this is the case, glue another piece over that area using the same method as before. You’ll want to do this about five or six times until everything fits together snugly enough, so there’s no space left between the two pieces of cardboard whatsoever.

Step 4: Attach The Projector To Its Base
This part is pretty straightforward since all you need to do is lay your projector on top of the base and mark where it needs to be attached using a pen. Make sure you get all four corners right because they’re easy to miss otherwise! After that, I was hoping you could take off the projector and cut out these marks with your scissors;
I recommend making one big hole instead of two separate ones for ease of putting everything together later on.
Conclusion:
I hope you have obtained a clear idea of how to make a projector without magnifying glass. Ensure all the steps are correctly followed. Thank you and have a nice day!


