How to Make a Reindeer Costume
Make-up, fur and antlers will become the highlight of this appearance, so the costume is the most accessible version! Quickly pick a black or gray dress (I started with a bronze bodysuit) and black or brown skirts (I started with shorts). Be imaginative, and go for what you already want to spare energy/cost in your drawer!
Type 1:
• Antlers in a hairband
• Black or Gray Gloves
• Soft brunette flannel jacket
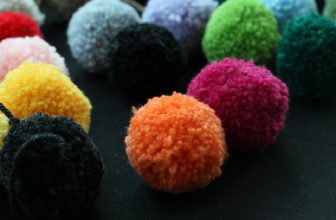
• Cotton yarn Brown
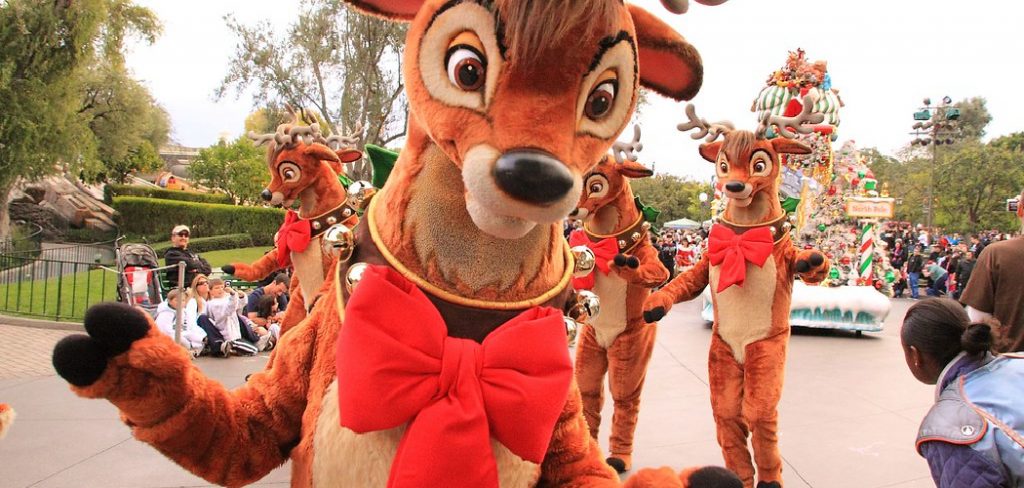
• Painted Nose Clown How to make an Outfit for Reindeer. Building an outfit for the reindeer is a breeze; particularly now, you can purchase antlers in toy shops each Christmas. Attach a red nose and Rudolph!
• Phase One: Show a photo of a reindeer from Xmas. Note: You don’t want a real reindeer image, which is also not cheery.
• Phase two: Build an outfit for the reindeer that use the illustration as a reference.
• Phase three: Slide down on a dark set of sweats.
• Phase four: Don your sneakers and gloves. When they are black or brown, it doesn’t specify, but they must be the same color because they reflect your “hooves,”
• Phase Five: Place your head into the antlers.
• Phase Six: Attach that little “tail” on the rear of the pajama pants produced from wool.
Type 2:
Add Eyeshadow: Begin the eyes off with a softer color or golden on the eye after adding the makeup, then a deeper brown on the seam. Ignore it for better comparison with white highlights to the brow bone and a purple shade to the eye’s center.
Add eye makeup & lash line: Trace the left and right sides lash rows with black mascara. Then put the black fluid eyeliner and make feathers on each side and the inner edge liner to produce a much more glamorous appearance. Also, for popping, attach fake eyelashes, and your eyes are perfect!
Shape Nose: by adding deeper colors on either face or a soft white highlighting down the middle line, strongly crease the nose. Then add medium brown or black eye makeup to the nose’s side and for further detail, outline it with dark brown filler.
Attach Lines: curve the cheeks extensively and then use light eye makeup to draw tiny dots over the contour. You could apply the impact to your forehead as well when you wish. Wrap up the skin with a soft gloss and a black lip liner. Place Hair into 2 Buns: it is necessary to leave on to the Hair once the makeup is completed! Portion your hair on the side so you can make two even pieces. Then bring every half into this little bun to build ear illusions! Pick Antlers Products.
Break Cardboard: Completely break rectangular sheets of the same length, whether you have used a cereal box or not. And the two parts surface, one in front of another, so the straight paper edges are clear in front and rear. Lastly, split them into parts. The base for the antlers would be those.
Antlers Sketch & Cut: Use a marker to sketch and break out the outline of an antler on a few of the paper sections. Then, rotate the antler’s upper surface sideways and position it on another surface of the board. Follow the design, and take out the antler.
Adhesive Antlers: Bring your glue gun and tape each antler’s edges. Know you need the front and rear of the blank paper available. Therefore the sides are cleaned to ensure the antlers are clean and smooth. Slightly peel off each antler’s lower portion so that the headband falls between each one. Then, stick the cardboard lower surface hot and put the hairband atop. Then, attach the hairband to the end and push the end antler surface.
You May Also Read-How to Make Franzia Halloween Costume
Nancy Behan
Nancy is an embroidery artist, fashion blogger and a full time editor at DIY quickly. Nancy edits the fashion section on DIY quickly, focusing on the embroidery and cross stitch articles, alongside with fabric and other costume design elements. She graduated from the University of Michigan with a Bachelor of Arts in Art History. She loves to work on her own projects, read books and watch romantic movies in her spare time.