How to Make a Round Mirror Frame
Creating your own round mirror frame is a rewarding DIY project combining creativity and functionality. Not only does a custom mirror frame enhance the aesthetic appeal of any space, but it also ensures a perfect fit tailored to your specific decor style. By learning how to make a round mirror frame, you can add a personal touch that reflects your taste and personality. This project empowers you to transform a simple mirror into a stunning focal point in your home.
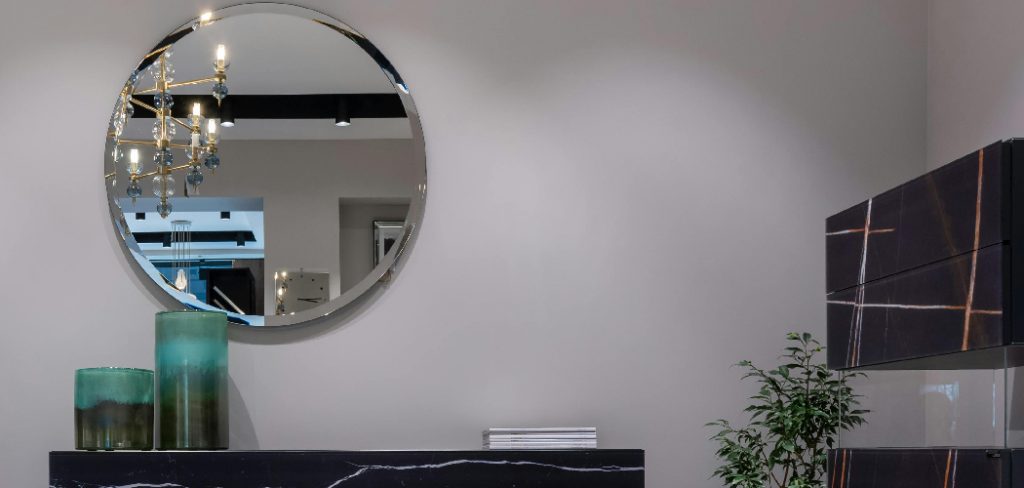
Throughout this guide, you will discover the essential materials and tools needed, along with detailed steps to make the process enjoyable and straightforward.
Materials and Tools Needed
To successfully create your round mirror frame, you will need the following materials: a mirror, frame material such as wood or MDF, paint or stain for finishing, glue for assembly, and hardware for hanging the frame once completed. The tools include a saw for cutting the frame material, sandpaper to smooth edges, a paintbrush for applying finishes, a measuring tape for precise dimensions, and clamps to hold pieces together during assembly.
Optional items may include decorative accents to embellish the frame further and sealing products to protect the finish and enhance durability.
Choosing the Right Frame Material
When creating a round mirror frame, selecting the appropriate material is crucial for aesthetics and durability. Common options include wood, MDF, metal, and acrylic. Wood offers a classic, warm look and is sturdy but may be susceptible to moisture damage. MDF is a budget-friendly choice that can be easily painted or stained, although it might not be as durable as solid wood. Metal frames provide a modern, sleek appearance and exceptional durability, yet can be heavier and may require special tools for cutting.
Acrylic is lightweight and can mimic glass without the risk of breaking, but it can scratch more easily and may not provide the same polished look as reflective materials. When choosing a material, consider the overall style of your decor, the environment in which the mirror will hang (like humidity levels), and the frame’s weight for ease of mounting.

Measuring and Cutting the Frame
Measuring for the Frame
Accurate measurements are the foundation of effectively crafting a round mirror frame. Start by measuring the mirror’s diameter using a measuring tape; this will help determine the precise size of the frame needed to fit snugly around it.
Next, decide on the desired width and depth of the frame—these measurements will dictate how much of the mirror will be visible once the frame is completed. Ensuring all measurements are aligned and precise will help attain a perfect fit, preventing gaps or excess material around the mirror.
Cutting the Frame Pieces
Once the measurements are taken, cut the frame material to size. Whether using a saw or other cutting tools, maintaining the appropriate dimensions is crucial for achieving the desired round shape. Consider using a compass or a circular saw fixture to cut perfect circles. If segments will be used, make sure angles are consistent for a cohesive look.
After cutting, it’s essential to sand the edges to smooth out any roughness and refine the pieces for a polished finish. This will facilitate better assembly and a more professional appearance.
How to Make a Round Mirror Frame: Assembling the Round Frame
1.Creating the Frame Structure
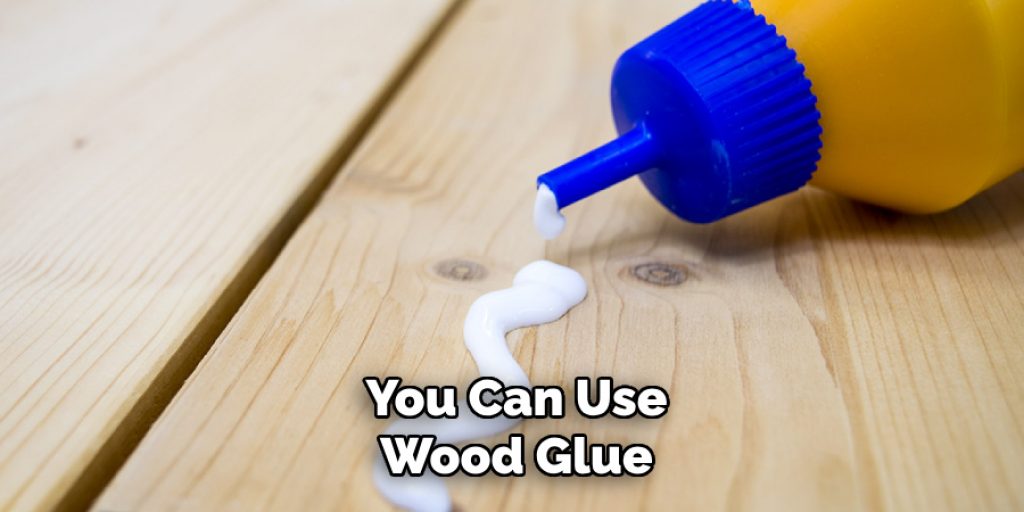
Assembling the frame pieces into a circular shape is essential in achieving the desired look. Begin by arranging the cut pieces flat, ensuring they form a perfect circle. Depending on your chosen method, you can use wood glue, nails, or screws to secure the frame pieces together. If using glue, apply a generous amount to the edges before pressing the pieces together, and consider using clamps to hold them in place while the glue dries.
For additional stability, nails or screws can be inserted at intervals around the frame. It’s crucial to check that the frame remains even and stable throughout the assembly process; adjust as necessary to prevent any warping that could affect the final installation.
2.Attaching the Mirror
Before attaching the mirror, ensure it is clean and free of any debris-free debris to guarantee a strong bond. If you’re using mirror adhesive, apply a continuous bead around the edge of the frame. For mounting clips, position them evenly spaced around the frame before placing the mirror inside. Once the adhesive is applied or the clips are secured, gently press the mirror into place, allowing it to settle firmly into the frame.
Take a moment to check for a secure fit and proper alignment; the mirror should sit flush with the frame without any gaps or unevenness. Allow the adhesive to cure fully, following the manufacturer’s instructions, before moving or hanging the mirror. This step is critical in ensuring that your newly assembled round mirror frame looks professional and lasts for years to come.
Painting or Staining the Frame
Preparing the Frame
Before painting or staining your round mirror frame, ensure that the surface is clean and smooth. If you’ve used wood, sanding any rough spots can help achieve an even finish. Wipe down the surface with a damp cloth for materials like MDF and metal to remove dust and debris. If the frame material requires it, consider applying a primer; this step can enhance paint adhesion and provide a more vibrant finish. Select a primer that suits your frame’s material for the best results.
Applying Paint or Stain
When it comes to applying paint or stain, choosing the right technique is key to a beautiful finish. For paints, use a high-quality paintbrush or roller to ensure even coverage without streaks. A foam brush or cloth can help achieve a consistent application of staining. Pay attention to the drying time—allow each coat to dry thoroughly before adding a second coat. This will help avoid drips and ensure a smooth, professional finish.

Always check the manufacturer’s guidance on drying times and recommended application methods for optimal results.
Adding Decorative Elements
To elevate your round mirror frame, consider adding decorative elements that reflect your personal style. Options include decorative trim, whimsical decals, or even textured paint for a unique appearance. When attaching these accents, use a strong adhesive or small nails to ensure they stay in place over time.
Select colors and styles that coordinate with the frame’s finish and the surrounding décor to maintain a cohesive design. Consistency in your decorative choices will transform your mirror frame into a stunning focal point that enhances the overall aesthetic of your space.
Adding Decorative Elements
Decorating your round mirror frame can significantly enhance its visual appeal and reflect your unique style. Consider adding trim in various materials, such as wood or metal, to create a more intricate look; this can be applied using strong adhesive or small finishing nails. Decals offer another fun option, allowing for creative expression—choose designs that match your décor theme and apply them carefully to avoid air bubbles.
If you prefer a more tactile finish, textured paint can add depth and interest; simply follow the painting instructions to ensure even coverage. When adding embellishments, aim for harmony; select colors and borders that enhance the frame’s base color and complement the room’s aesthetics.
Mounting and Displaying the Mirror
Preparing for Mounting
Before hanging your newly crafted round mirror, preparing adequately is essential. Start by choosing the appropriate hardware for hanging, considering the weight and size of the mirror. Heavy mirrors typically require anchors and sturdy hooks, while lighter options may suffice with adhesive strips or small nails.
Additionally, assess the wall or surface to ensure it’s clean, dry, and free of any obstructions. Mark the desired position on the wall, considering eye level and surrounding décor to create a balanced appearance.
Mounting the Mirror
Once your preparations are complete, it’s time to mount the mirror. Begin by attaching the chosen hardware to the back of the frame, ensuring it is securely fastened to support the mirror’s weight. Then, position the frame against the wall at your marked location. Use a level to ensure the mirror is straight before securing the hardware to the wall.
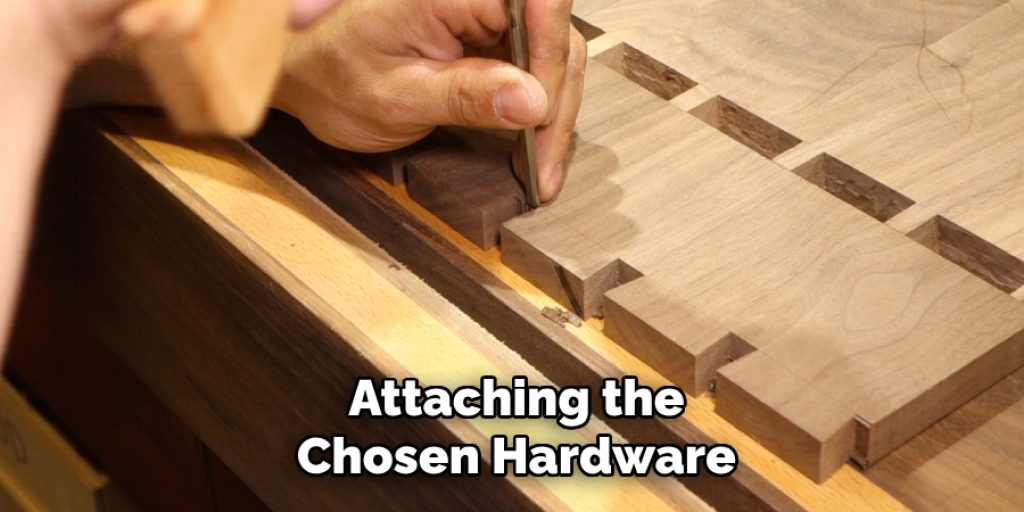
Handle the mirror carefully during this process; it’s best to have a helper to support it while you attach the hardware. By taking these precautions, you’ll ensure that your round mirror is displayed safely and beautifully.
Maintenance and Care
To keep your round mirror and frame looking their best, clean the surface regularly using a soft, lint-free cloth and a glass cleaner. Avoid abrasive materials that could scratch the glass or the frame. To prevent damage, ensure the mirror is mounted away from direct sunlight and changes in humidity, which can warp the frame. Regularly check the mounting hardware for any signs of wear or looseness, and tighten as needed. Every few months, assess the mirror’s condition and clean any dust or fingerprints that have gathered.
Conclusion
In summary, creating a round mirror frame involves several crucial steps: assembling the frame, attaching the mirror, painting or staining, adding decorative elements, and finally, mounting it securely. This process allows for a high degree of personalization, enabling you to explore various styles and finishes that suit your taste and home decor. Remember, DIY projects such as this enhance your living space and instill a sense of achievement. By learning how to make a round mirror frame, you engage in a satisfying creative outlet that transforms your home into a reflection of your individuality.

