How to Make a Standing Mirror
Do you need to upgrade your home décor with something both stylish and functional? Look no further than making a standing mirror! It’s easy to make, cost-effective, and totally customizable. All you need is empty wall space and the supplies listed below. Read on to find out how to make a standing mirror.
Can You Make a Standing Mirror?
Making your own standing mirror makes for a unique addition to any bedroom or vanity setup. It is a great way to add some reflective surfaces, bringing more light and dimension into the room. With a few simple tools, you can have your very own full-length standing mirror in less time than it would take to purchase one.
The materials needed are an old picture frame, breaker bar, particleboard or MDF board cut to size, glue, batting material, and cloth of your choice. Making your own standing mirror allows you to customize the size, color, and shape to fit perfectly in the designated space.
Having your own custom-made standing mirror adds a special touch that no store-bought items can match!
Why Should You Make a Standing Mirror?
A standing mirror can be a great addition to any bedroom or living space. Not only does it provide great value from an aesthetic perspective, but it is also incredibly versatile and can be used for many purposes.
On days when you want to get ready or make sure your outfit looks perfect, you won’t have to rely on the bathroom mirror–instead, you can admire yourself on your own reflective surface. In addition, you can use it for daily beauty routines like makeup application and hair styling, making sure you look your best whenever necessary.
Additionally, due to its mobility, a standing mirror can easily be moved around rooms as needed so that you always have the right angle and lighting to capture your image accurately. Make a standing mirror a part of your home environment today!
7 Steps to Follow on How to Make a Standing Mirror
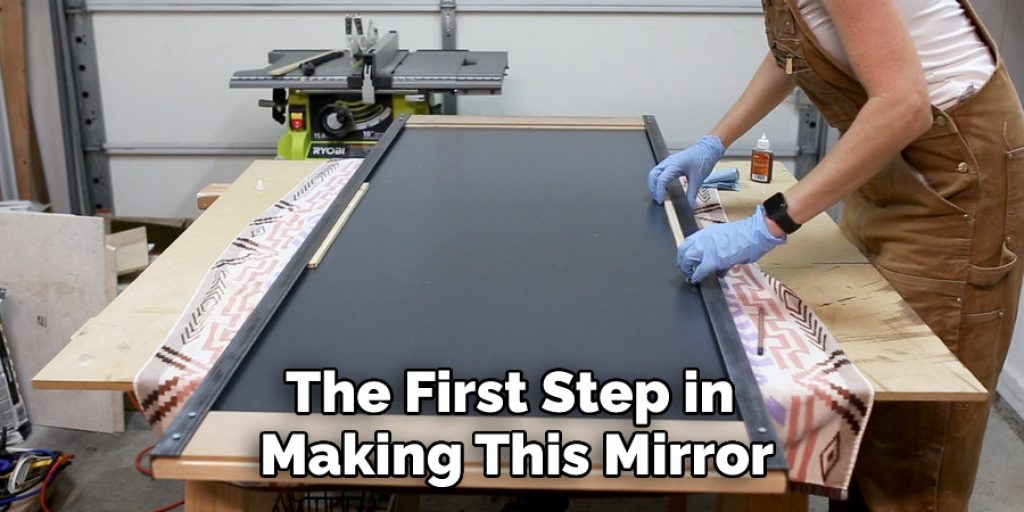
Step 1: Decide on a Design
The first step in making this mirror is deciding on its design of it. For example, do you want it to be round or rectangular? Will it have any unique features like a frame or decor around the edges? If so, what will they look like? Before starting the project, take the time to decide how you want your finished product to look.
Step 2: Gather Your Supplies
Once you’ve decided on your design, it’s time to gather the necessary supplies. You will need wood (for the frame), wood glue, a circular saw or jigsaw (if needed for cutting the frame pieces), screws, drywall anchors, screws for attaching the mirror, and of course—the mirror itself!
The size of these supplies will depend on how big your project is and what type of mirror you purchase.
Step 3: Put Together Your Frame
Now that all your supplies have been gathered, it’s time to start putting together your frame! To do this, cut each piece of wood into the desired shape using either a circular saw or jigsaw.
Next, use wood glue to attach each piece together before securing them with screws. Be sure everything is properly aligned before moving on to step four!
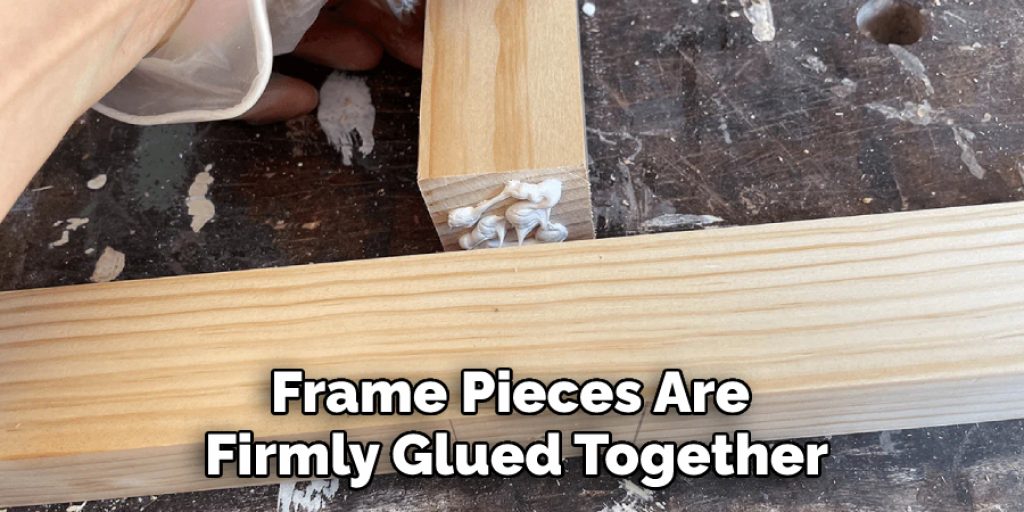
Step 4: Attach the Mirror
After ensuring that the frame pieces are firmly glued together, attach them to the wall with drywall anchors and screws. Then, carefully lay down flat against an even surface (like a table) and gently place the mirror onto the back side before screwing it into place, along with any decorative details that may have been included in your design plan. And voilà—that’s all there is to it! Your standing mirror is now complete.
Step 5: Add the Finishing Touches
Now that you’ve finished the main part of your project, it’s time to add the finishing touches. For example, if you purchased a wall-mounted mirror, attach any extra features like frames or decorations around the edges. You could also add some extra flair by hanging a shelf below the mirror or adding some lighting on either side.
Step 6: Hang it Up
Now that all of your hard work is finished, it’s time to hang up your beautiful standing mirror! Securely and evenly attach the back side with screws before carefully positioning it in its desired location. Make sure it’s level before adding any extras like shelves or lighting.
Step 7: Enjoy the View
Now that you’ve successfully made a standing mirror take a step back and enjoy the view! Be proud of how far you’ve come in such a short amount of time and how beautiful your hard work looks. Congratulations on your new project!
That’s it! You’ve now learned how to make a standing mirror. With the right supplies, tools, and a bit of patience, you can create your own stunning piece that will add style and beauty to your home. Get started today and enjoy the results!
Things You Need to Know Before Making a Standing Mirror
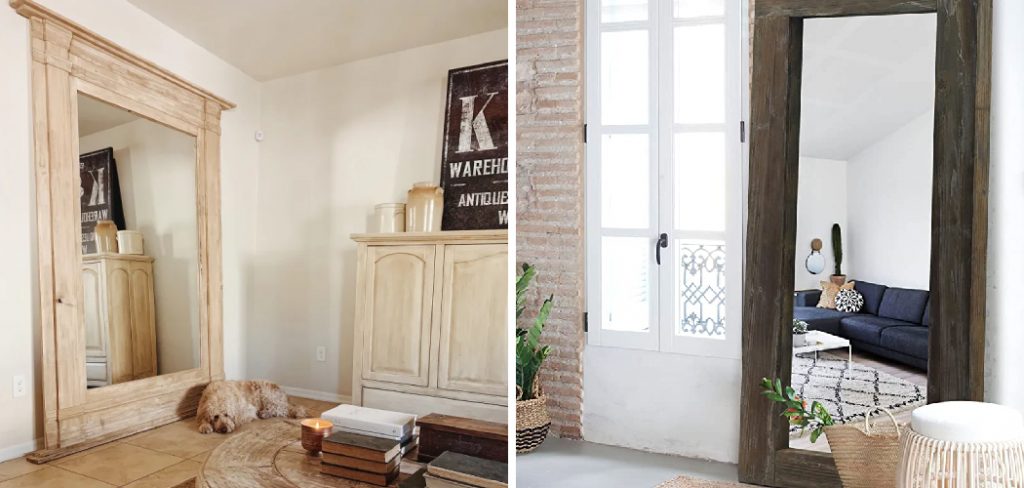
A standing mirror adds an elegant, timeless touch to any room that’s hard to reproduce with anything else. From creating the perfect getting-ready station in a bedroom or brightening up a hallway, this commonly overlooked piece of furniture can transform a space.
Before taking on the project of making your own standing mirror, there are some key elements and skills to consider first. You’ll need to grasp basic carpentry and the safety knowledge of operating power tools. If this sounds like something you are up for, you’ll also need a few supplies such as sandpaper, lumber, and accessories for finishing, like stain or paint.
Magnet catches will also be necessary if adding drawer-like details for jewelry or other small items. And don’t forget about installing it safely into solid wall studs afterward! With enough enthusiasm and research, you’ve got all the resources to construct your standing mirror – just make sure you’re aware of all the steps first!

Benefits of Making a Standing Mirror
Making a standing mirror is an excellent project with several benefits. Not only will it provide an area to check your appearance before leaving the house in the morning, but also it is a creative way to save money in lieu of a more expensive, store-bought option.
Another advantage of creating your own standing mirror is that you can customize its look to match your design aesthetic. With some basic supplies and tools, crafting a personal standing mirror has never been easier.
A few hours and creativity are all needed to create something beautiful and practical for your home that can be enjoyed for years to come.
6 Common Mistakes People Make When Trying to Make a Standing Mirror
1. Not Measuring the Space First
One of the most common mistakes people make when making a standing mirror is not measuring the space first. It is important to measure the space where the mirror will be placed so that you know how large or small it needs to be. Additionally, you will need to measure the space to determine what type of frame you will need.
2. Not Using a Level
Another common mistake people make is not using a level when hanging the mirror. It is important to use a level so that the mirror is hung straight and does not appear crooked. Crooked mirrors can be very distracting and can make a room look unfinished.
3. Hanging the Mirror Too High
Another mistake people often make hanging the mirror too high. Mirrors should be hung at eye level so that they are easy to see. If a mirror is hung too high, it can be difficult to see your reflection and may even cause neck strain.
4. Not Securing the Mirror Properly
Mirrors are typically secured to the wall with screws or nails. However, if not done properly, mirrors can fall and break. In order to avoid this, it is important to make sure that the screws or nails are driven into a stud in the wall so that they have something solid to grip onto.
5. Using an Inappropriate Cleaner
Many household cleaners contain chemicals that can damage or streak mirrors. When cleaning a mirror, it is important to use a cleaner that is designed specifically for mirrors or glass.
6. Not Drying the Mirror After Cleaning
Finally, another mistake people often make is not drying the mirror after cleaning it. When water sits on a mirror, it can cause spots or streaks. In order to avoid this, it is important to dry the mirror with a soft cloth after cleaning it. This will ensure that the mirror remains spotless.

Making a standing mirror can be an easy and rewarding project. However, it is important to avoid common mistakes to ensure a successful outcome. By measuring the space, using a level, securing the mirror properly, using an appropriate cleaner, and drying the mirror after cleaning it, you can make a beautiful standing mirror that everyone will admire.
Conclusion
Making a standing mirror at home can be an easy and fun way to spruce up any room in your house while being cost-effective and customizable. With just a few simple steps and some basic materials, you can create one without breaking the bank or hiring someone else to do it for you!
So give DIY projects like making your own standing mirror a try today! Who knows – maybe you’ll become quite fond of creating unique things around your house from now on! Thanks for reading our post about how to make a standing mirror.
Angela Ervin
Angela is the executive editor of DIY quickly. She began her career as an interior designer before applying her strategic and creative passion to lifestyle and home. She has close to 15 years of experience in creative writing and online content strategy for housekeeping, home decorations as well as other niche efforts. She loves her job and has the privilege of working with an extraordinary team. She lives with her husband, two sons, and daughter in Petersburg. When she's not busy working she spent time with her family.