
How to Make a Rug Out of Fabric No Sew
Did you ever stand in the middle of a room, take a look around, and just think to yourself, “This space needs something—a rug would be perfect”?
We’ve all been there. Whether your floors are wood, tile, or linoleum, bringing in a cozy rug can transform the feel of any room. But purchasing an area rug isn’t always feasible—not only can it be quite pricey, but also it may take some time for the right one to appear on store shelves.
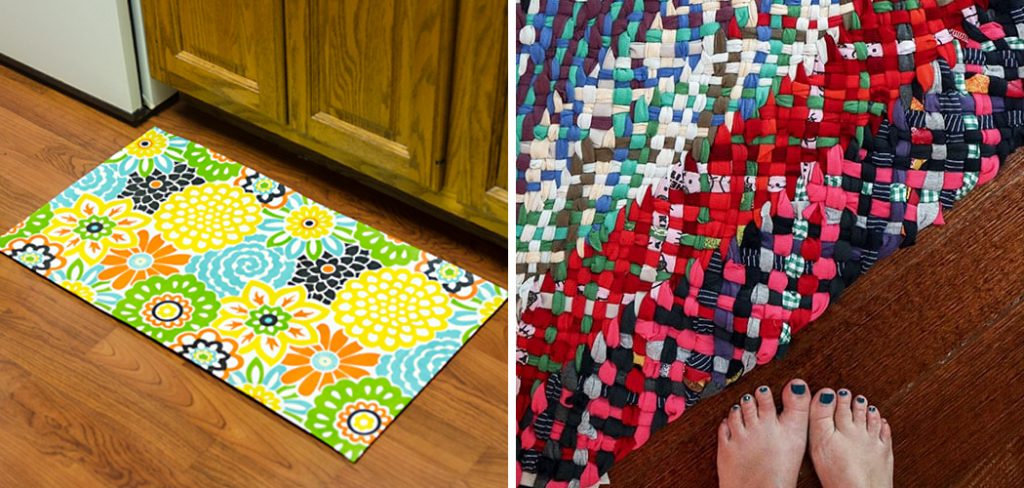
Fear not; how to make a rug out of fabric no sew is easier than you might think and is sure to add an extra layer of warmth and flair to any space! In this blog post, we’ll show you step-by-step instructions so that you, too, can make your very own beautiful fabric rug that’s both fun and affordable.
What Will You Need?
Once you’ve decided on the size and shape of your rug, it’s time to get supplies. Here’s what you’ll need for a no sew fabric rug:
- At least 4 yards of fabric (you can use any type you’d like, from cotton to linen)
- Fabric scissors
- Ruler or yardstick (for measuring)
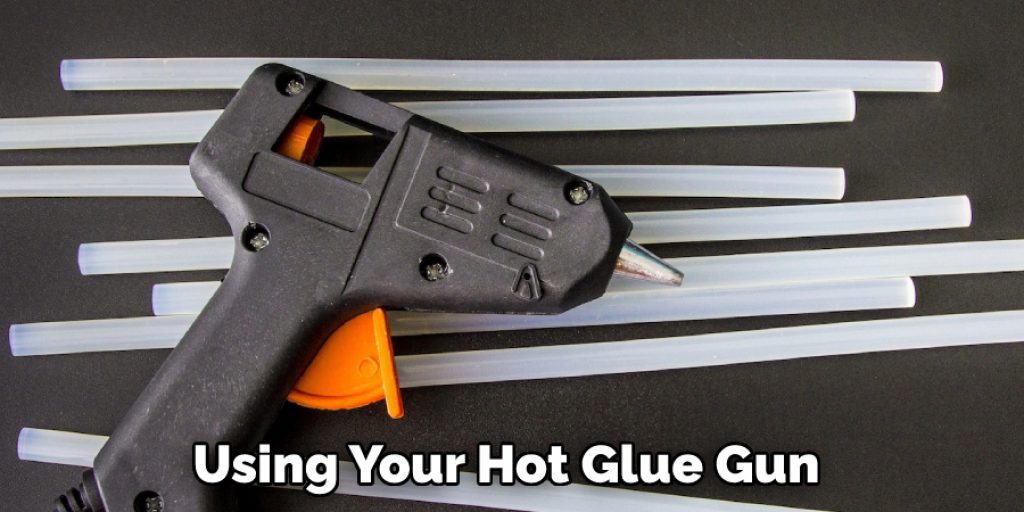
- Hot glue gun & hot glue sticks
- Foam board (or similar stiff material, such as cardstock or cardboard)
Once you have all your materials, it’s time to start!
10 Easy Steps on How to Make a Rug Out of Fabric No Sew
Step 1. Measure the Space:
Measure the space in which you plan to place your rug. Then, measure and cut your fabric to those dimensions. In general, it’s best if you add an extra inch or two for seam allowance. Cut four pieces of the same size from the fabric for your rug top with scissors.
Step 2. Glue the Pieces Together:
Lay out two pieces of fabric side by side, wrong sides together. Ensure they are touching in the middle and that all edges match perfectly. Then, using your hot glue gun, apply a line of glue to one long edge of each piece, about 1/2 inch from the edge. Press the two pieces of fabric together, making sure that the edges line up perfectly.
You should now have one long piece of fabric with a seam in the middle. Repeat this process with the remaining two pieces of fabric to create another long piece of fabric with a seam in the middle.
Step 3. Glue the Seams Together:
Once you’ve assembled the pieces, it’s time to glue them together. Depending on what type of project you’re working on, this may involve using actual glue; however, if you’re doing something like a jigsaw puzzle or putting together a model car, then the glue is imaginary and instead involves patience and careful placement of the pieces.
Ensure you use any necessary clamps or tools to keep the pieces in place while the glue dries. And don’t forget to clean up any excess glue before it sets!
Step 4. Attach the Back:
Now that you have your rug top, it’s time to attach a backing. Cut a piece of foam board to match the dimensions of your rug top. Apply hot glue along one edge of your top and then carefully press the foam board down onto the glue. The goal here is for the two pieces to be firmly attached. Once the glue has dried, you should have a single rug top with a backing.
Step 5. Cut Out the Edges:
Now that your fabric is glued together and backed, it’s time to cut out the edges. Using a ruler or yardstick, measure 1/2 inch along every edge of your rug top and make a mark with chalk or pencil. This line will serve as a guide for you when cutting out the fibers. Cut along the lines with fabric scissors and discard any excess material.
Step 6. Make a Fringe:
If you’d like, you can add a fringe to the edges of your rug for an extra decorative touch. To do this, cut a few strips in the same width from each end of your rug top and then cut into the strips to create fringe. You can leave the strips long or trim them down to your desired length.
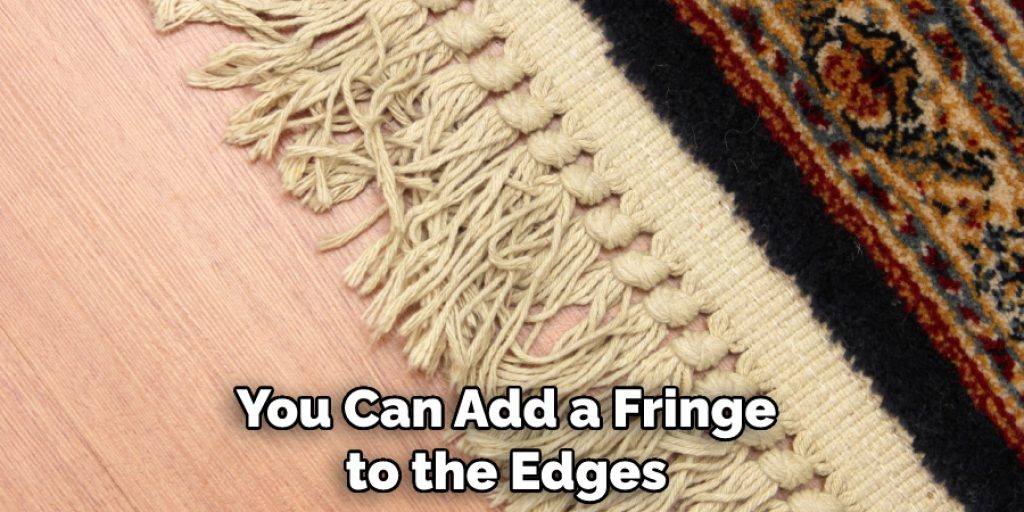
Step 7. Secure the Fringe:
If you decide to add a fringe, secure it so it doesn’t unravel over time. Use your hot glue gun to apply a few small dots of glue along the edge of each fringe piece to keep them in place. Be careful not to use too much glue or the fringe pieces may become stiff.
Step 8. Attach the Rug Pad:
Now that your rug is complete, it’s time to add a rug pad. This will give your rug additional cushioning and make it more comfortable to walk on. Simply place the rug pad in the desired location and then use your hot glue gun to attach it to the bottom side of your rug.
Step 9. Trim Away Excess Fuzz:
Once you’ve attached the rug pad, trim away any excess fibers that may be sticking out. This will help keep your rug looking neat and tidy. Additionally, it will help prevent any snags or tears from forming in the fabric.
Step 10. Enjoy Your Rug:
Voila! You’ve now made a beautiful, one-of-a-kind rug out of fabric—and you didn’t even have to sew! Now it’s time to enjoy your new rug and show it off to all of your friends.
Making a no sew fabric rug is an easy, affordable way to bring color and style into any room. Follow these steps for how to make a rug out of fabric no sew and you’ll be sure to create one that will last for years to come!
5 Additional Tips and Tricks
- If you’re using a patterned fabric, make sure that you line up the patterns when gluing your pieces together. This will help create a more aesthetically pleasing rug overall.
- Use pins to hold the pieces in place while you are gluing them together. This will ensure that they stay firmly attached even before the glue has had a chance to dry.
- Apply clear nail polish or fabric sealant along the edges of your rug to help prevent fraying and unraveling over time.
- If you want a softer, cushier feel, consider adding an extra layer of padding beneath your rug pad before attaching it to your rug top.
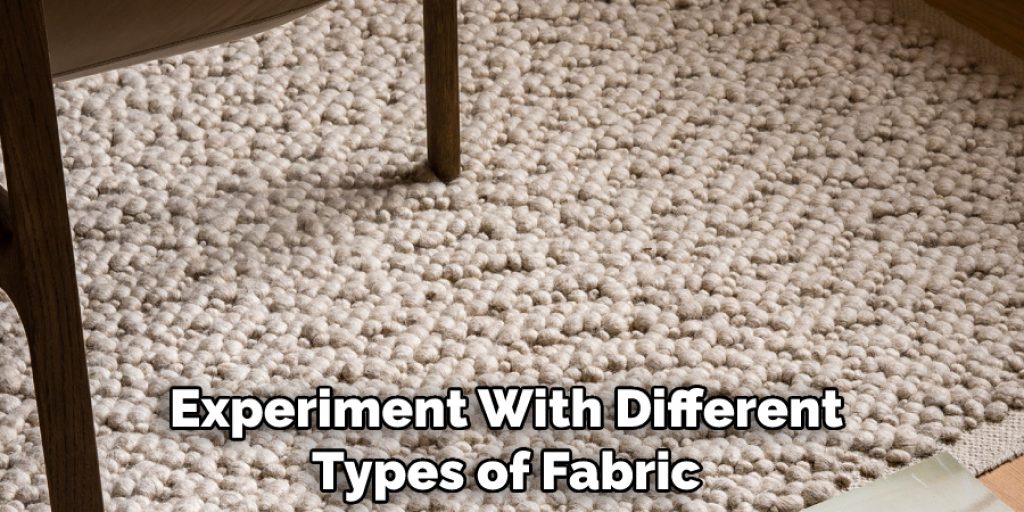
- Experiment with different types of fabric and colors for a one-of-a-kind look that’s all your own!
There you have it—now you know, make a rug out of fabric, no sew! We hope this quick guide has been helpful as you begin creating the perfect rug for your space. Happy crafting!
5 Things You Should Avoid
- Don’t skimp on the glue—make sure you use enough to ensure that your rug top and backing stay firmly attached.
- Avoid using too much hot glue, as it may make your rug stiff or cause discoloration over time.
- Do not cut corners! Ensure that all of your pieces are cut precisely and that all the edges match up perfectly.
- Do not use pins to attach your backing—pins can leave unsightly holes in the fabric over time.
- Avoid using too much pressure when cutting out the edges, as this could cause fraying or weakening of the fibers.
With these tips in mind, you can make a beautiful fabric rug that will last for years to come! So grab your supplies and get started today.
What Fabric Do You Need to Make a Rug?
When it comes to making a rug out of fabric, you can use any type of material that is durable and strong enough. Cotton and linen are both popular choices as they are easily available, affordable, and come in a variety of colors and patterns. However, if you’re looking for something more unique or luxurious, you can also opt for wool, silk, jute, or sisal.
Additionally, if you’re looking for something easy to clean and stain-resistant, you can opt for synthetic materials such as polyester or nylon. Whatever material you choose, just make sure it is suitable for the amount of foot traffic your rug will get.

Conclusion
With a bit of creativity and some use of basic materials, anyone can make a beautiful no sew rug out of fabric. It’s far less expensive than buying pre-made rugs, plus the satisfaction that comes from making something yourself is incredible! The possibilities don’t have to stop at rag rugs; you can make anything your imagination can bring to life!
Hopefully, the article on how to make a rug out of fabric no sew has provided you with the confidence and knowledge to create something special.
No matter what you choose to create, it’s sure to add vibrant style and character to your home. So, why not give it a try today and see how easy it is to transform fabric into something special? Get creative and see where it takes you!
Nancy Behan
Nancy is an embroidery artist, fashion blogger and a full time editor at DIY quickly. Nancy edits the fashion section on DIY quickly, focusing on the embroidery and cross stitch articles, alongside with fabric and other costume design elements. She graduated from the University of Michigan with a Bachelor of Arts in Art History. She loves to work on her own projects, read books and watch romantic movies in her spare time.


