
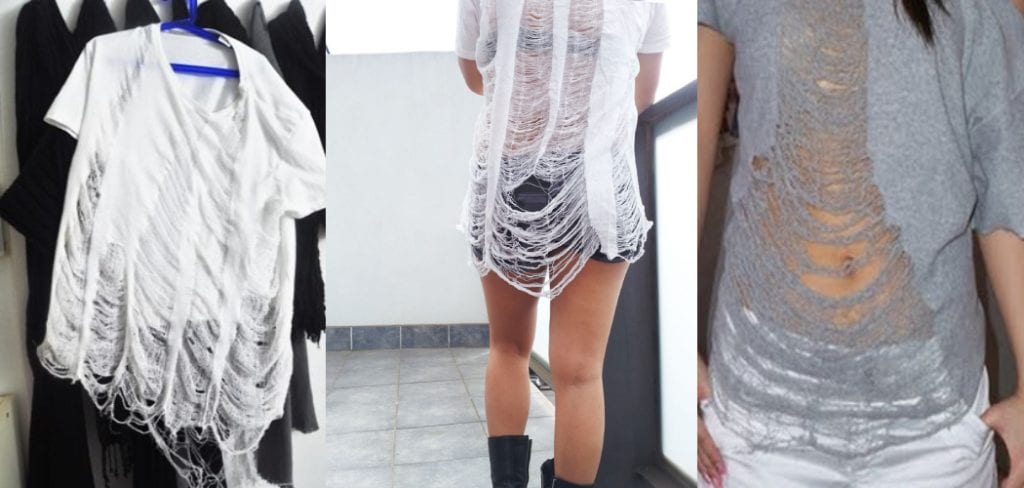
How to Make a Shredded Shirt
One of the most popular trends in fashion is to wear a shredded shirt. This can be achieved by using scissors and cutting away at the fabric until it resembles shreds. However, if you want to make this process easier, there are other methods that you can use that will get the same result. So, how to make a shredded shirt? Let’s see how you can make it.
Methods of How to Make a Shredded Shirt:
Method One: You can use scissors.
Cutaway at the fabric until it resembles shreds, or you’ll end up with an unevenly shaped piece of material. The more cuts made, the better looking your final product will be when the pieces are pulled apart and rearranged.
For some people, this is easier than trying to pull threads out one by one in order to get those naturally worn ends that give a vintage look so many designers like these days — it’s how Kate Moss has been wearing clothes for years! If you’re not feeling confident enough yet (or want something easy), then there are other methods that won’t leave you with sore hands from all the cutting and pulling.
Method Two:
If you’ve got a needle and thread, try pulling out individual threads to create the desired effect. This is how someone will use this technique in order to repair an item or make it look like they’re coming apart at the seams — it’s not about destroying your clothes but rather making them look worn with time.
Method Three:
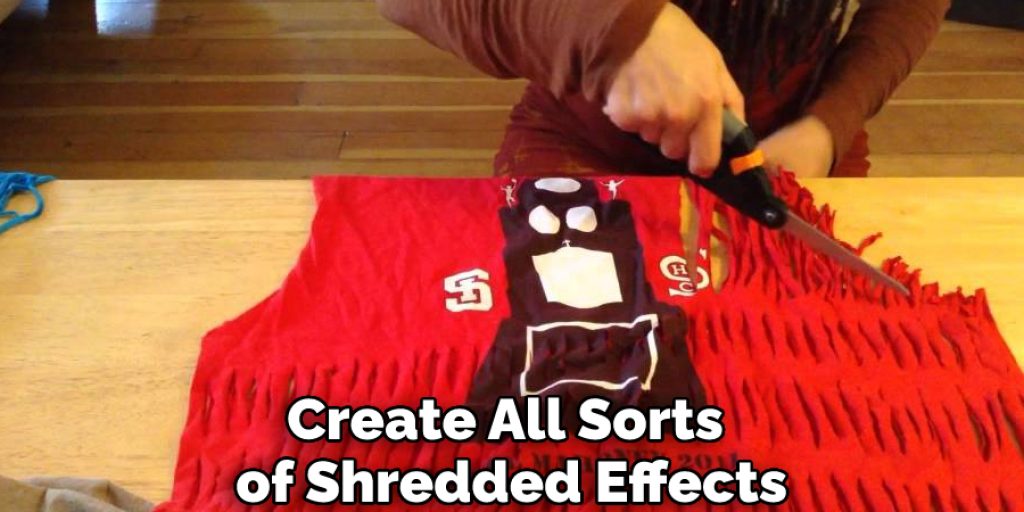
If you’re feeling especially brave, grab a knife and get to work! You can cut away at the fabric of your shirt until it starts looking more like something that has come apart over time instead of having been worn continuously.
For this look to be believable, though, make sure you don’t go overboard with how many places you cut — you need some threads left intact where those natural frays will occur, so people won’t think you just hacked up your favorite shirt into pieces.
The Benefits:
It’s harder than simply pulling out individual threads because, if done correctly, results in seemingly random cuts all around the top layer of the fabric allowing for an authentic vintage appearance that is very difficult to replicate.
The Disadvantages:
Practice! Practice makes perfect and the more you do it, the cleaner your cuts will become. Beware of accidentally cutting into another area that’s not meant to be cut like a seam or hem because those spots can’t always be repaired with simple sewing skills.
If you are looking for a guideline to make a men’s t-shirt feminine without sewing, this article is worth checking for you.
Tips:
- Cutting with a rotary cutter will give you clean straight lines for cleaner, more accurate cuts. If not available, use scissors and remember to cut from the inside of your fabric so that everything is hidden when finished. — Cutting through multiple layers at once (especially if they’re all facing one way) can also be helpful as it prevents any fraying in those areas where different pieces overlap each other.
- Layout your shirt on your workspace or table before cutting into it so that nothing gets lost or misplaced during the process, then after cutting begin folding back sections to cover up what’s been done already until you reach the end of the project. This will help minimize any loose threads leftover and make the shirt look more polished as well.
- If you’re working with a two-dimensional surface, then it’s best to fold back sections in half so that when unfolded they’ll be lying on top of each other and can tuck under themselves for less loose ends. — This is also helpful if there are any areas where different pieces overlap or have frays because those will not need to be cut all at once just like mentioned before.
- The seams should always lie together after trimming them off until nothing remains except what was originally sewn on your fabric (if applicable). Cutting through layers of folded over fabrics may take longer than cutting through one flat piece but this makes for a cleaner finish which is worth the extra time.
- Once you’re finished cutting out the desired shape, go back and trim off any excess fabric that is sticking up or fraying. — This will make for a more polished look when it’s done but be careful not to cut too close to your folds because those are what disguise all of the raw edges so they are very important in this process!
- When everything appears to have been trimmed down as much as possible without risking damage, then take one last pass over it with scissors (or a rotary cutter) just enough that there won’t be anything left poking out from under your garment once completed.
- After finishing these steps, unfold your work and admire how nice and smooth-looking it is!
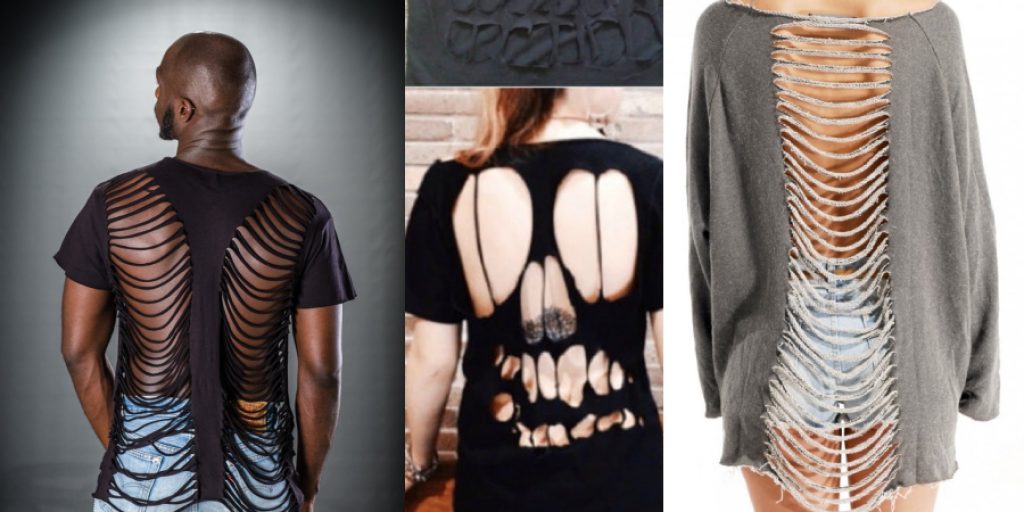
- Your shirt now has a bunch of neat creases in it and can be folded or rolled up to create all sorts of shredded effects. — This technique also works well with t-shirts, sweatshirts, sweaters, etc.
Frequently Asked Questions:
Can You Make Shirts With Cricut Maker?
Cricut maker is a 3D cutting machine that allows you to create your personalized products with digital designs. With this tool, you can make shirts, hoodies, pillows, and other items.
The best way to use this tool is by creating digital designs for your products on the computer first before transferring them onto the Cricut maker’s board. This ensures that there are no errors in the design or size of the product.
You can also create custom patterns and materials using this software which helps you personalize your item and make it more unique.
What Do I Need to Make a Shirt With Cricut?
There are a few different things that you will need to make a shirt with Cricut.
1. A fabric
2. A pattern or template of the design that you want to create on your shirt
3. The cutting mat
4. Your Cricut machine
Is Cricut Vinyl Good for Shirts?
Cricut vinyl is a great way to make custom shirts without the expense of a t-shirt printer. It can be used on both cotton and polyester materials, so it’s perfect for use with your favorite T-shirts or as an accent piece to your fabric collection.
Cricut vinyl is good for shirts because it provides long-lasting vibrant colors and does not fade over time. You can also choose from many different designs, fonts, and styles, so you will never get bored of making shirts again!
Why Is My Vinyl Peeling Off Shirts?
When you put a vinyl record on your shirt, it will stick to the material and peel off. It is a very common problem that most people experience with vinyl records.
The reason for this is because of the type of adhesive used in manufacturing the record. The glue dries out over time, causing the vinyl to peel off and expose more adhesive beneath it.
To prevent this from happening, ensure that you take care of your records by using a soft cloth when cleaning them and storing them in a cool place away from sunlight.

Conclusion:
Now that you know how to make a shredded shirt, what are you going to do with it? The possibilities are endless and the options can be as simple or complex as your creative mind. What about sewing two t-shirts together for an asymmetrical look?
Or if you’re feeling really bold, cut up one of your favorite tees and wear it out! Whatever design idea pops into your head is worth trying because this DIY project is easy enough for anyone with basic knowledge of crafting skills. So go ahead and shred away!
You may read also – How to Make a Memory Shirt Pillow with Collar


