
How to Make a Memory Shirt Pillow with Collar
Memory shirt pillows recall your dear ones while they’re further from you. And if they are no longer in the real room, you should only hold the pillows and hug them together. The disposal of outdated garments is a good option also. Throughout the caring memories of a soul connected to the receiver, you may even send them as presents. It’s very tough to move away while you have a precious one. To learn how to make a memory shirt pillow with Collar, You need to follow the guidelines carefully.

Protecting one item of clothes often helps you feel more comfortable. Just I got such a request for someone who just lost their loved ones to create nostalgia pillowcases out of buttons up shirts. She required four crafted-one for each of her kids, and they would every get a grandpa’s memento. Those make lovely presents for those in care who likewise would enjoy them.
For make memories Christmas accessories using the tee sleeves or jacket cloth remnants. And you’ll have more than a few other clothes, seek to make a t-shirt quilt for your memories. They may even use the button up jackets. Try out my article on what to do to Create Shirt pillow sheet for Memories.
Guidelines for memory shirt pillow
This step-by-step demonstration takes you on creating a remembrance shirt pillowcases with the use of pictures and written directions to assist them. This includes the stitching and taking off of sleeves and collars.

Pillow Shirt:
A uniform shirt, a style fluffy cushion bit lower than the top, scissors, marker or pen, buttons, tape measure, thread, and stitch are the materials for such an easy Hack.
Creating a Shirt pillow:
To make this pillow cover, you will need a shirt with a button-up front, thread, and a needle. First, you will need to remove the buttons from the shirt. Next, you will need to stitch the shirt together. Finally, you must knit a single thread to finish the pillow cover.
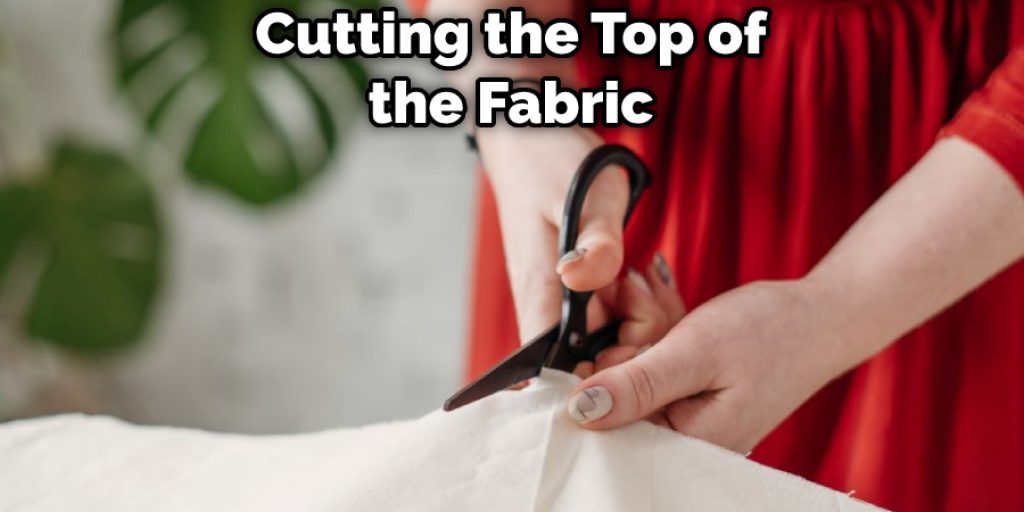
Divided the Clothing:
Cut the top of the fabric into two large pieces, and use your sewing tools. The size of the fabric for this project is 16″x16″. You can make it whatever width you want. Measure each strip of fabric 16 inches long and 16 inches wide using your clear rulers, cutting mat, and rotary scissors.
You have the same scale on two sets of dresses. Don’t think about the lines. Whenever we do the interfacing phase, we must pull that out too. My buttons are somewhat off the middle since I needed to hold the pillow pockets in place, and I also don’t want to rip open the side.
The interface Connect:
Cut the interface of the match only shorter than the parts of your dress. Of memory cushions, I have used the Pellon Interfacing as it’s a bit finer. This can hold the buttons sealed from opening, and secure the cloth and make it easy and function on the clothing parts. Position a few of the elements of a top on the iron plate, opposite side open. Push the interfacing fuse into the section of the head. Get it too for the other part of the dress.
When you have your cushion with a patterned label, now would be the time to bring it on. I only position it under the dress so you can post it wherever you want. Stitch along the circumference of the label, use a stitching needle and similar yarn. My stitching is around 1/4 in away. Position the parts of the shirt on board of one another, connected to the right. Using the simple pins to hang on. For rotating, leaving a space at the base (large sufficient to contain your palm through).
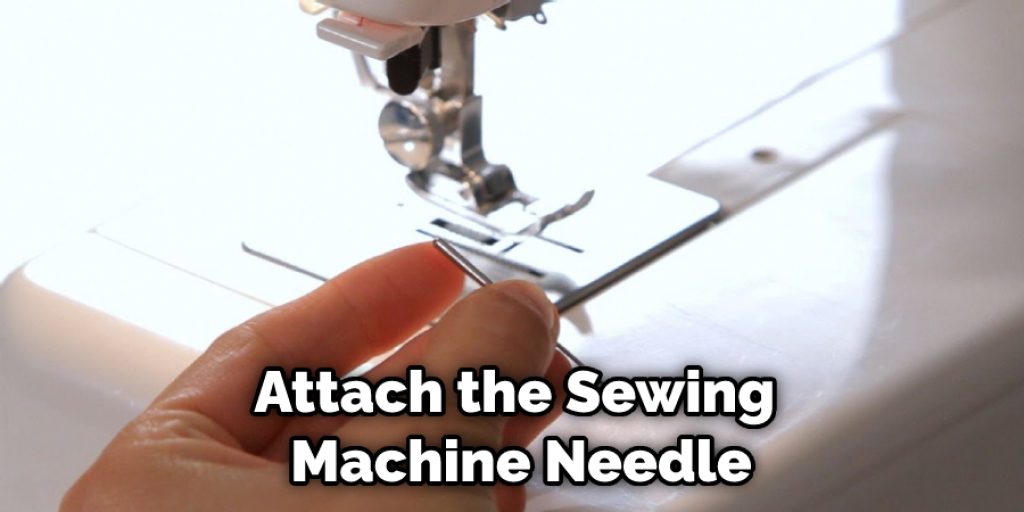
Stitch the entire edge with the regular thread, use the machine. It is around 1/4-inch. To keep the cloth from fraying, tie the zigzag stitching across as well. Split every four sides. Take a right away, then force edges out. Extra cautious not to move the stitching you just knitted in!
Create a Shirt Pillow Out of:
Each pillow top features a feminine look due to floral arrangements stitched on the pillow cover. The brightly colored button surrounds the flower’s cores.
Past Vintage Shirt Pillows:
The value in crafted pillows resides in their ability to be tailored to suit your style. You have to go hunting out and reuse an old sweater jacket. As a no-knit idea, it fits learners and all who don’t want to weave.
Covers Created from Shirts:
Button-up garments and old pillowcases are DIY essentials. Felt attachments provide a personalized feeling to the cushions. Be sure to pick attractive patterned tops on them.
Attach the Filling:
Prepare for cushion filling! I fill my pillowcases with cotton. I prefer that as I can determine how complete I want, the cushion and cloth help hold the cushions’ appearance even better than that of a pillow.
You could even create the cushion any shape you choose and don’t have to think about matching the cushion design. Fill your pillow at a time beginning from the sides, use some cotton. Keep stuffing until the pillow is as full as you want.
Knit the Closing Down Space:
Hand stitch the hole closed to use the ladder or hidden stitching using your knitting sewing machine. For additional longevity, add yarn to your needle. Inward wrap the bottom. You may need to click the waist when it doesn’t want to sit inside. Attach the needle into the gap and move into the sewing machine where it started. On the inside will be the tie.
Conclusion
You just stitch the space used during filling until you’re pleased with the pillow’s look. When you are concerned with maintaining the option to loosen the pad, insert a zipper into the gap to seal the pillow. It will help you to unlock the cushion quickly for possible filling modifications.
Until covering the pillow, ensure you are pleased that the cushion has been filled. When you wear a clothing item with a zipper, you could match the strap with the side of the cushion so that you could use it for popping open the cushion if needed. I would like to see the idea done!
You May Read Also
- How to Tighten Shirt Sleeves Without Sewing
- How Much to Charge for Cricut Shirts
- How to Fix a Black Shirt With Bleach on It
Elizabeth Davis
Elizabeth is a creative writer and digital editor based in the United States. She has a passion for the arts and crafts, which she developed from a young age. Elizabeth has always loved experimenting with new mediums and sharing her work with others. When she started blogging, she knew that DIYquickly would be the perfect platform to share her tutorials and tips. She's been writing for the blog from the beginning, and her readers love her helpful advice and easy-to-follow instructions. When she's not writing or editing, Elizabeth enjoys spending time with her family and friends.


