How to Make a Strobe Light Circuit
Few things are as mesmerizing as a strobe light. Whether you’re dancing in a nightclub or watching a fireworks show, the experience is unforgettable. If you want to create your strobe light, you need a few simple components and some basic knowledge of electronics. This article will show you how to make a strobe light circuit using an Arduino. Let’s get started!
A strobe light circuit is an electronic circuit that produces pulsating light. It is used to create an effect of flashing light. The strobe light usually consists of an electronic flash, a capacitor, and a switch. The electronic flash is the heart of the strobe light. It is a high-intensity lamp that emits a concise burst of light. The capacitor stores energy until it is discharged by the switch, which triggers the flash.
What is Strobe Light?
A strobe light is a device that emits short bursts of very bright light. The light can be used to create an optical effect or indicate a signal’s presence. For example, strobe lights are often used in nightclubs and other places where people want to develop a sense of excitement.
A strobe light consists of the flash tube and the controller. The flash tube is a glass tube filled with xenon gas. When an electric current is passed through the gas, it emits a burst of light. The controller is responsible for turning on and off the current to the flash tube.
What You’ll Need
- Soldering iron
- Electrical tape
- Jumper wires
- Breadboard
- 10K resistor
- 2N3904 transistor
- Mini LED
A Step by Step Guide on How to make a Strobe Light Circuit
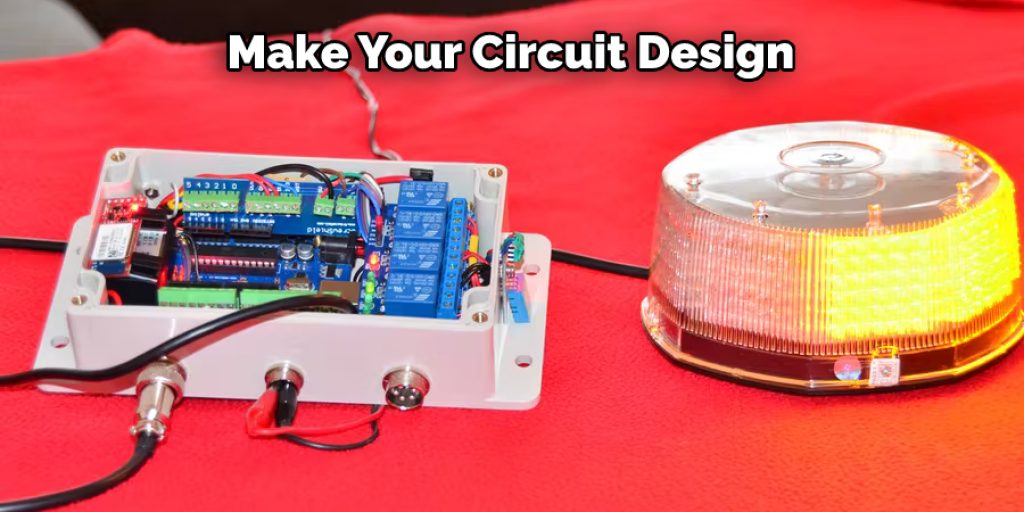
Step 1: Make Your Circuit Design
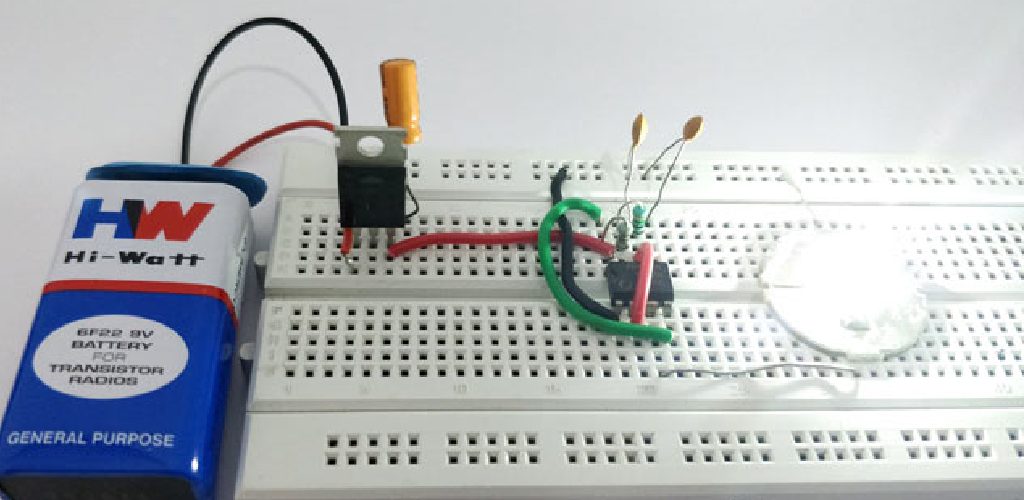
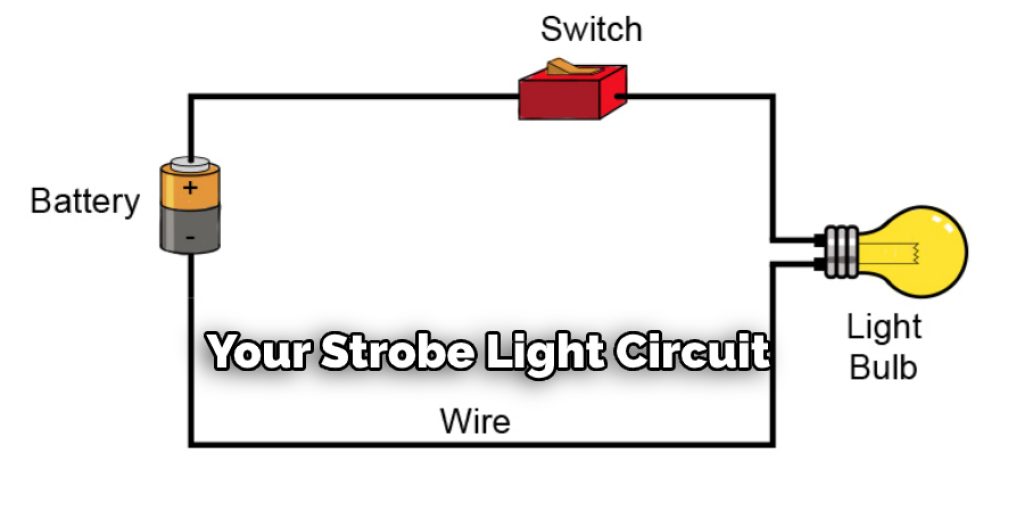
The first step is to make your circuit design. This will involve wiring the components together on a breadboard. For example, you’ll need a resistor, transistor, LED, and jumper wires to create a strobe light. The schematic for the circuit is shown below.
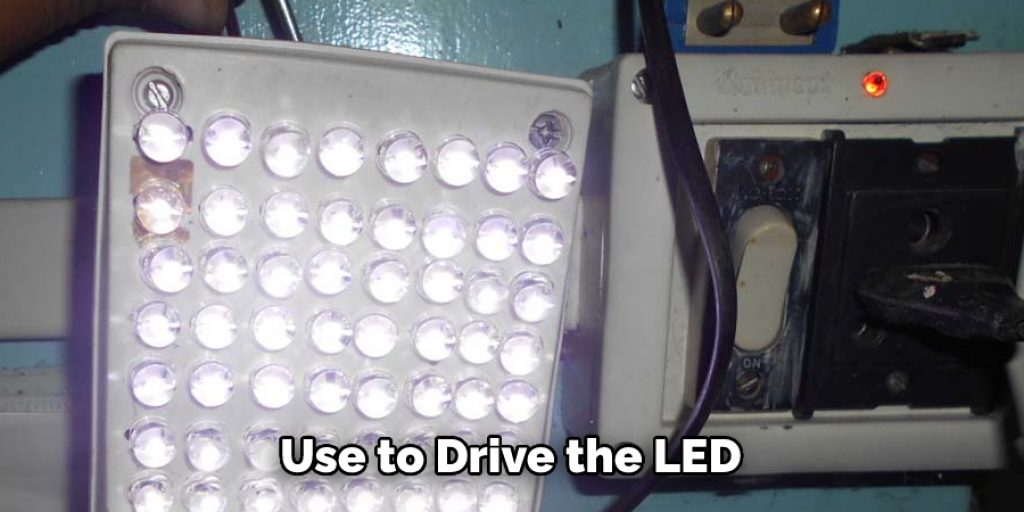
The 10K resistor is used to limit the current flowing through the LED. The 2N3904 transistor amplifies the signal from the Arduino and drives the LED.
Step 2: Get Ready to Solder
Once you have the circuit design ready, it’s time to start soldering. Start by tinning the ends of the wires with a bit of solder. This will make it easier to solder them to the components.
Then, attach the wires to the components as shown in the schematic. For example, the transistor should have three wires attached to it: collector (C), emitter (E), and base (B). The LED should have two wires attached: the anode (positive) and cathode (negative).
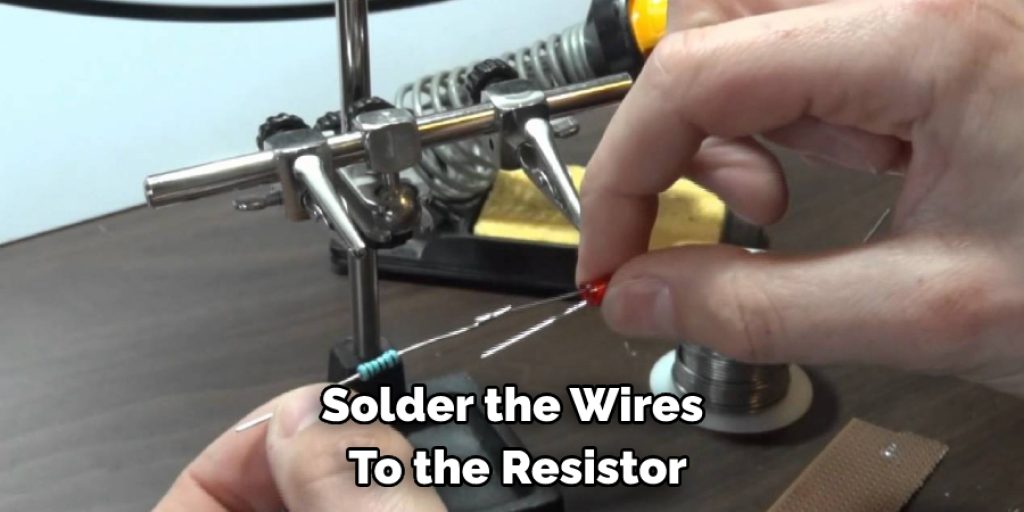
Step 3: Soldering Time
Now it’s time to start soldering! First, solder the wires to the resistor. Ensure that they are securely attached and that there is no risk of them coming loose.
Then, solder the transistor. Ensure that the wires are in the correct position and that there is no risk of them coming loose.
Finally, solder the LED. Ensure that the wires are in the correct position and that there is no risk of them coming loose.
Step 4: Connect the Circuit to Arduino
Now it’s time to connect the circuit to the Arduino. The Arduino pins used in this project are shown in the table below.
Connect pin 12 of the Arduino to the collector (C) of the transistor. Next, connect pin 11 of the Arduino to the emitter (E) of the transistor. Finally, connect pin 10 of the Arduino to the LED.
That’s it! You’ve now created a strobe light circuit using an Arduino. To test it, upload the code below to your Arduino. The LED will start flashing on and off at ten flashes per second. These steps will help in how to make a strobe light circuit.
/* Strobe Light Circuit */
void setup() {
pinMode(12, OUTPUT);
pinMode(11, OUTPUT);
pinMode(10, OUTPUT);
}
void loop() {
digitalWrite(12, HIGH); //Turn on the transistor
delay(1000); //Wait for 1 second
digitalWrite(12, LOW); //Turn off the transistor
delay(1000); //Wait for 1 second
}
If you want to change the flashing rate, edit the delay() function in the loop() function. For example, to make the LED flash at a rate of 20 flashes per second, you would use the following code:
delay(500); //Wait for 500 milliseconds.
Tips and Warnings
Tips:
- To make the strobe light more effective, you can add a few extra components, such as a capacitor or resistor.
- If you find that your strobe light is not flashing quickly enough, you can try increasing the value of the capacitor.
- If you are using a battery-powered strobe light, use a fresh battery for optimal performance.
Warnings:
- Be very careful when working with high-voltage components.
- Do not touch the leads of the capacitor while it is charging.
- Always unplug the strobe light circuit when not in use.
When it comes to creating amazing visual effects, few things can top a good old-fashioned strobe light. Strobes produce an intense flickering impact that can transform even the dullest scenes into something spectacular. And while commercially available strobe lights are certainly an option, they can be quite expensive. So if you’re looking for an inexpensive way to create stunning strobe effects, why not try making your strobe light circuit?
You Can Check It Out To Program Led Mini Spider Light Without Controller
Can You Make Any Led Light Strobe?
It is possible to make any LED light strobe. This can be accomplished by controlling the on and off times of the LED with a microcontroller or some other timing circuit. The length of time the LED is on (or off) will determine the speed of the strobe. By varying this length of time, you can create any desired strobe rate.
There are many different ways to control leds on and off times. One popular method is to use a microcontroller, such as an Arduino. Another option is to use a dedicated strobe controller IC, such as the National Semiconductor LM3914. This chip has an internal oscillator that can be used to drive the LEDs.
If you use a microcontroller to control the strobe, you will need to program it to generate the desired timing pattern. Many example code snippets are available online that can help you get started.
If you are using a dedicated strobe controller IC, all you need to do is connect it to your LEDs and power supply. Then, the chip will take care of generating the correct timing patterns.
How Do You Wire a Strobe Light Circuit?
When wiring a strobe light circuit, you need to ensure that the power source is strong enough to handle the load. Unfortunately, the average household outlet is usually not powerful enough so you may need a power supply or an inverter.
Once you have the power source in place, you can begin wiring the circuit. First, connect the positive terminal of the power supply to the anode (positive) terminal of the strobe light. Next, connect the negative terminal of the power supply to the cathode (negative) terminal of the strobe light. Finally, connect the ground wire of the power supply to the ground.
Ensure that all connections are secure and that there is no exposed wiring. Once the circuit is complete, test it to ensure it is working correctly.
If you are using an inverter, connect it to a 12-volt power supply. Most inverters have a built-in fuse, so you will not need to use one in the circuit.
Strobe lights are a great way to add excitement to any party or event. They can also be used as a safety feature, such as in an emergency. By following these simple instructions, you can create your strobe light circuit and bring excitement to your next event!
Do Led Strobe Lights Need a Relay?
There is a lot of debate on whether LED strobe lights need a relay. Some people say that they do, and others say that they don’t. The truth is, it depends on the type of LED strobe light that you are using.
If you use an LED strobe light with a built-in controller, you don’t need a relay. However, if you use an LED strobe light that doesn’t have a built-in controller, you will need to use a relay.
You need a relay if you are using an LED strobe light without a built-in controller because the battery’s voltage isn’t enough to power the LED strobe light. A relay will increase the battery’s voltage so that it is enough to power the LED strobe light.
So, do LED strobe lights need a relay? It depends on the type of LED strobe light that you are using. If you use an LED strobe light with a built-in controller, you don’t need a relay. However, if you are using an LED strobe light without a built-in controller, you will need to use a relay.
Conclusion
In conclusion, it is possible to make a strobe light circuit. The circuit we have provided is easy to build and can be completed in a few minutes using basic materials that are likely already lying around your home. We hope you found this article on how to make a strobe light circuit helpful and informative!
You can check it out to Hook Up Blu Ray Player to Receiver Without HDMI