
How to Make a Tabletop Easel
I did try acrylic drawing some weeks earlier. I became so discouraged, and my materials were lying around for a more extended period until I wanted to give everything away so I might never see drawing again. Jump now a couple of years to now, and I consider myself desirous of drawing again-perhaps not acrylics, but anything. Craft supplies could get costly, so I’d like to maintain the expense negligible since I’m heading into it again.
I just wanted to paint on a table, but the back tends to suffer several times, and if you still have a weak neck, the agony is almost intolerable. And I began looking for the DIY easels. Tabletop painting easels are perfect for young model crafts. As the title indicates, such forms of easels are tiny enough to be put on a tabletop that renders them quite mobile. Because they don’t make up much space, they could quickly be packed away.
Nothing helps a fresh, ambitious painter feel as confident as getting an easel to focus on. But a typical stable may be massive, and it might end up mostly restricted to a basement or art space. To allow my two arts-and-crafts-loving students the opportunity to be still willing to take benefit of the most significant natural light, we DIYed a tabletop easel which can be conveniently made everywhere – to the oven, back patio or even outdoors.
Instructions of How to Make a Tabletop Easel
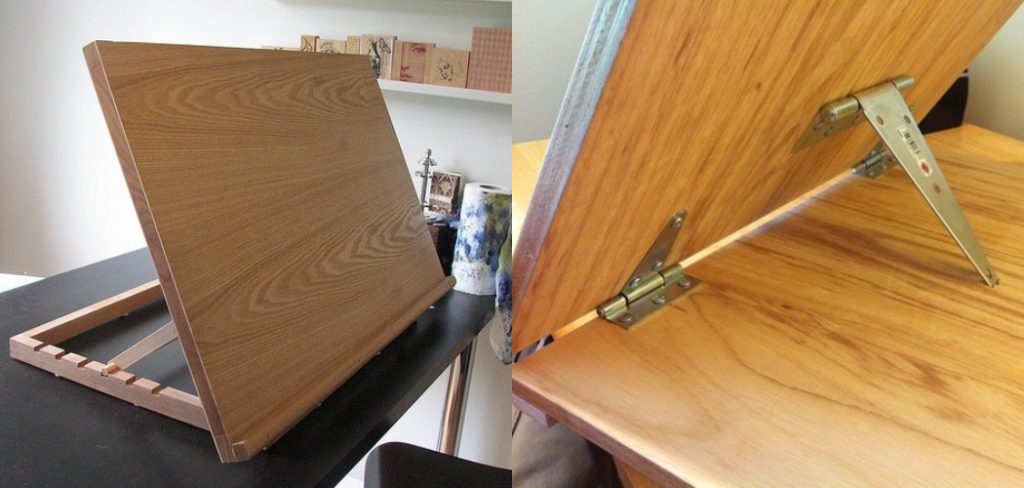
- This easel is perfect for all types of tasks due to our meticulous planning: We painted one hand in chalkboard paint and equipped another with hooks, which can carry the document as full as 18 inches by 24 inches. It is very easy to carry and store due to its light weight of 7.9 pounds, therefore you can take it anywhere, even to another room in your house.
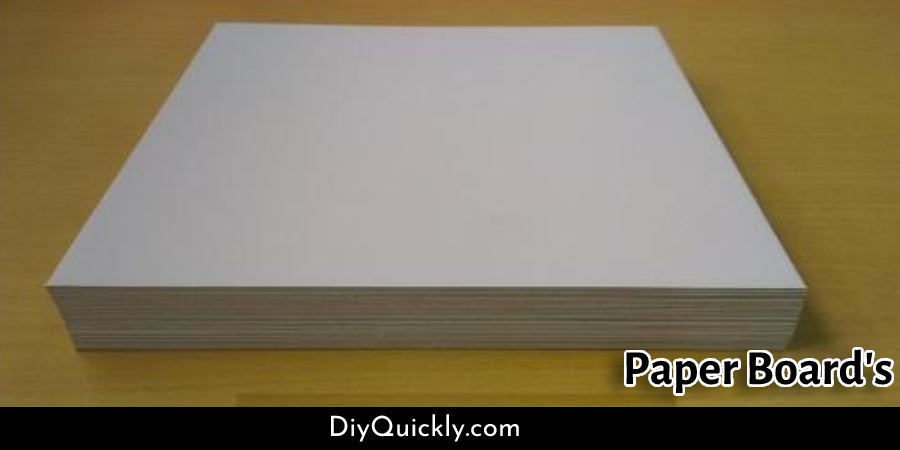
- Split 3 inches off the paper board’s size, and you’re finished with two parts: a full board measuring 4 feet and 3 inches by 4 feet broad thinner. Measure and label the middle of the longer, 4-feet edge across each panel; from either finish, the midway point would be 2 feet (24 inches). The shorter, 3-inch edge’s midpoint would be 1.5 inches. Mark and cut the cardboard panels down their middle at the end of the 2-foot lines on both sides.
- At this stage, she had seen the pieces precisely in two. You’ll be stuck with four parts — the set of 21-inch by 24-inch frames would become the tabletop easel’s frames, and the two 3-inch by 24-inch frames would be the trays for design materials to be stored. However, she didn’t want to keep the back part of the frame (the big, orange one). She would pull it out and cut off the sides. The same would happen with the part where the legs were attached.
- Use the 5/8-inch spade blade, punch the gaps when mounting the panels, so that the gaps fit precisely. Sweep off the rough surfaces with sandpaper across the drill holes. Once the primer has cured, spray-paint the shade of your choice on all bits (both sides). Again let them dry entirely until they do further function. Once they’re finished, paint blackboard color on one part of one panel.
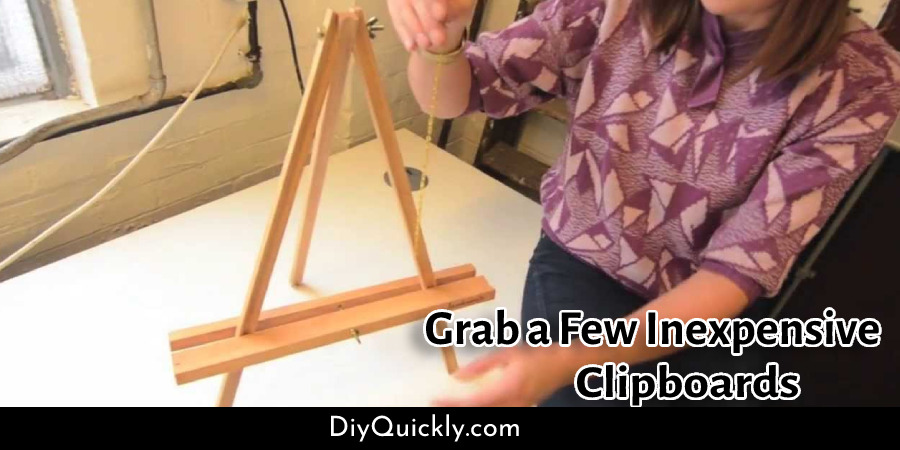
- You could either buy clips online or grab a few inexpensive clipboards and cut the drill bits from the clips to detach them. The bolts are more durable than any drill bit of aluminum. Only grab a much shorter power drill than the pin, and dig on each hand into it. Another method is to buy a few cheap screwdrivers and use them to unscrew the drill bits from the clips.
- Eventually, string via the gaps in the base of the easel boards a width of cord, then bind the edges with each other to make a grip. You’re able to take your DIY easel anywhere you choose to draw or sketch, with the handled in position. Your easel could be wrapped straight during your painting lesson, and it can pose unassumingly in a hallway, at the rear of a cabinet, behind the same fence, or wherever you want to store it before the artistic instinct hits again.
Frequently Asked Questions
What Can I Use if I Don’t Have an Easel?
If you don’t have an easel, you can use a table or counter to paint on. You can also use paper plates, cups, and other objects as canvases. Just be sure to cover the object with a cloth or paper so that the paint doesn’t get on anything else. You can use a cup or paper plate as a palette for your paint. Just pour a little bit of each color you want to use onto the cup or plate. Then, use a brush to pick up the paint and apply it to your canvas.
What Are the Dimensions of an Easel?
An easel is a versatile piece of equipment that can be used for a variety of purposes.
Easels come in different sizes and shapes, and they can be used for painting, drawing, photography, and other creative endeavors.
The dimensions of an easel depend on the type of easel that you are using it for. For example, a standard canvas easel has a width of 36 inches and a height of 48 inches.
Can an Easel Hold Paper?
An easel can hold paper, but it is not recommended to do so because it can damage the easel. Instead, place the paper on a stable surface such as a table or counter.
What Can I Use Instead of an Easel?
There are a few alternatives to using an easel that can be helpful in your art studio.
One option is to use a drafting table. This is a large, flat surface that can be used for drawing, painting, and sketching. It is also great for working on larger projects.
Another option is to use a large piece of cardboard or poster board. This can be placed on the floor or wall and used as a canvas. You can then draw, paint, or do any other type of art on top of it.
A final option is to use poster frames to display your artwork. These frames come in many different sizes and styles, so you can find one that fits your needs perfectly.
Your another article: How to Make a Stand for a Sign
Elizabeth Davis
Elizabeth is a creative writer and digital editor based in the United States. She has a passion for the arts and crafts, which she developed from a young age. Elizabeth has always loved experimenting with new mediums and sharing her work with others. When she started blogging, she knew that DIYquickly would be the perfect platform to share her tutorials and tips. She's been writing for the blog from the beginning, and her readers love her helpful advice and easy-to-follow instructions. When she's not writing or editing, Elizabeth enjoys spending time with her family and friends.


