
How to Place Pages in a Scrapbook Paper
Introduction
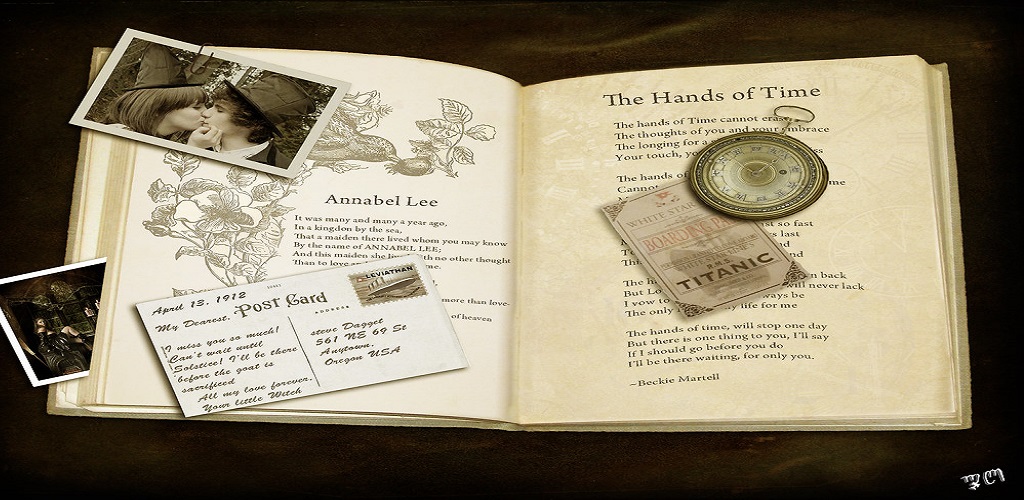
A scrapbook is a book where people can store their memories and valuable paper cuttings. To make a scrapbook, you need to first gather all of your materials. Once you have everything you need, you can start adding pages to the scrapbook. Adding pages to a scrapbook can be challenging, but there are some techniques that can make it easier.
Processes on How to Place Pages in a Scrapbook Paper:
Procedure One:
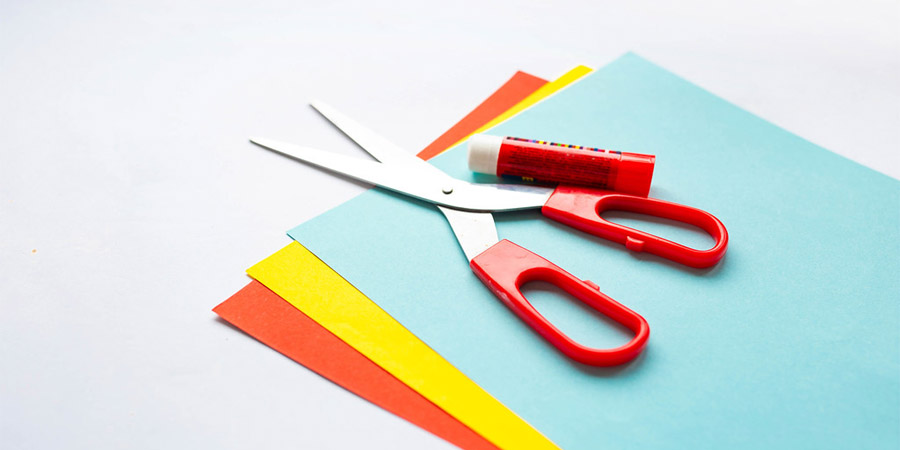
- Scrounge up the supplies and materials you need: a good old-fashioned thread, needle, scissors, paper punch.
- Cut out your paper to size (either by hand or with an electric cutter) in whatever shape is most convenient for your album design.
- Punch holes at each corner of the scrapbook page using a utility tool such as a hole puncher. You can also use a thumbtack if it does not have any sharp edges or points on its head so that you do not damage any other pages while working through them later.
- Thread one end of the string through all four punched holes and tie securely to keep everything together before moving onto another page! Repeat until all your pages are securely stitched together.
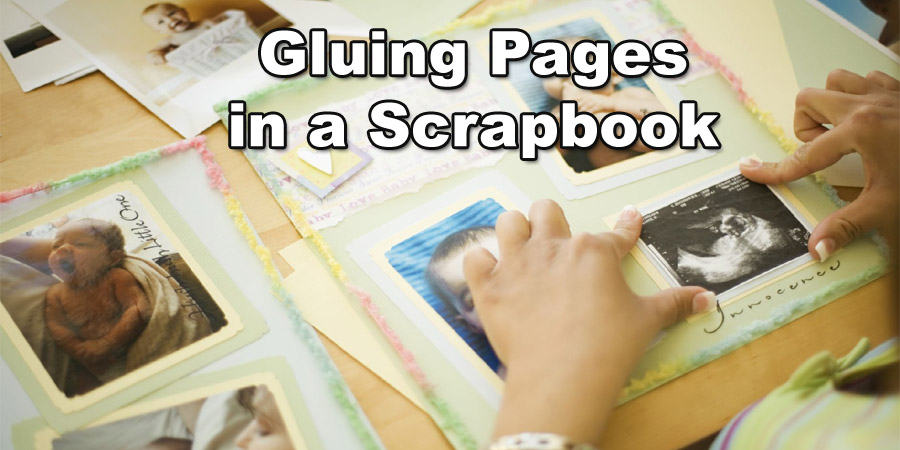
- Now you are ready to start adding your photos! You can do this by placing a photo onto the page, then tracing around it with white chalk or any other semi-transparent material (such as pencil) before using a Xacto knife blade or scissors to cut out that traced line.
- Or, if you’re feeling particularly crafty, use decorative scissors and paper punches to create parts of pages for your scrapbook, so they don’t all look like just plain old square pieces of cardstock.
Procedure Two
Step One
At first, you need to gather some colorful papers which you want to add to the scrapbook, and then you will need a ruler, a pencil, scissors, and some adhesive. Once you have managed all these accessories, you can get to work. You have to measure the scrapbook’s total perimeter and then cut the paper according to the measurement. This can be done using a ruler. Mark the length on the pages and then cut it with a scissor.
Step Two
Then you have to fold the paper from one end. The folding should include not more than an inch of the paper. This folding will be used to join the paper. Once you have folded the paper, you have to take a small paintbrush and add some glue to the paper’s folded part. You have to fold the whole paper from the middle and then join the unfolded edge to the glued folded piece.
Step Three
Now you have replicated the same process and make as many papers as you want to put in your scrapbook. After the papers are made, you have to the scrapbook cover and then put some glue on the outgrowth that is kept for the paper. Then place the hollow portion of every paper at each outgrowth. In this manner, the papers can be added to the scrapbook.
Precautions:
- Always make sure you have the right page before sticking it to your scrapbook.
- Try not to place pages over each other so they can be easily seen and are less likely to get damaged.
- Make sure that every page is properly aligned, or else the design will look uneven.
- When you need a new sheet of paper, cut it with an X on all four corners like for cutting fabric – this way, when you rip off the excess paper from one side, there’s no chance of causing any tears in your already finished project.
Which Glue is Better For Placing Pages in A Scrapbook?
- Some prefer to use repositionable glue, like Elmer’s Glue.
- Others swear by using rubber cement because it dries clear and is permanent.
- The third option for gluing pages in a scrapbook would be the most obvious: White craft glue found at any craft store, which comes with an applicator brush built into the container’s lid.
Which Paper is Best for Making A Scrapbook?
Scrapbooking is a fun way to record memories of your life. You can use old books or make new ones from scratch. There are some paper considerations as well as tips for cutting them that will ensure each page turns out beautifully.
Paperweight:
The quality of a paper is usually determined by its weight. Heavier papers are usually better quality, but this isn’t always the case. Some people prefer to use thinner papers with more space between layers so they can add more embellishments to their pages without feeling too cluttered.
Cutting:
For a second-grade student, you would want to use something flat yet strong enough that holds up when wet slightly and not rip easily – but also doesn’t dull blades too much.
Conclusion
In conclusion, we hope that the process we have discussed here will help add pages to your scrapbook. This technique will highly benefit beginners. Thank you for your precious time. Have a nice day.
You may read also –
Elizabeth Davis
Elizabeth is a creative writer and digital editor based in the United States. She has a passion for the arts and crafts, which she developed from a young age. Elizabeth has always loved experimenting with new mediums and sharing her work with others. When she started blogging, she knew that DIYquickly would be the perfect platform to share her tutorials and tips. She's been writing for the blog from the beginning, and her readers love her helpful advice and easy-to-follow instructions. When she's not writing or editing, Elizabeth enjoys spending time with her family and friends.


