
How to Make a Trifold Duct Tape Wallet
Introduction
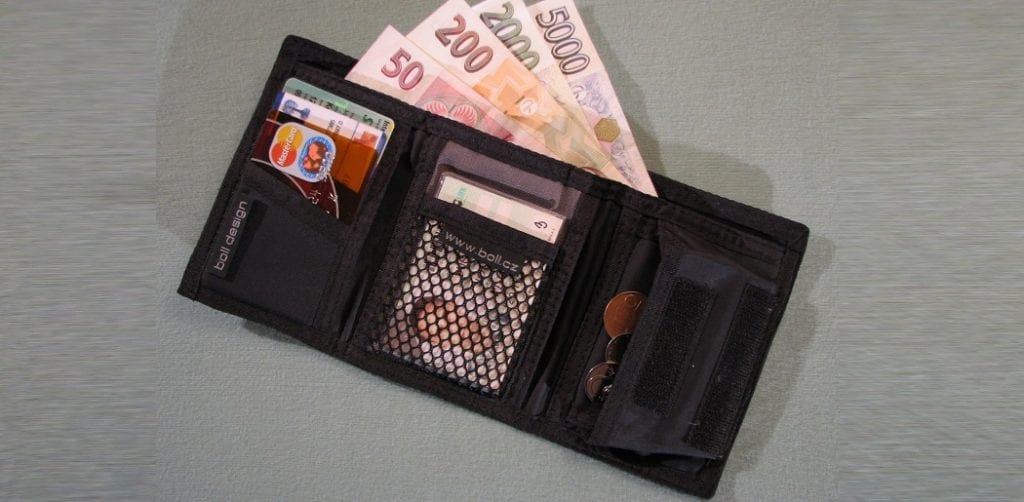
Making a wallet using household materials is very interesting. This will make your kids learn new and innovative aspects. Today we will discuss a procedure that will help you make a trifold wallet using duct tape. This wallet will have a giant billfold, one ID card pocket, three horizontal pockets, and two vertical pockets. There will also be a hidden go through the pocket in this wallet. So let us go through the entire process of making this great wallet.
Procedure
The first step of this process is to gather all the necessary items to make the trifold duct tape wallet. You have to arrange duct tapes. You can work with a single duct tape, but this will make the wallet artless. It is better to use multi-colored duct tape. For the betterment of our readers, we highly suggest three different duct tapes for this process. Then you will need scotch tape. This is also known as clear tape in the market. You will need some Velcro for folding the wallet properly.
You will also need a cutting mat for conducting the entire process. You will need a pair of scissors and an Exacto knife for cutting the tapes properly. You will need a scale and a pencil for taking the proper dimension of the tapes before cutting, and for the ID cardholder, you will need ID plastic. This is a plastic material which is relatively thick than usual ones. Once you have gathered all the elements, you can start the main process.
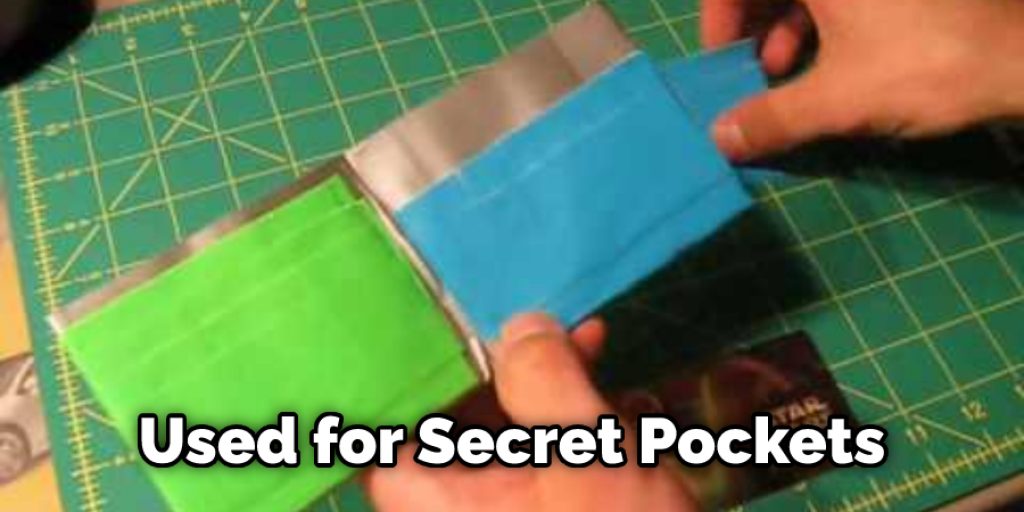
For the tapes, you need to select them according to the purpose of using them. You have to choose a tape used for attachment, there should be a tape used only as of the wallet’s outer covering, and another tape will be used for secret pockets and other purposes. Now we must remember to make the wallet according to an actual measurement.
We have to use the scale for this process. We will state all the measures for our readers, which will help make a generalized wallet. At first, you have to make duct tape and then cut four strips of nine inches. The width of the duct tapes is not more than one inch. For this reason, you have to cut four different strips and then join two of them.
You have to overlap two of them so that they measure a quarter to four inches each. In this manner, you will get two spate duct tape layers. Now you have to take the layers and attach clear tape on the sticky side of the tapes. This will make them act like regular cardboard paper, and you have to keep quarter inches extra on both sides of the clear tape. Cut the duct tape sheets with a cutter or scissors and cut the overlapping part too. If you want to give it a professional look, then you can use a measuring tape and a pencil and mark the cutting line first.
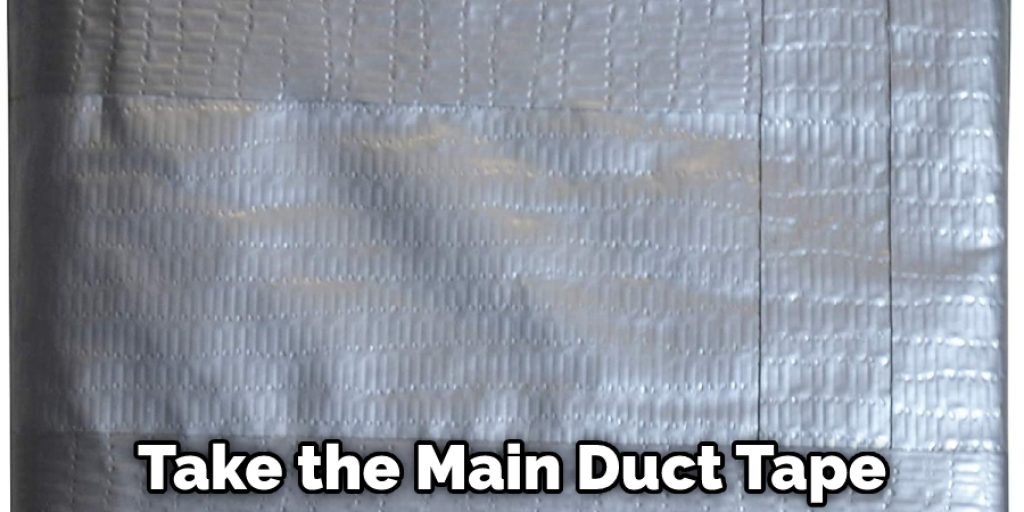
This extended part will be folded to make the connection firm. Now you have to take the main duct tape, which you want to use as the exterior color, and cover one of the two duct-tape slices from all sides. Make sure to keep some extra on four ends and fold those inwards. Now we have to start working on the horizontal pockets.
For this, you have to cut three separate strips of duct tape, which will measure three inches in length and quarter inches in width. Next, you have to take the clear tape and cover the stickiness. This will help you make use of the strips properly. You have to follow the same process for the vertical pockets, but this time, the strips’ size will be two inches in length and quarter inches in width.
Now you have to cut some duct tapes and then cover the outer part of the horizontal and vertical pockets. For this, you have to take small strips and seal the corner of the pockets. You have to cut another duct tape, which will be equal to the size of the width, and the length will be one-third of the total length, and you have to cover it with the exterior duct-tape. Now you have to make handles for your pockets and for this, you have to take a four-inch strip and then cut it in half. After that, you have to cut the strips of duct tape into three parts, which will be equal to the size of the handles.
Then you have to connect it with the main double strip using regular tape. This will be used as the ID card slot. Attach the two vertical pockets on the wallet’s side and three horizontal pockets on the other end of the wallet. Now you have to make the go-through pocket. For this, you have to carve out the tape, and then you have to make the edges tick using double binding.
Next, you have to seal the stickiness using clear tape and connect it in the middle of the wallet using clear tape. Now you have one section of the wallet ready. You can put exterior duct tapes to seal the vacant parts. And you have to add the ID plastic above the vertical pockets. After this, you have to prepare for the second section.
You will previously cut the tape and then reduce the stickiness using regular tape. Then you have to take the exterior tape and seal the edges. It is better to provide double binding throughout the edges, providing better rigidity to the wallet. Now you have to connect both ends. For this, you have to place the two separate sections on the cutting board. And using an Exacto knife, you have to trim all the edges.
After the edges are cut, you have to place them parallel and then connect them using clear tape. You have to use clear tape on both sides of the connection point. This will make the wallet flexible. Now you have to give some finishing touches to the wallet. You have to attach a Velcro and then start folding the wallet.

For the folding sections, you can add some extra duct tape to make it strong. In this manner, you can easily create a tri-fold duct tape wallet.
Tips to Make a Trifold Duct Tape
- Ensure you have enough duct tape to cover your entire trifold – measure before you cut!
- Use a ruler to cut the duct tape into long, thin strips slightly wider than your project’s width.
- Start in the center of the trifold and work your way outwards, applying each piece of tape evenly and firmly for the best results.
- When using patterned duct tape, line up the edges of each strip carefully to create a smooth, even design.
- To ensure good adhesion, press down on each strip with a credit card or plastic squeegee after it has been applied.
- Finish by adding decorative elements like ribbons or sparkles to give your trifold an extra special touch!
Frequently Asked Questions
What Is Yellow Duct Tape Used for?
Yellow duct tape is mainly used for many purposes, such as holding cables and wires in place, securing boxes, repairing broken items, or fixing anything else that needs a strong adhesive. One of the most popular uses for yellow duct tape is to make a repair on a broken item. This type of tape is very strong and can hold items together securely. It is also easy to remove and does not leave a sticky residue behind.
There are many other uses of yellow duct tape like:
- To cover the heads of nails before driving them into walls.
- To create dividers between rooms.
- As a temporary adhesive on light switches and electrical outlets.
Does Duct Tape Stick to Plastic?
Duct tape is a type of adhesive that can stick to many different surfaces. It is often used for temporary repairs, but it can also be used to seal the joints of ductwork. In some cases, duct tape may not stick well to plastics because the adhesive on these materials is designed specifically for this type of material and may be too strong for duct tape.
Is Gorilla Black Tape Waterproof?
The Gorilla black tape may or may not be waterproof, but it has a strong adhesive that will stick to most surfaces.
What Are Five Things You Can Do With This Roll of Duct Tape?
Duct tape is a multipurpose adhesive strip with a cloth backing, often used to repair household items such as clothing, furniture, and shoes.
You can use it to patch up holes in your clothes or bag.
It can also be used to seal up small wounds on the skin.
You can use it to fix bicycle punctures.
It can also be used as an emergency bandage for cuts and scrapes that need temporary relief from pressure or bleeding.

You Can Check It Out to: Stretch Wallet Card Slots
Final Thoughts
Lastly, we hope that the wallet-making process we have discussed here will benefit you. The people who are interested in DIY aspects can get the best use of this process. You should maintain the proper safety of your hand while using the Exacto knife. Thank you for your time. Have a beautiful day!
You may read also – How to Make a Fabric Wallet with Zipper
Elizabeth Davis
Elizabeth is a creative writer and digital editor based in the United States. She has a passion for the arts and crafts, which she developed from a young age. Elizabeth has always loved experimenting with new mediums and sharing her work with others. When she started blogging, she knew that DIYquickly would be the perfect platform to share her tutorials and tips. She's been writing for the blog from the beginning, and her readers love her helpful advice and easy-to-follow instructions. When she's not writing or editing, Elizabeth enjoys spending time with her family and friends.


