
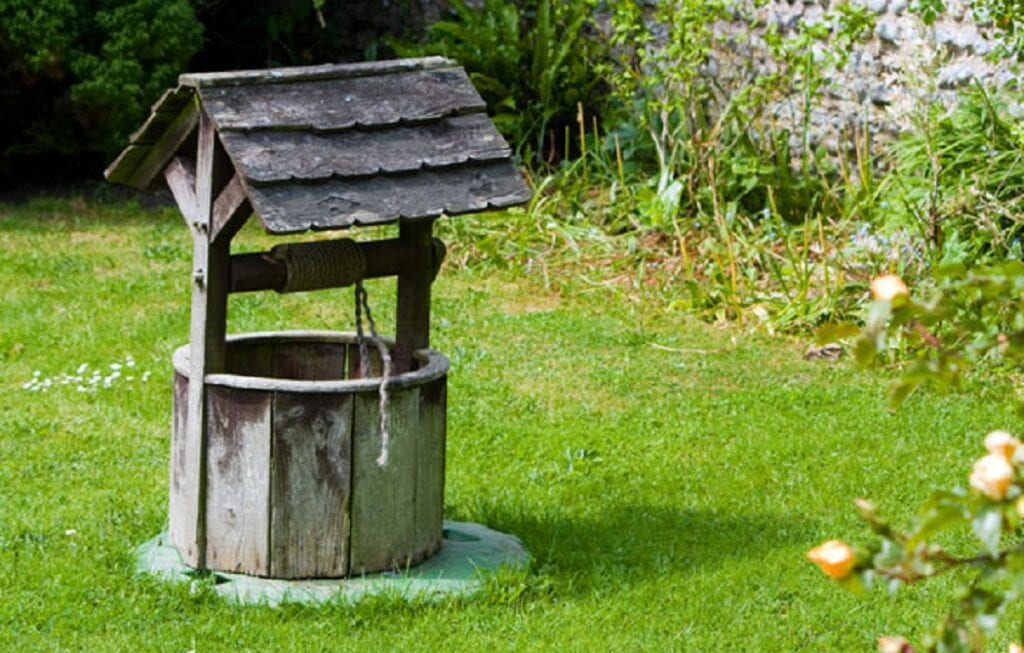
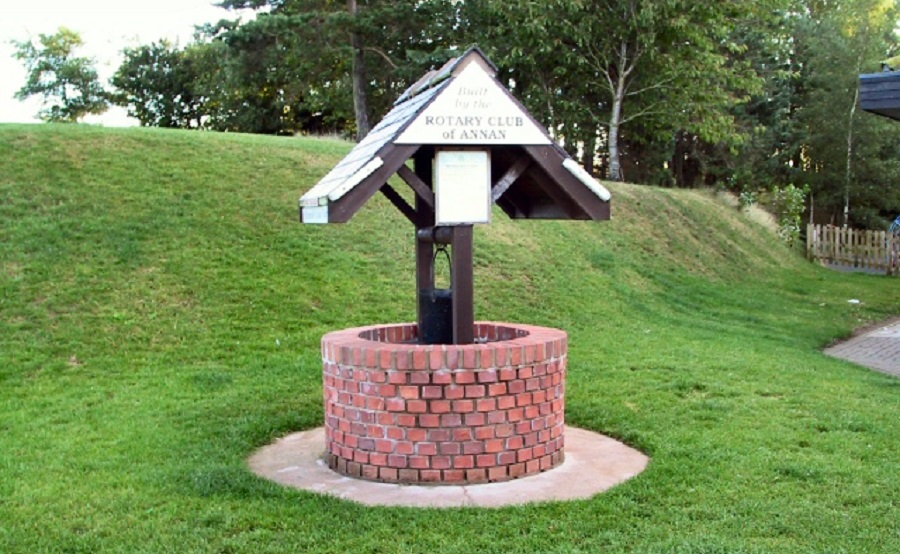
How to Make a Wishing Well Out of Wood
It is a beautiful tradition to make a wishing well out of wood. The symbolism is that the water in the well represents prosperity and good fortune, while the wood symbolizes strength and stability. This blog post will teach you how to make a wishing well out of wood! First, you will need to gather some supplies. You will need a piece of wood (preferably pine), a saw, a drill, a hammer, nails, and a bucket.
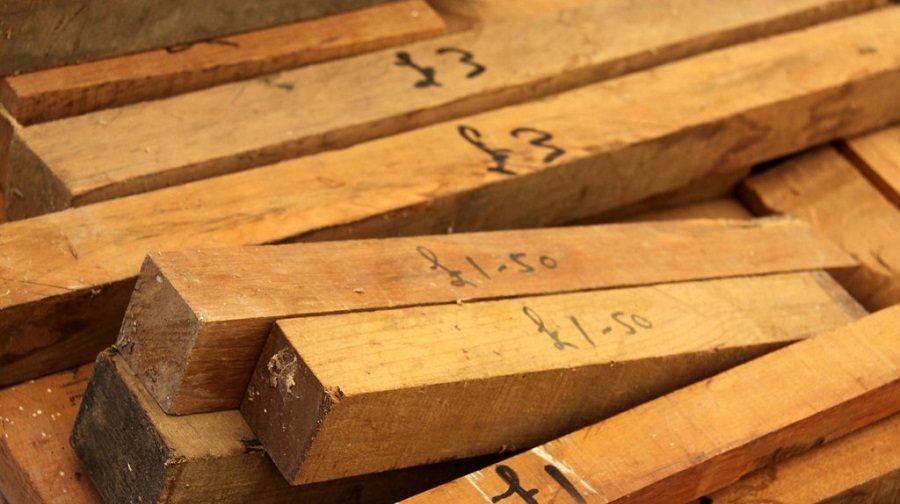
Materials Needed to Make a Wooden Wishing Well
- Wood
- Paint or stain to cover the wood
- Drill
- Saw
How to Make a Wishing Well Out of Wood – Steps to follow
Step One
Prepare Your Wood for Drilling Holes by Cutting It Into Sections That Fit onto Your Work Surface This step involves cutting your pieces of wood down so that they’ll be easier to work on at your workspace.
Measure out how much space you need using paper or masking tape before determining the depth of each section cut can differ depending on what size container you plan on putting inside them! If this is going to be an outdoor project, make sure that one of the pieces of wood is waterproof! Now that you have determined the depth, you can make the cuts for each of the sections.
Step Two
Drill Holes in Your Initial Sections Once You’ve Cut Them; depending on how many holes you plan to put into your wishing well, make sure that each section has been drilled with a hole saw. Remember not to drill too much deeper than what will fit inside your container!
If this project isn’t for outdoor use, then an electric hand drill should be used instead of one powered by compressed air. This ensures that there are no fumes emitted and it’s safer for children if they come into contact with any metal shavings or dust from drilling through the wood .
Step Three
Put Wooden Pieces Together To Form The Well Now that all of your sections have been cut and drilled out, put them together. This can be done by making a small cut on the edge of one section and then using some glue to secure it to another. Make sure you go around all four edges in order for the well to look tidy! Let The Glue Dry Once you have all of your sections glued together, let the glue dry for a few hours. Once it is dry, flip your piece over and fill in any holes that may be visible with some wood filler. You can find this at most hardware stores.
After your wishing well is assembled, you will need two pieces of scrap wood—one should fit inside your container and the other should have about an inch sticking out either side .
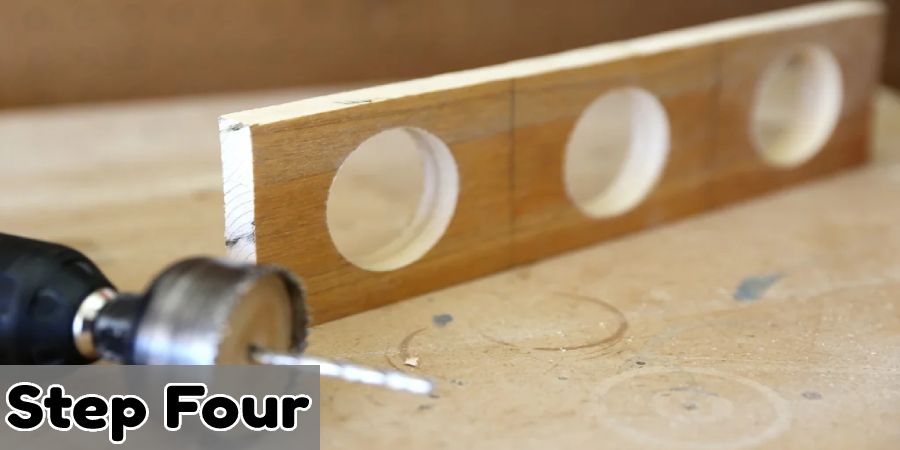
Step Four
Drill Holes Into The Scrap Wood Pieces When cutting down these smaller pieces, make sure that they are slightly larger than what is needed so that there’s room for them to overlap once they’re put into place.
They must also be drilled with holes as before since this project isn’t meant for outdoor use. Use wood glue to secure these two pieces together and put the other piece of scrap wood inside your container.
Step Five
Cut Wood Strips To The Length Of Your Container Take one long strip of wood and measure it against the length of your container so that you can cut off any excess. Then, do this with all remaining strips in order to create a thin layer along the bottom as shown below!
Frequently Asked Questions
How much does it cost to build a wishing well?
The cost of a wishing well depends on the size. A small, three-foot diameter/height will be about $80 for materials and supplies, whereas an 18-inch diameter one might run you $150-$200 depending on what type of material is used and if it needs erosion control or not. The good news is that these prices don’t include installation costs!
How to Make a Wooden Bucket for Wishing Well?
First you’ll need to cut the bucket out of a plank of wood, or buy one that’s already been precut. Drill holes in it for drainage and attach metal handles for easy carrying.
How deep should my well be?
It depends on where your wishing well will be located. If you want people to walk downstairs into your wishing well, then plan on going about three feet deep (about halfway).
But if they are just crossing over an opening without any steps, like at a courtyard level, there might only need to be two feet depth/height. Keep these things in mind when determining how much excavation work needs to happen beforehand and whether or not erosion control is needed!
What kinds of plants can I put around my wishing Well?
The most common types of plants are those that can handle lots of suns. Of course, there is an exception to any rule and you may be able to get away with a cactus or succulent if it has plenty of water available at all times!
What should I put in my Well?
For this one, have fun – the sky’s the limit! You might want to include some small rocks/pebbles on the bottom (might need someone else to help) then add various fresh flowers for decoration as well as other objects like toy animals, figures made out of clay/play-dough, etc.
This way, people will see your bucket from above and know what they’ll find when they walk down into it.
Conclusion
It’s time to bring a little magic into your backyard or garden with this DIY wishing well. This project is simple and inexpensive, requiring just a few boards of wood and some paint. With the right tools, you can make one for yourself in less than an hour! And after following this article now you know how to make a wishing well out of wood easily.


