How to Make a Wood Mirror Frame
If you’ve ever wanted to add a spark of personality and warmth to your walls, then making a wood mirror frame is a perfect way! Not only are wood frames aesthetically pleasing, but they also let you show off your craftsmanship skills.
With just some basic supplies and tools, it’s not hard to create a gorgeous wood mirror frame that will bring color and character into any room. In this blog post, we’ll be looking at all how to make a wood mirror frame, from measuring out the board sizes to finishing staining. So lace up your crafting shoes and get ready for an exciting DIY project!
How Do You Attach Wood to a Mirror?
Once you have your pieces of wood cut to the desired size and shape, it’s time to attach them to the mirror. You can do this with either glue or screws. If using glue, make sure you use a high-strength adhesive specifically designed for bonding glass, such as an epoxy or silicone adhesive.
Work in small sections, spreading the glue evenly and ensuring strong contact between the wood and mirror surface. When using screws, make sure to use stainless steel screws specifically designed for glass applications. Pre-drill small pilot holes in the wood before inserting the screws, then screw them into the glass at least 1/4 inch deep.
Make sure the screw heads are flush with the wood surface to avoid any potential scratching of the mirror. Once you’ve attached all of your pieces, leave the adhesive or screws to set for at least 24 hours before attempting to hang your mirror frame.
After allowing your frame to dry fully, it’s time to hang it up! You can do this by using either picture-hanging wire or D-ring hangers. If using the wire, thread it through the top of your frame and secure it with a screw eye in the back.
For D-rings, use two on each side of the frame and attach them to larger screws driven into wall studs for extra security. Once you have securely hung your mirror frame, you’re all finished! Enjoy your new wood mirror frame and the beauty it brings to any room.
9 Methods How to Make a Wood Mirror Frame
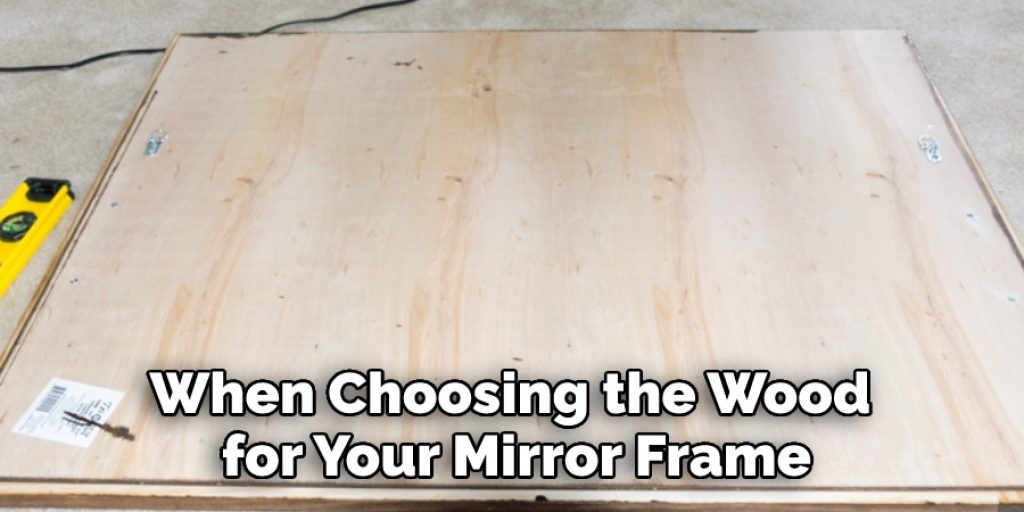
1. Choose the Right Wood
When choosing the wood for your mirror frame, it is important to consider the type of wood, the grain, and the color. Some woods are more durable than others, so if you are planning on using your mirror frame in a high-traffic area, you will want to choose a wood that is less likely to dent or scratch.
The grain of the wood will also affect the overall look of your frame, so if you want a more rustic look, you will want to choose a wood with a rougher grain. Finally, the color of the wood will also affect the look of your frame. If you want a light and airy look, you will want to choose a lighter-colored wood. If you want a more dramatic look, you will want to choose a darker-colored wood.
2. Cut the Wood to Size
Once you have chosen the wood for your frame, you will need to cut it to size. If you are not comfortable using power tools, you can always have the wood cut to size at your local hardware store. However, if you are comfortable using power tools, cutting the wood yourself will save you money.
You will need to measure the size of your mirror and cut the wood accordingly. Make sure you have a straight edge or ruler to make sure all pieces are cut evenly. Once you have the wood cut to size, use sandpaper to smooth out any rough edges.
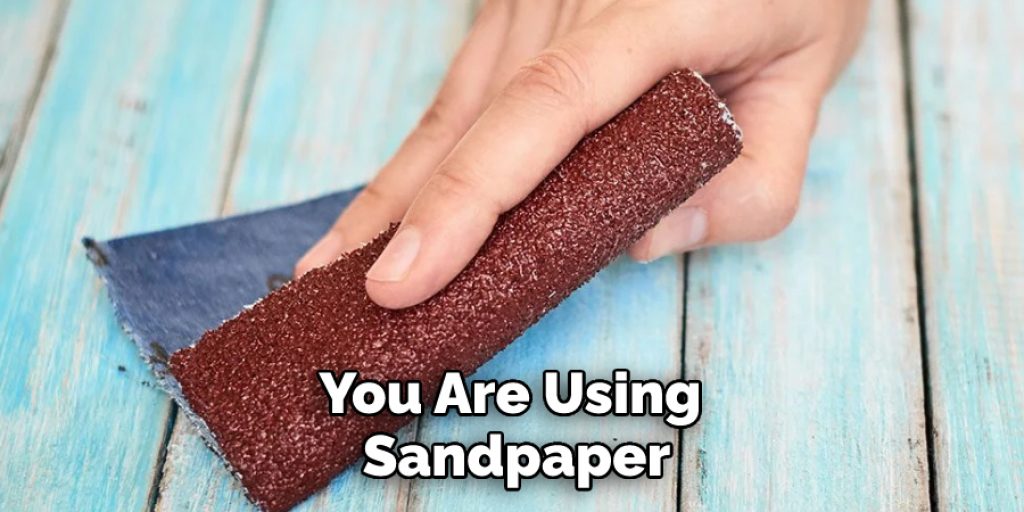
3. Sand the Wood
After cutting the wood to size, you will need to sand it down in order to create a smooth surface. You can use either an electric sander or sandpaper for this step. If you are using an electric sander, start with coarse grit sandpaper and then move to finer grit sandpaper until the surface is smooth.
If you are using sandpaper, start with medium grit sandpaper and then move to finer grit sandpaper until the surface is smooth. Be sure to sand in the direction of the grain for best results. Although the frame will be painted, you still want to make sure it is sanded properly.
4. Stain or Paint the Wood
Once the surface of the wood is smooth, you can then stain or paint it depending on the look you are going for. If you want a natural look, staining is the way to go. If you want a more colorful look, painting is the way to go. When staining or painting, be sure to follow all directions on the can in order to achieve optimal results.
Additionally, be sure that you have applied the appropriate number of coats and let it dry completely before continuing to the next step. However, if you plan to add any decoration or glazing, we recommend not staining or painting the wood. If you do choose to stain or paint, be sure that you have taken the necessary safety precautions and are wearing protective gear during the process.
5. Attach Mirror Clips
After staining or painting your frame, it is time to attach mirror clips so that your mirror will be secure when hung on the wall. Mirror clips can be found at most hardware stores and come in different sizes depending on how thick your mirror is. Be sure to measure your mirror before purchasing clips so that you get ones that fit properly.
To attach the clips, simply adhere them to each corner of your frame using glue or screws (following all directions on the packaging). This will ensure that your mirror is secure and won’t come loose. Once all the clips are in place, you can hang your frame on the wall with appropriate hardware and enjoy your DIY mirror frame!
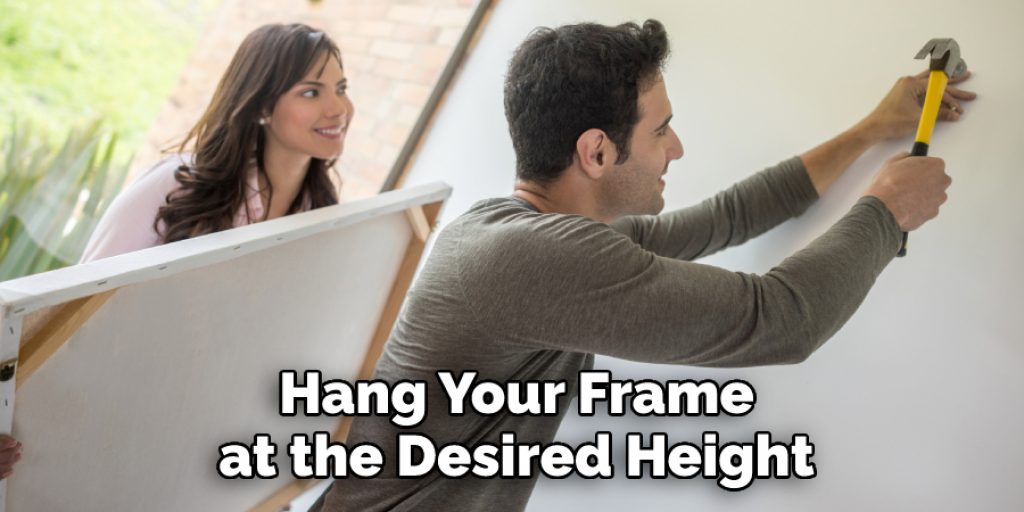
6 . Hang Your Mirror Frame on The Wall
Once your mirror clips are attached, it is time to hang your frame on the wall! To do this, simply use nails or screws (again following all directions on the packaging) and hang your frame at the desired height on the wall. Be sure that whatever method you use is secure enough so that your mirror does not fall and break. If you are not sure, ask a professional to help you. Once your frame is secure on the wall, it is time to enjoy your beautiful new mirror frame.
It you have followed all the steps, your wood mirror frame will be a lasting addition to any room of your home. With a little creativity and some basic tools, you can create a beautiful mirror frame that will be admired by all who pass. So go ahead and start your project today! You will be so glad you did.
7 . Add Decorative Elements (Optional)
If desired, you can add decorative elements such as molding or trim around your mirror frame in order to give it more visual interest. This step is completely optional and is only necessary if you feel that your frame needs something extra in order to achieve your desired look.
You can find a variety of decorative elements in your local home improvement store, such as strips of hardwood molding or trim that you can easily attach to the frame using wood glue and nails. If you opt for this step, make sure that you choose something that complements the style of your room and the overall look of the frame.
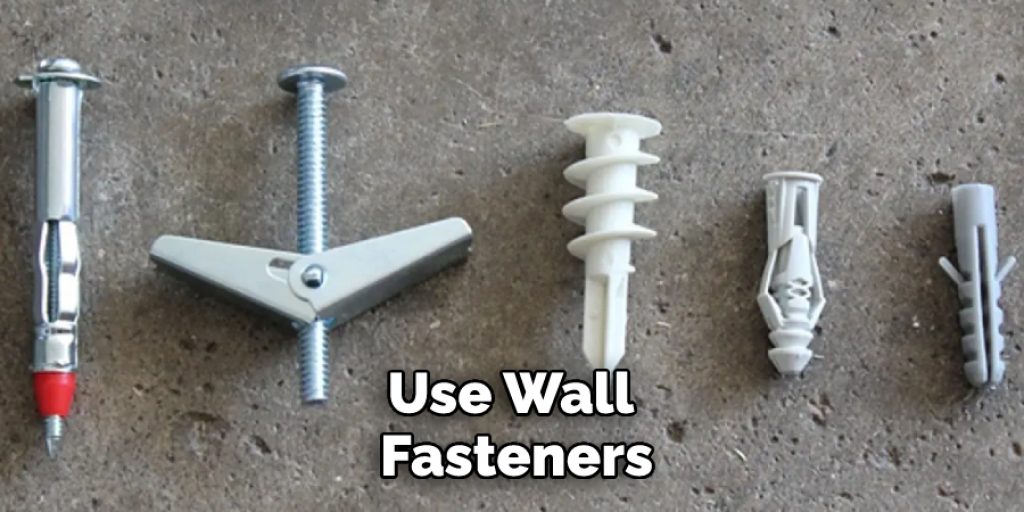
8. Secure Wall Fasteners
Once you have all of your decorative elements in place, it is a good idea to use wall fasteners such as anchors and toggle bolting the mirror frame on the wall. This will help ensure that your frame doesn’t fall off the wall and break.
Be sure to follow all instructions on the packaging when installing these fasteners for extra security. Once you have your frame securely on the wall, enjoy your gorgeous DIY wood mirror frame! You can now proudly show off your handiwork to all who enter your home.
Although it may seem intimidating at first, creating a beautiful custom wood mirror frame is an achievable goal if you take the time to plan it out and follow these steps. With the right tools and materials, you can craft your own unique frame that will look great in any room of your home.
9 . Finishing Touches
Once you have securely hung your mirror frame, you’re all finished! Enjoy your new wood mirror frame and the beauty it brings to any room. With proper care, this project can last many years and be enjoyed by friends and family alike! Good luck and happy crafting!
Conclusion
Making your own wood mirror frame is a great way to add a personal touch to your home décor. With some basic supplies and a little bit of time, you can create a beautiful frame that will last for years. Follow the steps outlined in this blog post about how to make a wood mirror frame to get started on your project today.
Angela Ervin
Angela is the executive editor of DIY quickly. She began her career as an interior designer before applying her strategic and creative passion to lifestyle and home. She has close to 15 years of experience in creative writing and online content strategy for housekeeping, home decorations as well as other niche efforts. She loves her job and has the privilege of working with an extraordinary team. She lives with her husband, two sons, and daughter in Petersburg. When she's not busy working she spent time with her family.