How to Make a Wooden Window Frame
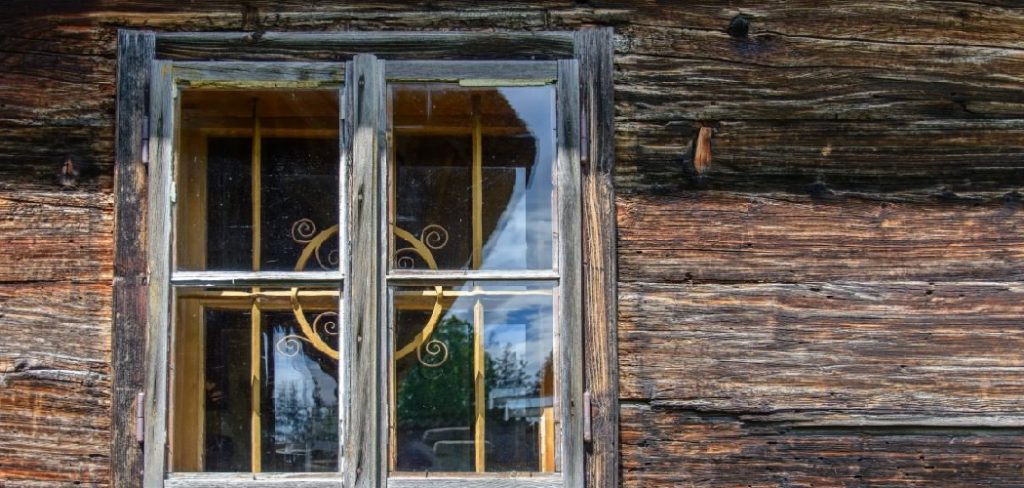
Wooden window frames have long held a special appeal; they add an old-world charm to any home or workspace. Making your own wooden window frame is within reach for many do-it-yourselfers, and it can be surprisingly gratifying!
In this step-by-step blog post, we’ll walk you through the entire process of how to make a wooden window frame. We’ll take you through the list of materials and tools needed, as well as the different steps from start to finish.

Tools and Materials You Will Need to Make a Wooden Window Frame
- Measurement tape
- Nail gun and nails
- Leveler
- Circular saw or jigsaw
- Miter box
- Wood glue
- Hammer and chisel (optional)
Step-by-Step Guidelines on How to Make a Wooden Window Frame
Step 1: Measure the Window to Be Framed
Before you begin, it’s important to take accurate measurements of the window that you are going to frame. You need to know the exact dimensions of each side in order for your frame to fit properly. Measuring the window will also help you determine how much wood you need to purchase.
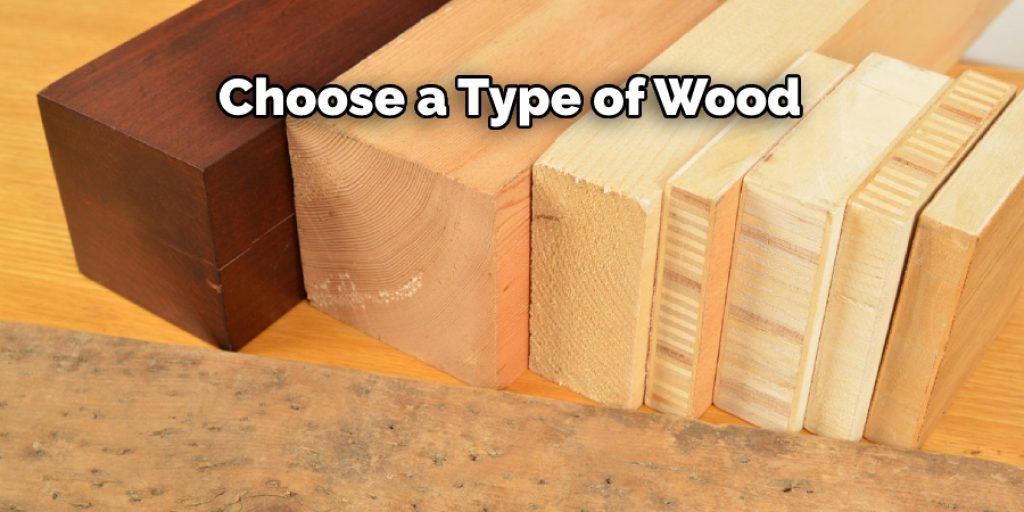
Step 2: Choose the Type of Wood for Your Window Frame
Once you have your measurements, it’s time to choose the type of wood for your window frame. Different types of wood offer different appearances and levels of durability. Some popular choices for making a wooden window frame include pine, oak, and cedar. Most woods will work but be sure to consider their weight and sturdiness when making your selection.
Step 3: Cut the Wood for Your Window Frame
Now that you have your measurements and wood, it’s time to cut the wood for your window frame. Using a circular saw or jigsaw, make sure to cut each piece to size and shape according to your window measurements. You may also want to use a miter box for precise angled cuts if needed.

Step 4: Assemble the Window Frame Pieces
Next, you’ll need to assemble the pieces of wood that you have cut into the frame. Start by applying wood glue along each joint and then nail the pieces of wood together. Once all of the pieces are attached, use a leveler to make sure that everything is even and straight.
Step 5: Add Finishing Touches to Your Window Frame
The last step in making your wooden window frame is to add any finishing touches such as paint or stain. Be sure to allow the frame to dry completely before applying any type of finish to it. Once the finishing touches are done, your window frame is ready to be installed!
Making a wooden window frame can seem daunting at first, but with careful planning and attention to detail, you’ll soon have a beautiful window frame that will last for years to come. Following these steps will help you create a frame that is perfect for your home or office. Good luck and have fun!
Additional Tips and Tricks to Make a Wooden Window Frame
1. When using a miter saw, make sure you practice your cuts on scrap pieces of wood before starting on the main window frame. This will help to ensure accuracy and prevent wastage of materials.

2. If you are dealing with awkward angles, use a combination square or other measuring device to mark out the correct angle on your piece of wood before cutting.
3. Make sure you apply a generous amount of glue when assembling the pieces to ensure they stay in place while drying.
4. Use clamps or weights to hold the pieces together while the glue dries. This will help to prevent any gaps and keep your window frame sturdy and secure.
5. Before applying any paint or varnish, make sure you sand the frame to ensure it is smooth and free of any imperfections. This will help to ensure a professional-level finish when painting or staining your new window frame.
6. You may also want to consider adding weather-proofing sealant around the edges of your frame to protect it from the elements and keep moisture out.
7. Finally, take extra care when installing your window frame in order to ensure that it is secure and structurally sound. You may find it helpful to get a professional carpenter or builder involved with this step, especially if the window is large or complex.
Following these tips and tricks should help you create a beautiful wooden window frame that will last for years to come. Good luck!
Things You Should Consider While Making a Wooden Window Frame
1. Determine the size of your window frame. This will depend largely on the size of the space you’re working with and how much light you want to let in. Measure both the height and width of your space and make sure to leave some extra room for trimming.
2. Choose a type of wood for your window frame. Pine and cedar are two of the most common types used, though you can also use other types depending on your needs. Be sure to pick a wood that is strong enough to withstand moisture, as well as temperature changes in different seasons.

3. Cut the wood for your window frame. A miter saw will be the best tool for this job, as it has a sliding saw blade that makes precise cuts. Use a measuring tape to measure and mark the lengths you’ll need for each side of the frame.
4. Assemble your window frame. Using wood glue, nails, or screws, assemble your frame together in its correct shape. Be sure to check for any gaps or errors in the frame and make adjustments if necessary.
5. Stain your window frame. Once your frame is assembled and all pieces fit correctly, you can start sanding and staining it to give it a more finished look. Be sure to use a quality wood sealer or varnish to protect the frame from moisture, UV rays, and other elements.
6. Install your window frame. Now that you have finished building your wooden window frame, it’s time to install it into place. Use screws or nails to attach the frame securely in its place and make sure to caulk any gaps or cracks around the frame.
Making a wooden window frame can be a rewarding project, but it’s important to pay attention to details. By following the steps above and considering these tips, you’ll have a beautiful new window frame that will last for years to come!
Precautions Need to Follow for Making a Wooden Window Frame
1. Make sure to check that the wood you are using is suitable for outdoor use if the frame will be placed outside. Woods such as cedar and redwood are more resistant to moisture damage, making them better suited for window frames that will face the elements.
2. Take measurements of your window opening to ensure that the frame you make will fit properly. If you’re planning to hang curtains, be sure to account for the extra space needed for them when taking measurements.
3. When cutting your wood pieces, use a power saw to get straight lines and smooth edges. Any unevenness can affect the frame’s ability to slide into the window opening.
4. Drill pilot holes before inserting screws or nails to keep the wood from splitting. Be sure to use rust-resistant hardware for superior durability and longevity.
5. Apply a coat of waterproof sealant on the frame once it is assembled, paying close attention to joints where moisture can gather and damage the wood. This will help your frame last longer and look better over time.
6. If you’re not experienced in carpentry, it’s best to seek help from a professional carpenter or window installer who can properly measure and install the wooden frame on your window opening. This will ensure that the job is done right and with quality materials.

Follow these simple steps to ensure a long-lasting, sturdy frame for your wooden window! With proper care and maintenance, your new frame will be able to withstand the elements and add beauty to your home. Enjoy the view!
Conclusion
Crafting your own wooden window frame is an excellent way to add beauty and charm to any home. The end result of a job well done may take some time but the pride of creating something with your own two hands is worth it. Keep in mind that you should always carefully measure out everything, start with the right materials, and sand throughout the project for smooth finishes.
With these tips, you’ll have the knowledge about how to make a wooden window frame that will truly stand out from the pack! Taking on this project can also serve as great practice for trying out more difficult woodworking tasks in the future. No matter where your woodworking journey takes you, it’s important to remember the basics and take things slowly until you’re able to build something amazing with confidence. Never be afraid to experiment either; mistakes are how we learn!


