
How to Make Acrylic Powder With Flour
Making your acrylic powder can be a great way to save money on art supplies. Most of the cost for this product is in the packaging, so if you want to make your paint at home, it’s worth making your acrylic powder. You can mix this with water or other media like ink and alcohol to create new colors that could never exist otherwise!
This article will cover how to make acrylic powder with flour. Flour is cheap and easy to find, plus it doesn’t have any additives that would change the final product’s color as some other household items do! Just read on for more information about what you’ll need and how long it should take before you’re ready to start making your acrylic powder!
Supplies and Materials Needed:
- 1/2 cup of white flour (All-purpose)
- 2 cups of water
- Disposable bowl or container
- Tongs for stirring.
- A filter or sifter
Steps to Follow: How to Make Acrylic Powder With Flour
Here are the step-by-step guide on how to make acrylic powder with flour.
Step 1: Prepare Your Materials.
You will need an egg, some modeling clay or play dough, a balloon (a rubber glove will also work), scissors, and acrylic paint in the color of your choice.
Step 2:Cut the Tip Off Your Balloon.
You can do this by using a pair of scissors and cutting in a diagonal line from one corner of the open end to another. Make sure you cut it so that when you stretch out the opening, there is no hole in the center of it. Once you have done that, put the balloon aside for later.
Step 3: Flatten Your Clay or Dough.
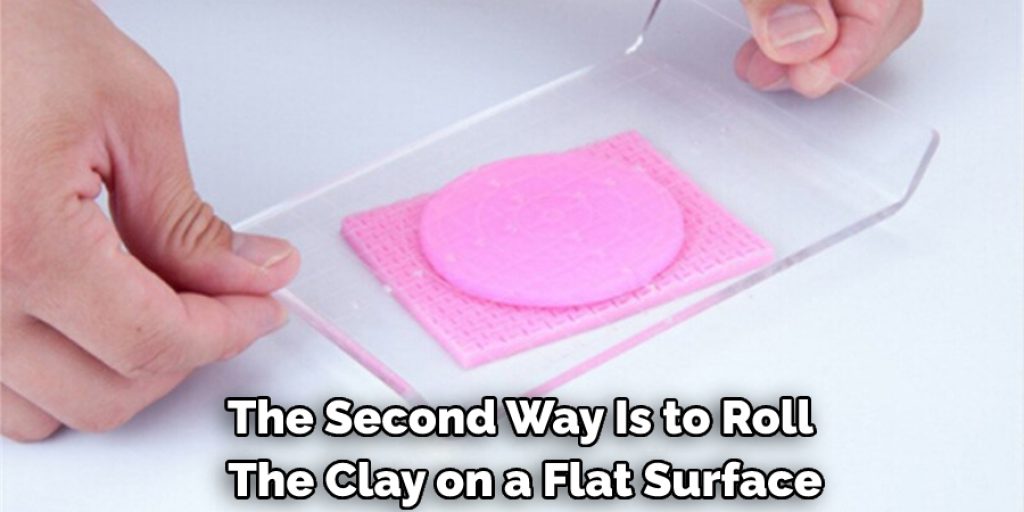
There are two ways to make a flat clay disk. The first way is to do it by hand. You take your clay and press it between your hands until it is nice, compact, and flat.
The second way is to roll the clay (or dough) out on a flat surface until it is about 1/4″ thick, and then place a cookie sheet or some other kind of baking tray on top of your clay and press down until it becomes nice and flat. If you want to try this method, make sure to flour your cookie sheet’s surface before placing your dough on it.
Step 4: Cut the Flat Piece of Dough Into a Circle.
The size doesn’t have to be perfect, but it should be about the same diameter as your balloon if you use play dough. If you use clay that is not soft enough to press into a circle by hand, take your rolling pin and roll it out until it is in the shape of a process.
Step 5:Place a Small Amount of Paint.
We recommend using acrylic paint for this instructable because it will dry to form a hard shell on top of your dough, giving it a nice finish and making it easy to handle when you finish the project. However, if you want, you can use food coloring instead.
Step 6: Mix the Paint Into the Dough.
Take your egg beater/mixer or anything else with a pointy end that can be used to mix things, and mix the dough until it is completely colored. Make sure you do this on a surface where you don’t mind spilling some paint.
It would probably be best to do this on a surface such as paper or cardboard, something disposable. However, if you spill paint and want to clean it up quickly and easily, you have to sprinkle some flour on top of it and then sweep your hand across the powder. The paint will come right up!
Step 7: Blow Up the Balloon.
This is the step where you need to remember not to inflate your balloon too much. You want it to be bigger than the painted dough but not bigger than a grapefruit. If you overinflate your balloon, it will explode, and we don’t want that!
Step 8: Place the Balloon Over the Dough.
Make sure you don’t stretch it out too far because if you put a hole in the top of your balloon, all your hard work will be ruined. If your balloon starts to slip off or fall, use a rubber band or hair tie to keep it from coming off until it has dried.
Step 9: Wait a Week.
The longer you wait, the better your dough will dry and harden. Then, when it is scorched, you can peel off the balloon and take out your finished acrylic powder! If parts of your dough have not dried yet, just put them back in for another few days to let them dry as well. Just make sure not to put them back in too soon because you don’t want them to get moldy!
Step 10: Use Your New Powder However You Like!
You can use acrylic powder for many different arts and crafts projects, such as making jewelry, customizing small toys, or making fake (but detailed) candy and cake decorations for your next birthday party. Remember that you can use paint, food coloring, or even dirt and sand to create many different colors!
You Can Check It Out to Use Shower to Shower Powder
Some Tips and Tricks:
1. Before you begin, ensure your area is well ventilated and free of sources of ignition (heat and flame).
2. Be careful when using flammable chemicals such as acetone and alcohol. Wear gloves to avoid skin irritation or burns. Also, avoid inhaling fumes from these solvents!
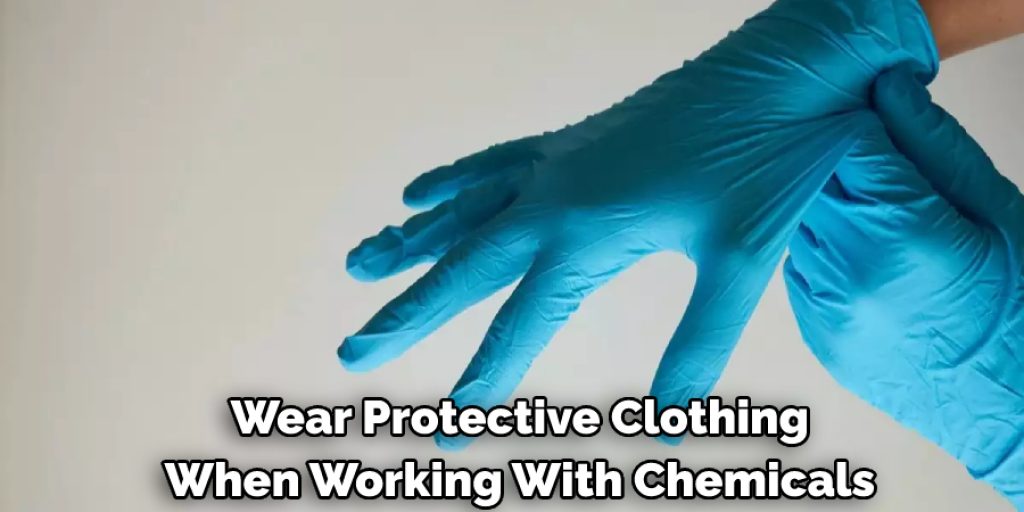
3. Wear protective clothing (gloves, goggles, and masks) when working with most chemicals mentioned in this instructable.
4. Store your chemical in a cool place away from sunlight. Make sure to label them clearly so that people can’t mistake them for drink or food!
5. Always pour back chemicals into original containers when they are not in use.
6. Rinse the beaker, flask, and utensils after use to remove any residual chemicals. Then, store them somewhere safe!
7. Use safety goggles when mixing chemicals. Don’t mix two different chemicals unless you know they are compatible (for example, acetone and alcohol).
8. Always dispose of chemical containers and other related materials according to your local regulations.
What Can I Use if I Don’t Have Acrylic Powder?
Artists’ acrylic colors are a type of pigment suspension in a liquid polymer. They resemble fine artists’ oil paints but have many advantages over oil paint to enhance your creative options. You must add polymer medium to the color when painting with it. The most common type of polymer medium is either water-based or solvent-based.
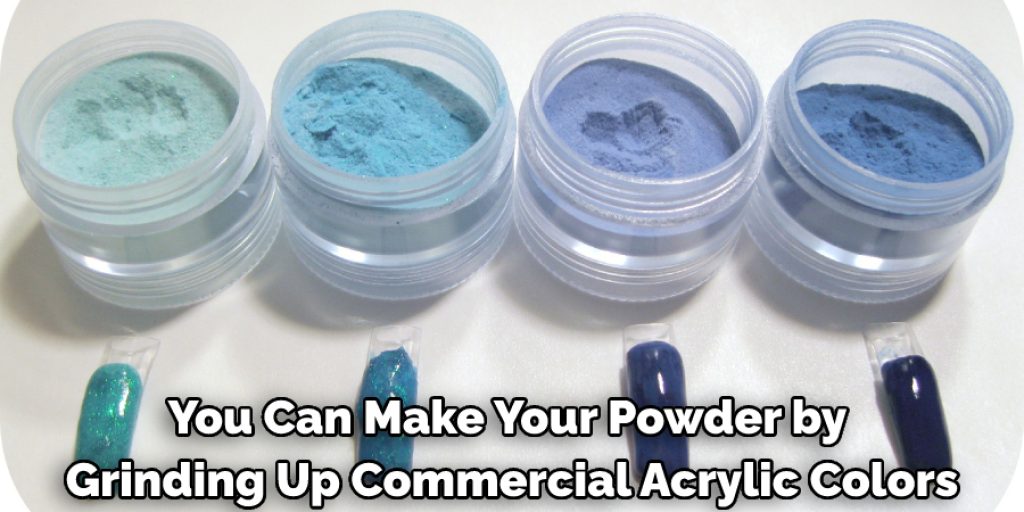
Water-based media include acrylic gel and mixtures of up to 60 percent water. Solvent-based media include mediums such as gloss varnish, matte varnish, and drying oil. Acrylic powder and pigments are very similar and usually interchangeable. You can make your powder by grinding up commercial acrylic colors.
How Do You Make Homemade Acrylics?
Acrylic is actually a mis-spelling of the term Acrylic Resin. The easiest way to think about resin is glue. It’s converted from liquid form to solid form by the addition of something called a cross-linker. Cross-linkers are chemical agents that can join large molecules.
Converting from liquid to solid is called polymerization, and the result is acrylic resin. You can buy acrylic resin in liquid form at craft stores. But, when it hardens, it is called acrylic paint. Acrylic paint is water-soluble when wet and dry to a solid state. If you add more solvent (water) to the paint, it will thin out again.
Conclusion:
When it comes to crafting projects, you can make acrylic powder with flour in many ways. The best way for your project will depend on the type of material you want and the color pigment you’re looking for. Experiment with these methods until you find one that works well for your needs!
In this blog post, we have explored the process of how to make acrylic powder with flour. We hope you found it helpful and informative! If there is anything else you would like to know about this topic services, please contact us at any time. We will be happy to help you out.
Elizabeth Davis
Elizabeth is a creative writer and digital editor based in the United States. She has a passion for the arts and crafts, which she developed from a young age. Elizabeth has always loved experimenting with new mediums and sharing her work with others. When she started blogging, she knew that DIYquickly would be the perfect platform to share her tutorials and tips. She's been writing for the blog from the beginning, and her readers love her helpful advice and easy-to-follow instructions. When she's not writing or editing, Elizabeth enjoys spending time with her family and friends.


