How to Make an Embroidery Patch
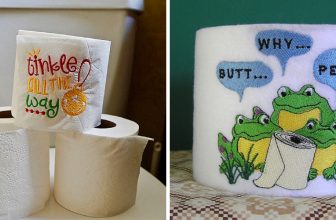
Sewing a patch is one of the most basic embroidery techniques, so it’s great for beginners and experienced crafters. Plus, you have all that creative control to ensure your design looks as you imagined. Embroidered patches are also perfect for customizing clothing, bags, hats, and more with unique designs or logos.
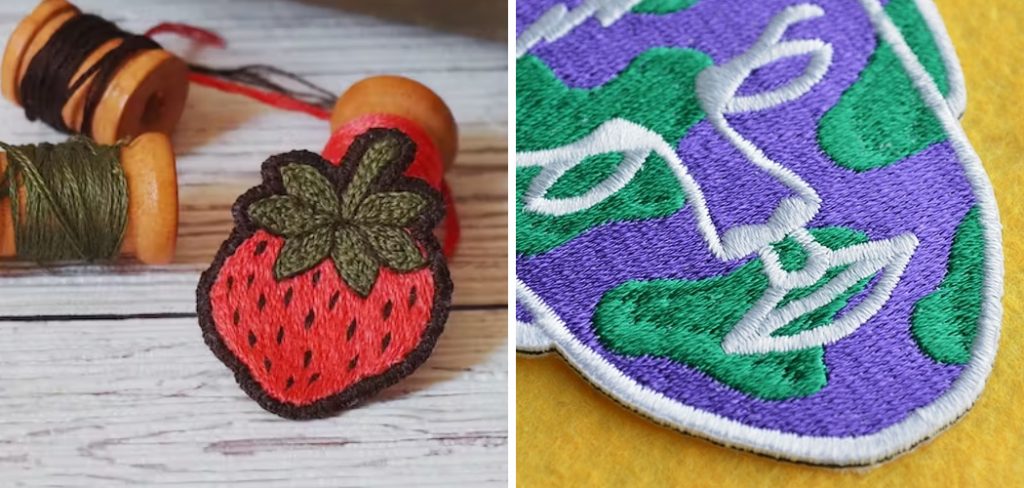
The advantages of making an embroidery patch are numerous. First, they are a great way to show off your skills and creativity. With the right design, you can make something that truly stands out and catches the eye. Second, patches can provide an interesting visual element to clothing or accessories and add a unique flair. In this blog post, You will learn how to make an embroidery patch in detail.
Step-by-Step Processes for How to Make an Embroidery Patch
Step 1: Inspect and Prepare the Fabric
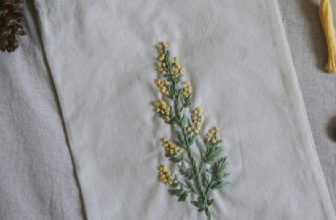
Choose a sturdy fabric such as heavy denim, canvas, or felt. Spread it on your work surface and inspect it for any flaws or marks that may interfere with the design. Cut out the desired shape of the patch, then attach interfacing to the back if you plan on using an iron-on backing (optional).
Step 2: Trace and Transfer the Design
Trace your design onto tracing paper or carbon paper. Position the traced design over the patch and secure it in place with tape. Using an iron, transfer your design to the patch by pressing a cloth over both layers’ top and pressing firmly. If you use a pre-made template, simply follow the instructions on positioning and adhering to it.
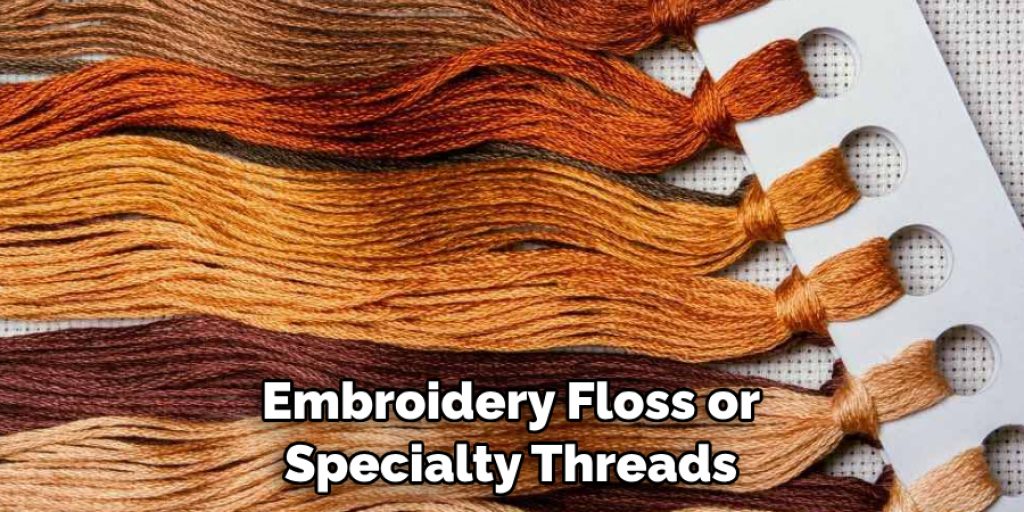
Step 3: Choose and Attach the Threads
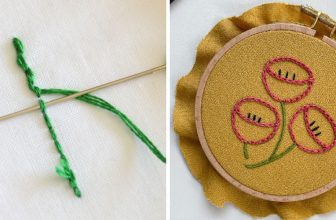
Decide which thread you would like to use – either embroidery floss or specialty threads – and attach them to your needle. Thread the needle, drawing a few inches through so there is enough slack to work with as you begin stitching.
Step 4: Stitch the Design
Secure your threads to the back of your patch and begin stitching. Use a split or chain stitch, depending on whether you want visible knots. Be sure to keep your stitches tight enough that they won’t come undone but loose enough so that the material can move freely when stitched. Make any adjustments as necessary.
Step 5: Trim and Clean Up the Edges
Once you have completed stitching, trim away any excess threads. To finish the patch, use a piece of iron-on adhesive or fabric glue to secure it. If you use an iron-on backing, press gently with an iron to adhere it to the back of the patch.
Step 6: Add Embellishments and Appliques
Add beads, sequins, ribbon, or other embellishments to your patch for an extra special look. Use a needle and thread to attach the appliques securely in place. Apply a heat-set stabilizer to the back of the patch to give it extra strength and durability. This will also help protect the stitches from fraying or coming undone.
Step 7: Back with Fusible Bonding Web
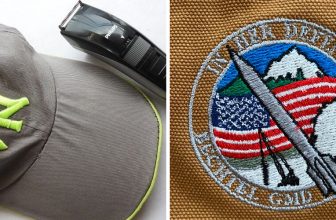
If desired, you can use a fusible bonding web to attach your patch to another piece of fabric, such as a jacket or t-shirt. Simply adhere the patch to the desired area with an iron, using a press cloth if necessary. If you’d like, you can use a heat seal to attach your patch in place permanently. This will ensure it stays secure even through washing and wear and tear.
No matter what type of fabric you choose, making an embroidery patch is a fun and creative project that can add personality to any outfit or accessory.
Safety Tips for How to Make an Embroidery Patch
- Read the instructions carefully before starting your project to ensure you understand the necessary steps and safety precautions.
- Wear appropriate clothing, such as long pants and closed-toed shoes, when working with embroidery machines, needles, or other sharp objects.
- Keep your work area clean and organized using any machine or tool to prevent safety hazards.
- Use proper ventilation with adhesive, dye, or other potentially hazardous materials.
- Wear protective eyewear and a face mask using an embroidery machine or other power tools.
- Ensure all parts and supplies are securely attached to the machine before turning it on.
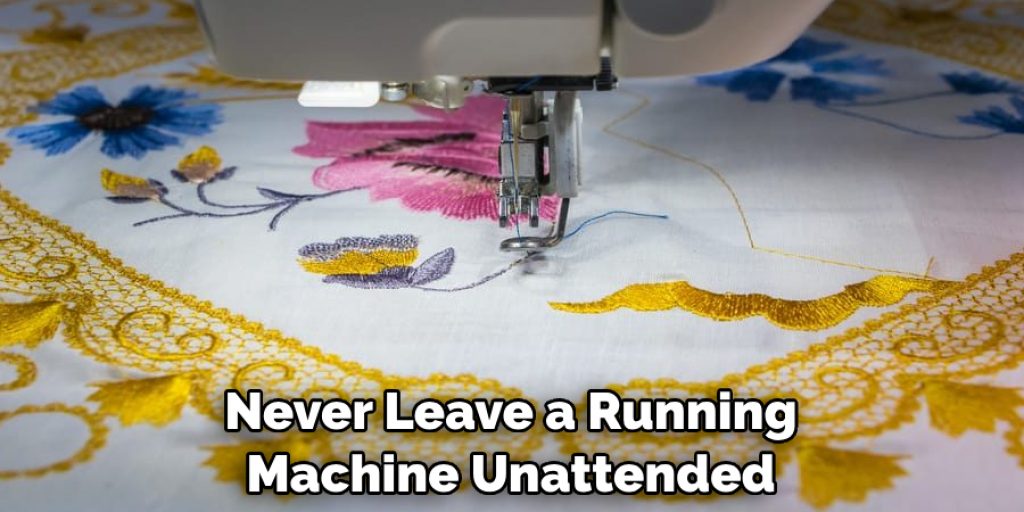
- Always unplug any machine or tool before cleaning, adjusting, or making repairs, and never leave a running machine unattended. Follow all safety instructions the manufacturer provides for the safe operation of machinery. Make sure to take breaks when needed to avoid fatigue.
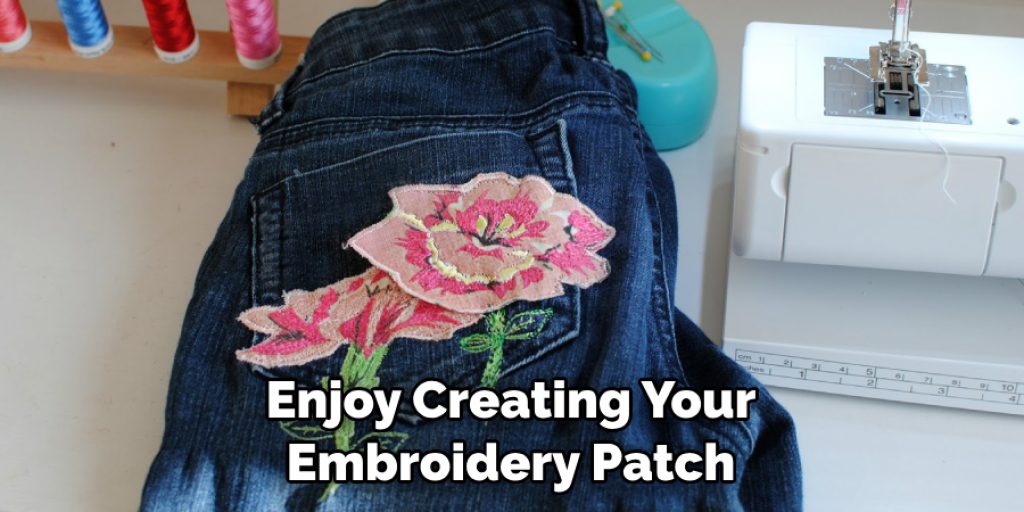
Following these safety tips will help ensure a successful and safe project. Enjoy creating your custom embroidery patch.
What Special Care Should Be Taken to Keep the Embroidery Patches in Their Best Condition?
When preserving the quality of your embroidery patch, the key is proper care. Before applying a patch or attaching it to a garment, check the instructions that come with the patch for any special treatment that should be done before. After application, it’s important to avoid washing garments with patches in hot water and drying them in high heat. Doing so can cause the patch’s colors to fade and threads to become brittle, leading to premature wear.
Hand washing or using a gentle cycle on clothes with embroidery patches will go a long way in preserving their quality over time. To maintain the shape of an embroidered design when laundering, it’s best practice to turn inside-out garments with patches before putting them in the washer. Additionally, a protective fabric or mesh bag can help keep patches from clinging to other clothes and becoming misshapen.
Are There Any Additional Resources to Help You With the Process of Making an Embroidery Patch?
Yes. There are plenty of resources available to help you make an embroidery patch. To get started, consider searching the internet for free tutorials and patterns to guide you through the process step-by-step.
You might also check out some books or videos at your local library or craft store for more detailed instructions. Additionally, many online retailers offer pre-made patches that can be customized with your design. For a professional finish, consider enlisting the help of an experienced embroiderer who can create gorgeous patches for you quickly and easily.
Finally, don’t forget to enjoy creating your embroidery patch. Experiment with different stitches, colors, and fabrics to create a unique piece of art that you can proudly display. Remember to take pictures to share your progress with friends and family.
What is the Best Way to Store Your Completed Embroidery Patches?
Once you have finished making your embroidery patches, the next step is to store them properly. Storing your patches correctly will help keep them looking good and ensure they last a long time. The best way to store an embroidery patch is in an airtight container such as a box or re-sealable plastic bag.
This will help to protect the patch from dust and other particles that could cause damage or discoloration. It’s also important to ensure your patches are dry before storing them, as moisture can lead to mildew growth on fabric.
If you plan to store multiple patches together, using acid-free tissue paper between layers is best. This will help to prevent the patches from sticking together and also help to create an air gap for better preservation. You should also consider storing your embroidery patches away from direct sunlight or other sources of heat that could cause fading and discoloration.
It may also be beneficial to store them in a climate-controlled environment, such as a basement or attic, to ensure that the temperature and humidity levels remain consistent.
Are Any Mistakes Commonly Made When Making an Embroidery Patch, and How Can You Avoid Them?
Making an embroidery patch is a great way to add a bit of flair or to commemorate an important event, but it does require some skill and patience. Many mistakes can be made while creating an embroidery patch, so knowing how to avoid them is important. People should avoid using an incorrect type of thread. If the wrong thread is used, it can cause puckering or snagging that will ruin the overall look of the patch.
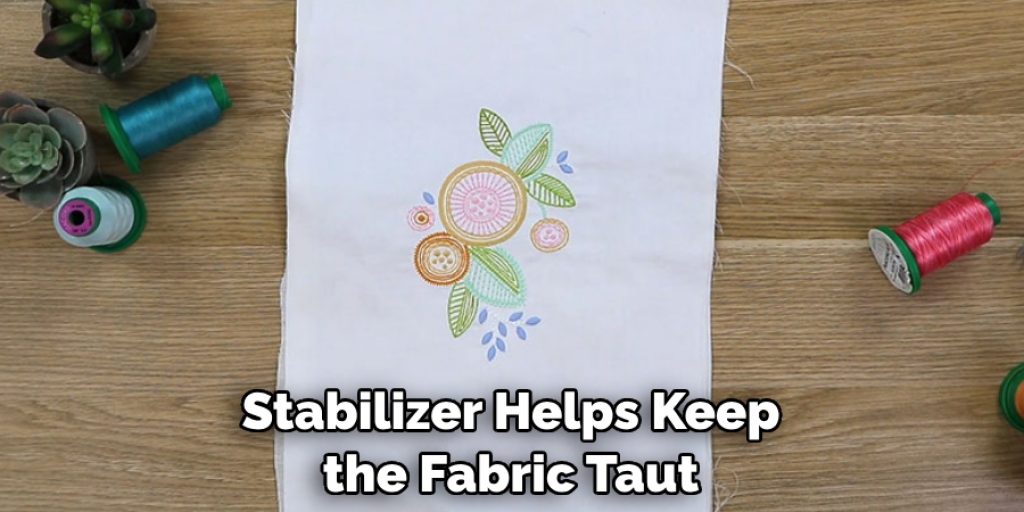
The correct type of embroidery thread should be chosen based on the design and color scheme of the patch, and it’s best to use a high-quality thread to ensure success. Another mistake to avoid is not using the right stabilizer.
A stabilizer helps keep the fabric taut and prevents it from puckering or fraying, but different stabilizers should be used depending on the embroidered material. For example, a tear-away stabilizer would be best if working with delicate fabrics such as silk or satin. In contrast, a cut-away stabilizer would work better for thicker materials such as denim.
Conclusion
Making an embroidery patch is fairly simple and requires some basic materials and tools. With the right supplies, patience, and creativity, you can create beautiful patches to incorporate into your apparel or other decorative items.
From choosing the fabric and thread colors to trimming excess material around the patch’s edges, plenty of steps are involved in creating an embroidered masterpiece. Reading this post has helped you learn how to make an embroidery patch. Make sure the safety precautions are carried out in the order listed.
Nancy Behan
Nancy is an embroidery artist, fashion blogger and a full time editor at DIY quickly. Nancy edits the fashion section on DIY quickly, focusing on the embroidery and cross stitch articles, alongside with fabric and other costume design elements. She graduated from the University of Michigan with a Bachelor of Arts in Art History. She loves to work on her own projects, read books and watch romantic movies in her spare time.